
 Pin it
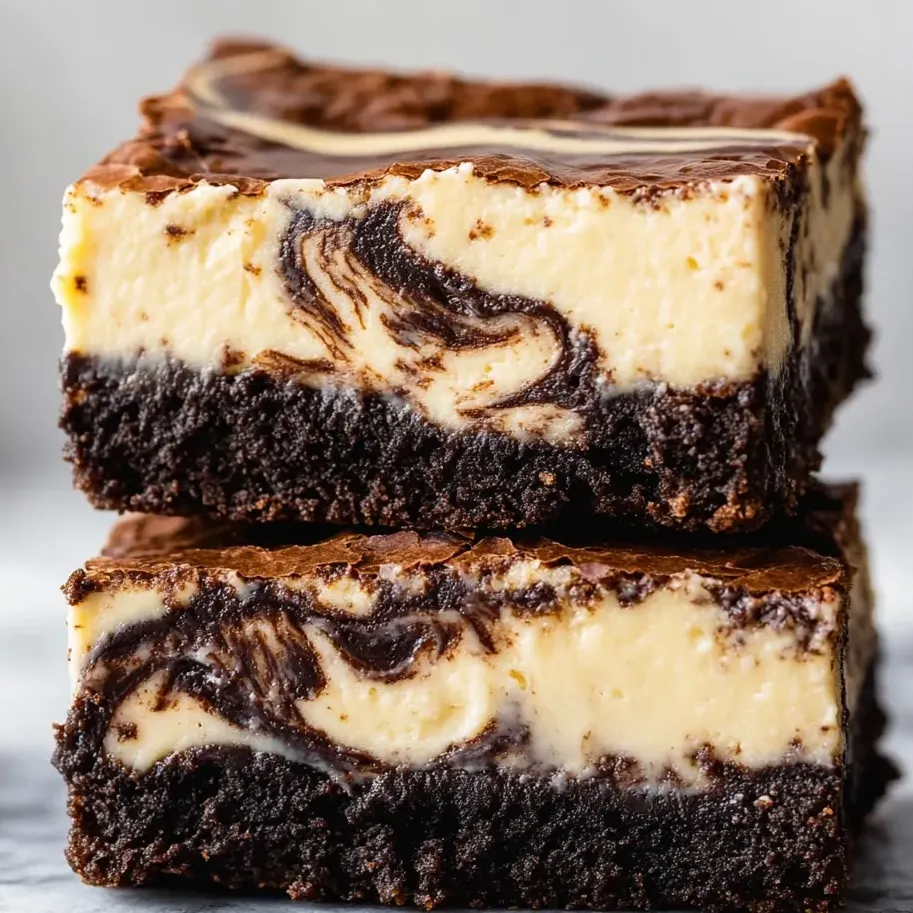
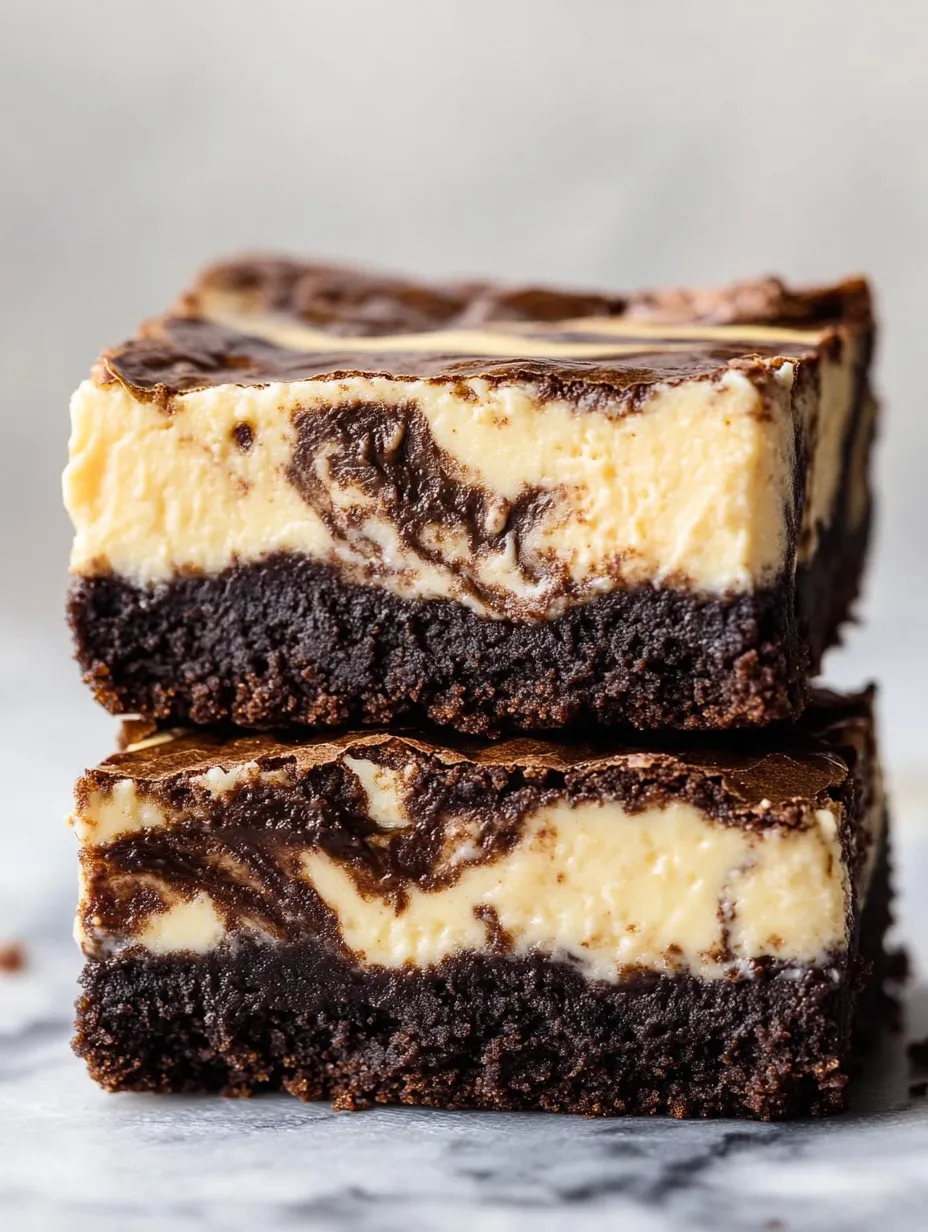
Cheesecake brownie bars piled with creamy swirls are the ultimate fusion for your sweet tooth. Putting dense chocolate together with tangy cheesecake all in one bite turns any regular afternoon into something awesome. I whip these up when I want something bold but not too fussy to make for a relaxed weekend chill.
We pass these around at family gatherings and birthdays. There's just something about the creamy bite next to rich chocolate that gets everyone grabbing for another square at the kitchen table.
Irresistible Ingredients
- All-purpose flour: gives the brownies a soft hold and helps them set up nicely. Use the scoop and level trick for best results
- Fine sea salt: makes the chocolate taste deeper and keeps things from tasting too sweet
- Vanilla extract: pulls out both chocolate and cheesecake flavors go for the good stuff instead of the fake stuff
- Large eggs: help everything stick together and keep the cheesecake extra creamy. The fresher the eggs, the better the texture
- Unsweetened cocoa powder: bumps up the chocolate punch. Dutch-processed can give you an even richer taste
- Cream cheese: is the base for the dreamy, tangy layer. Get the old-school blocks, not the tub stuff
- Sour cream: lifts and lightens the cream cheese swirl and makes it extra tangy. Full-fat only for max flavor
- Unsalted butter: keeps the brownie soft and chewy and lets you handle how salty things get. European style makes it even more rich
- Granulated sugar: adds the sweetness and that shiny brownie top
- Unsweetened baking chocolate: rich and chocolatey, pick a nice bar if you can for bold flavor
Simple Instructions
- Slice and Store
- Pull the bars from the pan with your foil sling. Warm your knife for sharp clean cuts. Pop squares into a sealed box in the fridge for three days or wrap them up tight and freeze for a snack later. They'll last three months frozen!
- Chill Time
- Let everything cool off all the way at room temp. Once they're cool, move the pan to the fridge and chill for at least four hours. This makes slicing super easy and keeps your layers sharp
- Bake It Up
- Set your oven to 350F and bake the bars for fifty to fifty-five minutes. You want a puffed up middle that's just set, the edges barely golden. You don't want a wet or jiggly top
- Marble Your Batters
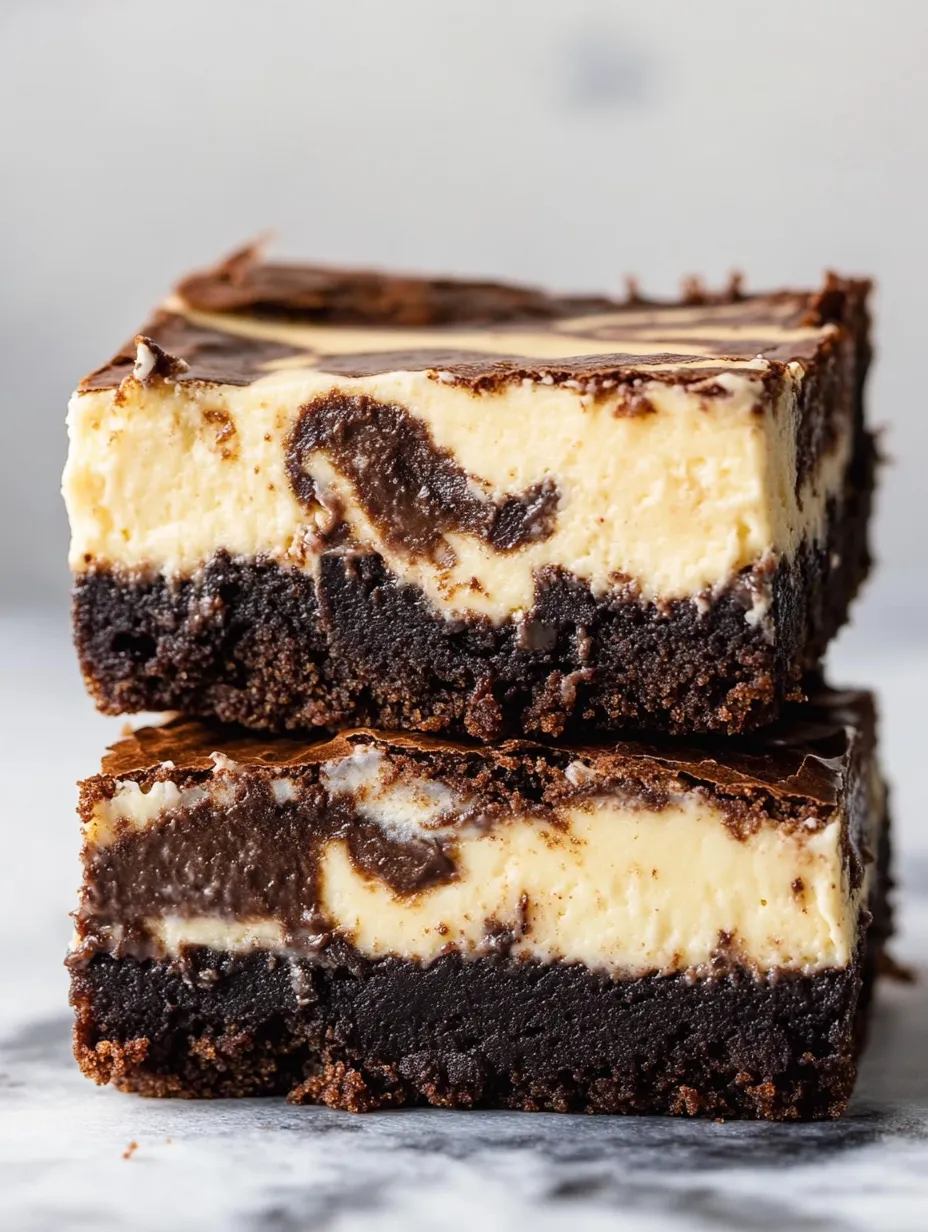
- Spread the cheesecake combo over the brownie base. Swirl with a butter knife or stick. A few big loops give dramatic swirls—no need to overdo it
- Mix the Cheesecake Stuff
- Whip cream cheese and sour cream together until it’s silky and lump-free. Add in eggs, sugar, and vanilla, mixing until smooth. Scrape the bowl as you go to catch those lumps hiding at the bottom
- Spread in Your Pan
- Pour your brownie mix into your lined pan and smooth out the top with a spatula. Try for an even layer so your swirls will pop
- Brownie Batter Time
- Dump in the sugar and cocoa powder, then stir in eggs one at a time to keep things nice and shiny. Next up, mix in vanilla and salt. Fold in flour gently—just enough—so your brownies don’t get tough
- Chocolate & Butter Melt
- Put chopped chocolate and butter in a bowl that's microwave safe. Heat for thirty seconds at a time, stirring until smooth and melted. Let the mixture cool enough so you don't accidentally cook the eggs
- Pan Prep
- Line a nine inch square pan with foil and let some hang over the sides for easy lifting. Spray it with nonstick so nothing sticks. This makes cleanup easy and bars look sharp
 Pin it
I love that moment when the knife carves out the first slice and the dramatic swirls show up. My kid once went wild with swirling and made little hearts all over the top.
Storage Ideas
Wait for bars to cool all the way, then store them in a closed container in the fridge so they stay soft and tasty for three days. To keep them longer, wrap each bar and freeze—just grab one whenever you’re craving chocolate. Let bars sit overnight in the fridge to thaw before eating
Swaps and Substitutions
If you want sweeter bars, try bittersweet chocolate instead of unsweetened and use less sugar. Greek yogurt can take over for sour cream for a lighter bite. One-to-one gluten free flour blend totally works if you need gluten free bars
Fun Ways to Serve
Chill bars before eating for the best texture. Dress them up with sliced strawberries or a spoonful of raspberry sauce if you’re feeling fancy. Top with whipped cream and a little cocoa on top for a party vibe
 Pin it
Backstory and Food Traditions
This chocolatey treat first popped up in America way back in the early 1900s. Home bakers started swirling in cheesecake during the 90s, mixing up fun mashups. Now, you’ll spot these sweets at bake sales and potlucks everywhere
Frequently Asked Questions
- → How can I get neat swirls and clear layers?
First, pop brownie mix in the pan, spread it out, then pour cheesecake batter on top. Gently drag through with a skewer or knife a couple of times. Don’t mix too much or the swirl gets muddy, and that marbled look will vanish.
- → Why’s it important to use room temp eggs and dairy?
Warm eggs and dairy blend together way easier, so your cream cheese doesn’t get lumpy. Cold stuff just makes the batter clumpy or uneven.
- → How do I check if they’re baked enough?
If the top looks just barely set, has a gentle rise, and you don’t see shininess anymore, they’re ready. Leave the oven a little early rather than too long so things stay creamy.
- → What’s the best way to store marble bars?
Let bars chill all the way and then keep ’em in something airtight in the fridge for three days. To keep longer, wrap each one and pop them in the freezer. They’ll be good for three months.
- → Are these good served warm?
Chill these bars to get that creamy layer set and tidy cuts. Take them straight from the fridge before munching for the best taste and texture.