
 Pin it
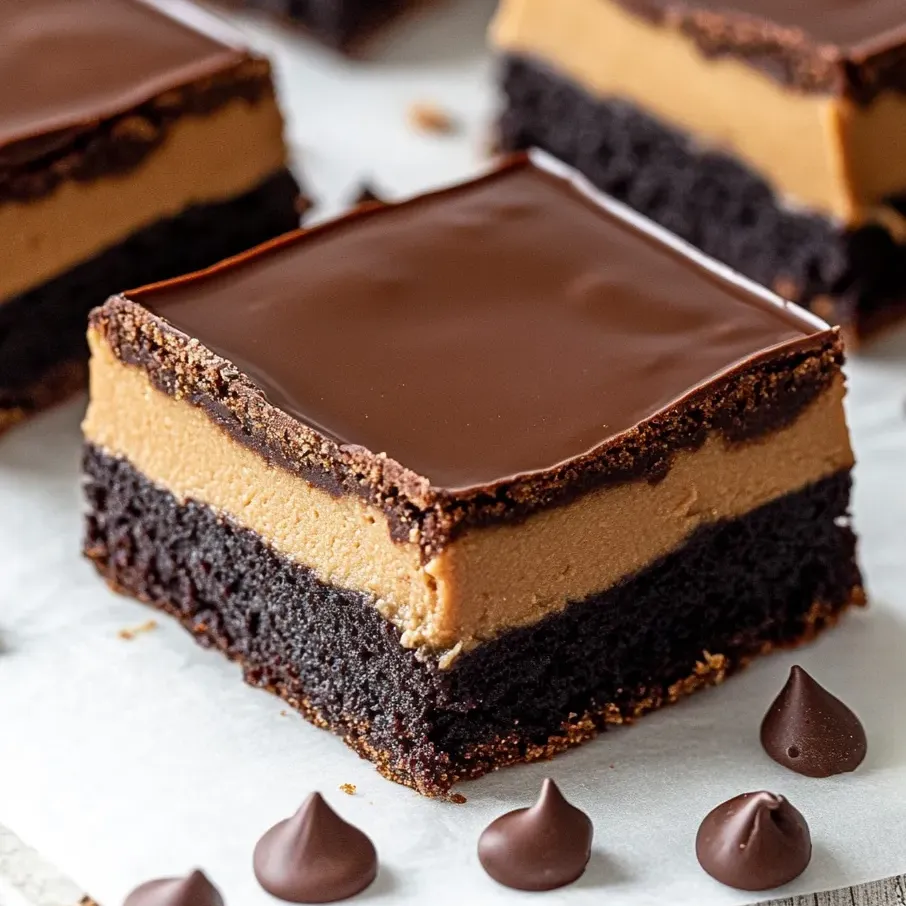
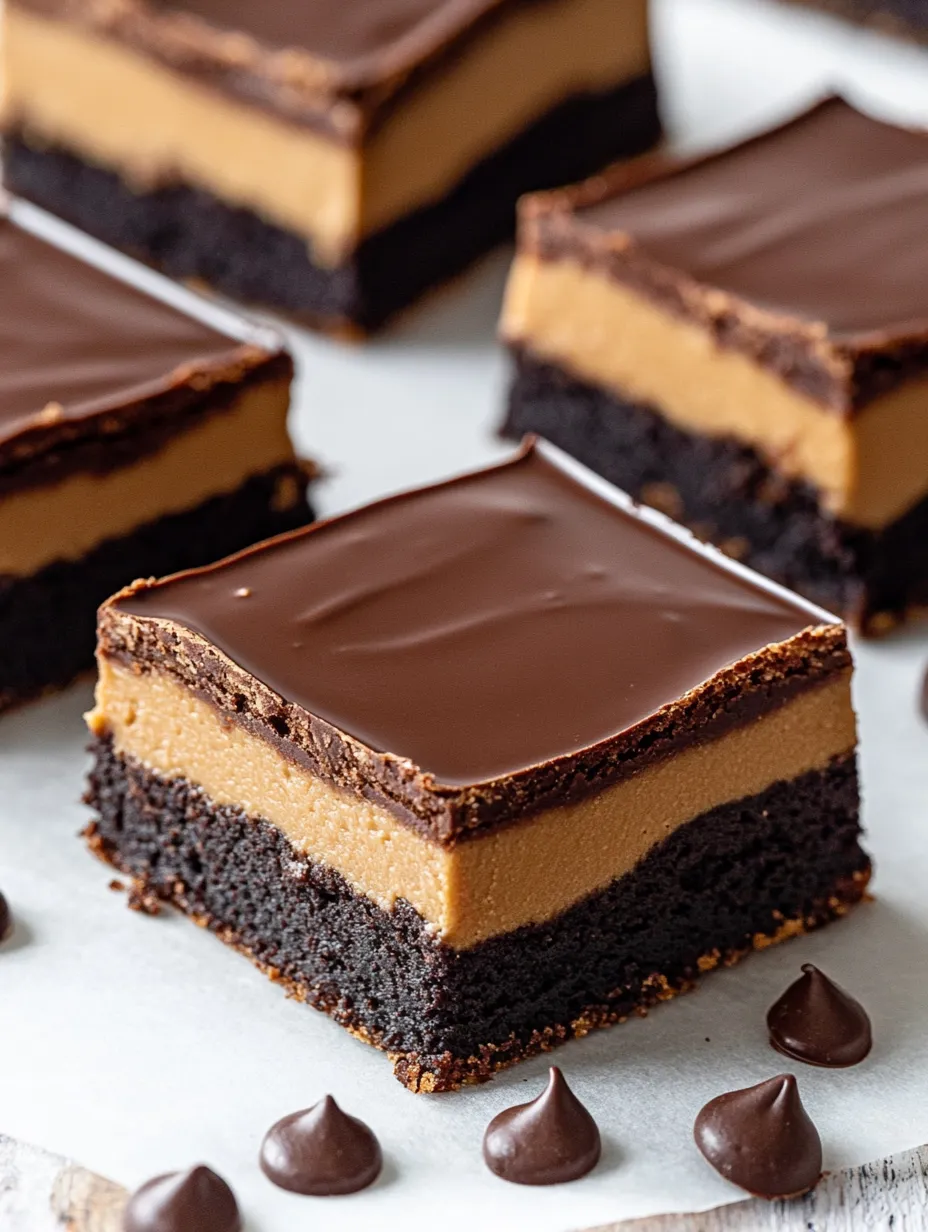
Take your love for Buckeye candies to another level with these killer chocolate peanut butter bars. You've got a thick, chewy chocolate layer, a soft peanut butter middle, and a shiny chocolate top that cools to a perfect snap. Totally next-level and totally crave-worthy.
The first time I made these bars was at a friend’s get-together—they disappeared in minutes. Now whenever I offer to bring dessert, my family always asks for these by name.
Irresistible Ingredients
- Bases for the bars
- ½ teaspoon baking powder: keeps your brownies from getting way too dense
- ½ teaspoon kosher salt: brings out the rich flavors without letting things get too sweet
- 1 cup all purpose flour: just a bit, so your bars aren’t dry bricks
- ¾ cup unsweetened cocoa powder: Dutch-processed makes it taste way smoother
- 1 teaspoon pure vanilla extract: brings a warm scent and gives the chocolate something extra
- 4 large eggs: these add some lift and keep things moist
- 2 cups granulated sugar: helps with that shiny, crackly top
- ½ cup semi sweet chocolate chips: you get dark, chocolatey bites without too much sweetness
- 1 cup unsalted butter: melts down for rich goodness and the best chewy texture
- Peanut butter center
- 3 cups powdered sugar: gives that signature buckeye taste and firmness
- 1 teaspoon pure vanilla extract: just a little to balance it all out
- 1 ½ cups creamy peanut butter: standard store brands hold up best here
- ¾ cup unsalted butter, melted: this is how you get the middle layer velvety smooth
- Chocolate topping
- 6 Tablespoons heavy whipping cream: makes the chocolate the right stuff to pour on top
- 1 ½ cups dark chocolate chips: brings a not-too-sweet, slightly bitter finish
Simple Step-by-Step
- Last Layer Magic:
- Finish everything by pouring the chocolate ganache over the peanut butter while it’s still warm. Smooth the top out fast with an offset spatula before it sets. Try to work from the middle outward.
- Peanut Butter Finish:
- Spread the peanut butter mix gently on the still-warm brownies. The heat helps it stick. Dust your fingertips with powdered sugar and pat it out from the middle so you don’t rip the bottom. Make it as even as possible.
- Easy Ganache:
- Put chocolate chips and cream together in a microwave-safe bowl. Pop it in the microwave for one minute, then stir like crazy until it’s glossy and smooth. Still a few lumps? Give it another 10 seconds and stir again.
- Brownie Baking Time:
- Spread your brownie batter into the lined pan, making sure the corners get filled. Bake about 23–25 minutes. The edges should seem done, but check the middle—it should still be a bit soft. A toothpick poked in should come out with just a few crumbs.
- Brownie Batter Time:
- Melt the butter over medium heat, don’t let it bubble. Take it off, dump in your chocolate chips and sugar, and mix until everything melts together and looks glossy. No chunks left behind!
- Eggs In Next:
- Crack in the eggs, one by one, mixing well after each. The mix will start looking thick and shiny. Stir in the vanilla until it’s all blended.
- Get Things Ready:
- Crank the oven to 350°F and line your pan with parchment paper so you can lift the brownies right out.
- Dry Stuff Goes In:
- Fold in the cocoa, flour, salt, and baking powder gently with a spatula. Stop as soon as you don’t see any dry bits. Over-stirring makes brownies tough instead of gooey.
- Make The Middle:
- As soon as the brownies are out (and still warm), toss melted butter, peanut butter, vanilla, and powdered sugar in a bowl. Mix until super smooth and thick but easy to spread—think cookie dough, not icing.
- Chill and Slice:
- Pop the whole pan in the fridge for at least two hours, until the top sets. Run a sharp knife under hot water, wipe it off, and slice for clean edges. Let them warm up at room temp for just a bit before serving—flavors pop more that way.
 Pin it
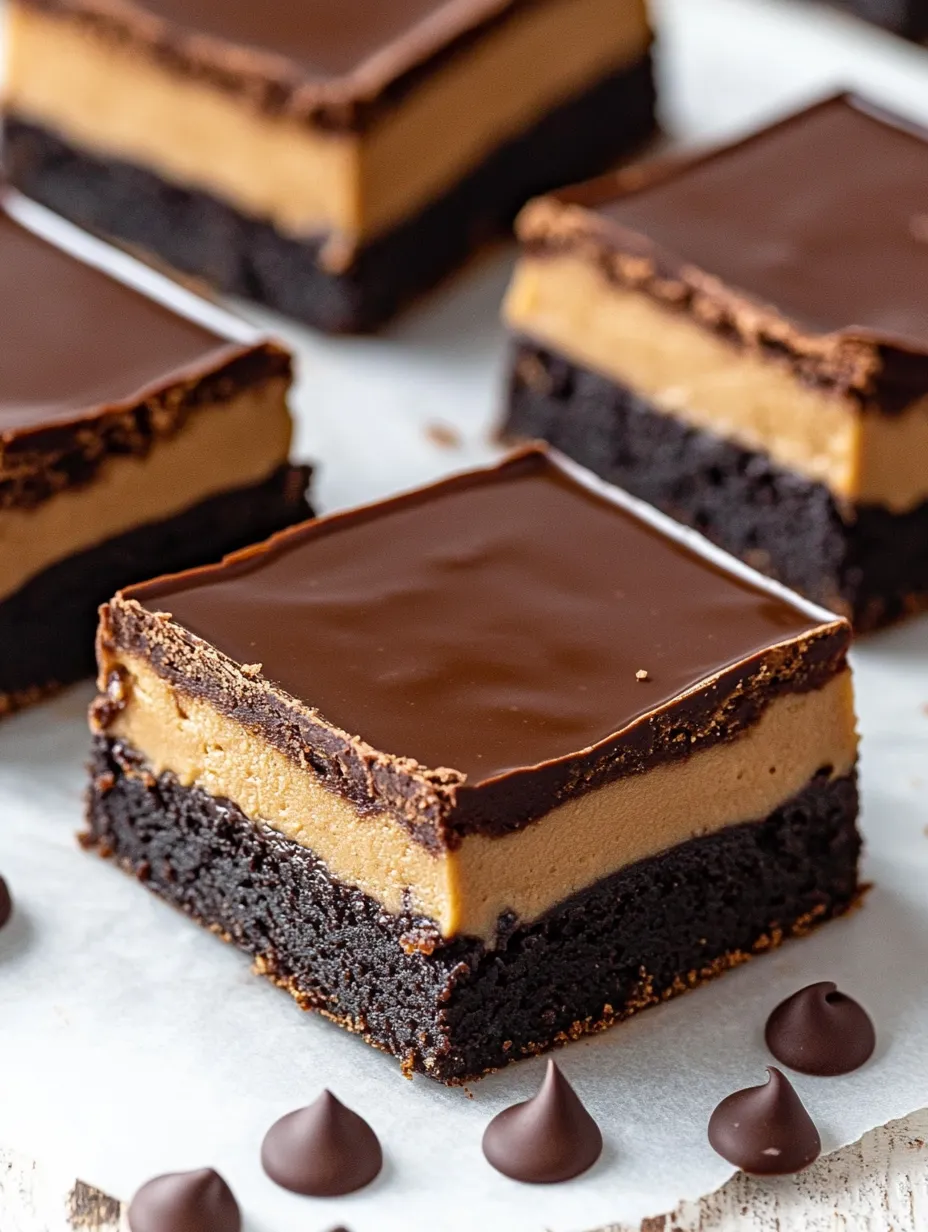
I swear the magic is in that peanut butter middle. I learned fast you want the regular peanut butter, not the natural kind with oil on top. That’s what gives you the nostalgic, just-like-childhood Buckeye texture Ohio is famous for. Around here my daughter asks for these every year instead of cake!
Storing And Freezing
Leftovers keep really well in the fridge for five days, sealed up tight. They actually taste even better after a day since the flavors blend together. For longer stashing, slice the bars and layer with parchment before freezing. Thaw in the fridge overnight and they taste just as fresh.
Easy Ingredient Swaps
If you want to mix it up, try crunchy peanut butter for a little crackle in the middle. Use white chocolate chips instead of dark for a sweeter top. Want even richer brownies? Use a touch more cocoa and less flour. For that sweet-and-salty vibe, shake a little flaky salt over the ganache while it’s melty.
How To Serve
They’re at their best chilled but not ice-cold—each bite pops with texture. Want to fancy it up? Warm up your plate, drop a scoop of vanilla ice cream next to a bar, then drizzle with hot peanut butter sauce. Goes great with coffee, a glass of milk, or a dessert wine if you’re feeling fancy.
 Pin it
All About That Ohio Vibe
Buckeye candies get their name from Ohio’s official tree—the nut looks like a deer’s eye. The classic candy is just a ball of peanut butter that’s mostly dipped in chocolate. Turning it into a fudgy, layered dessert makes it feel extra fancy, but the vibe and taste are pure Ohio nostalgia. Anyone from Ohio spots that look right away and thinks of fall football and holidays.
Frequently Asked Questions
- → Why are these called Buckeye Brownies?
The idea comes from Buckeye candies that Ohio is known for. Those are peanut butter balls dipped in chocolate to look like a buckeye nut. This treat takes that peanut butter chocolate combo and stacks it in a brownie bar.
- → Can I use natural peanut butter in this recipe?
Regular store-bought creamy peanut butter is best here. Natural kinds may be runnier or oily, which can mess with the filling by making it greasy or weird in texture.
- → How should I store these brownies?
Stash them in a sealed container in your fridge—they’ll be good for up to five days. Freezer’s fine too for months. If you freeze them, lay parchment between so they don’t stick together.
- → Why do the brownies need to be refrigerated before cutting?
Chilling them for two hours lets all the layers set up, especially that chocolate top. That way you can slice clean squares and the fillings don’t squish out.
- → Can I substitute dark chocolate chips in the ganache?
Sure! If you don’t like dark chips, swap for milder ones like milk or semi-sweet. The top will taste a little sweeter but still be chocolatey.
- → What's the best way to get even layers?
Smooth out the brownie batter really well before baking. For the peanut butter part, don’t rush—let the brownies cool and use your fingers to gently pat it on. For the top layer, pour the melted chocolate slow and use a spatula to spread it all the way out.