 Pin it
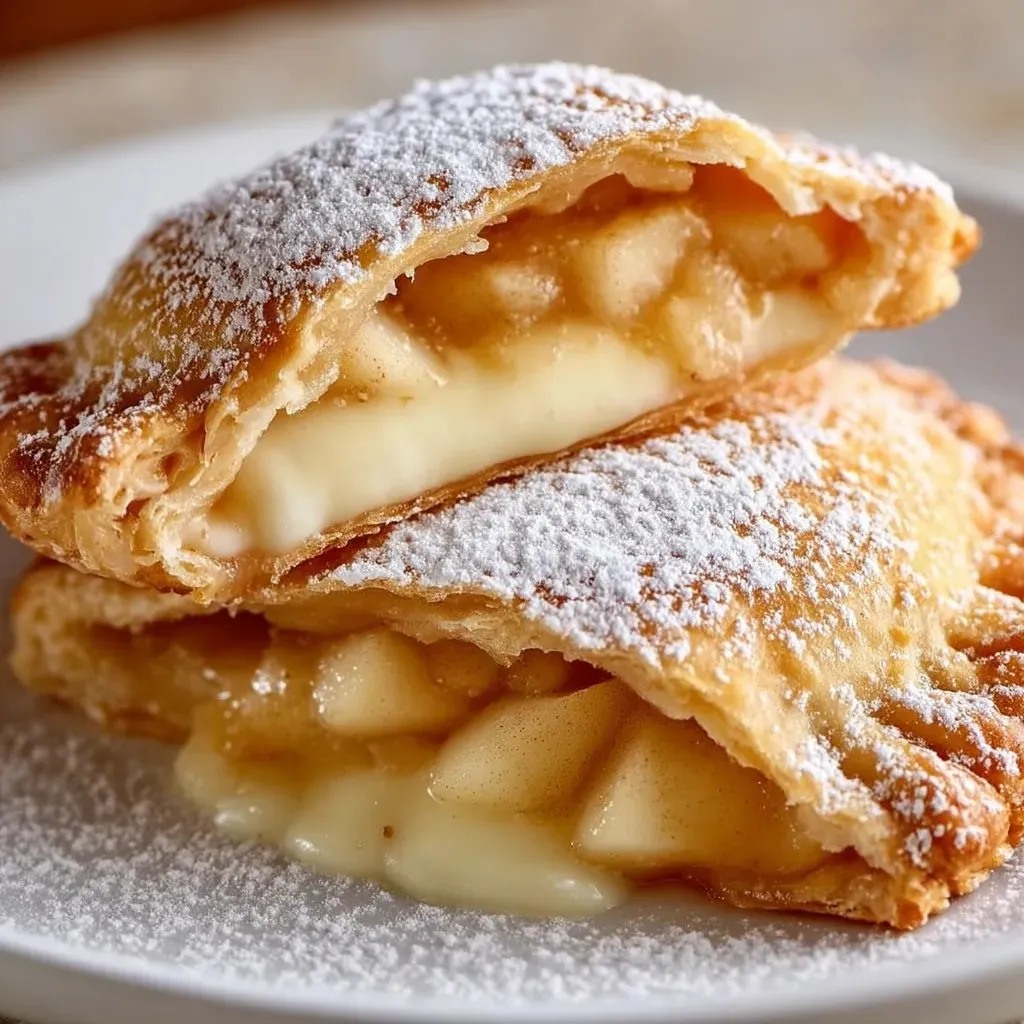
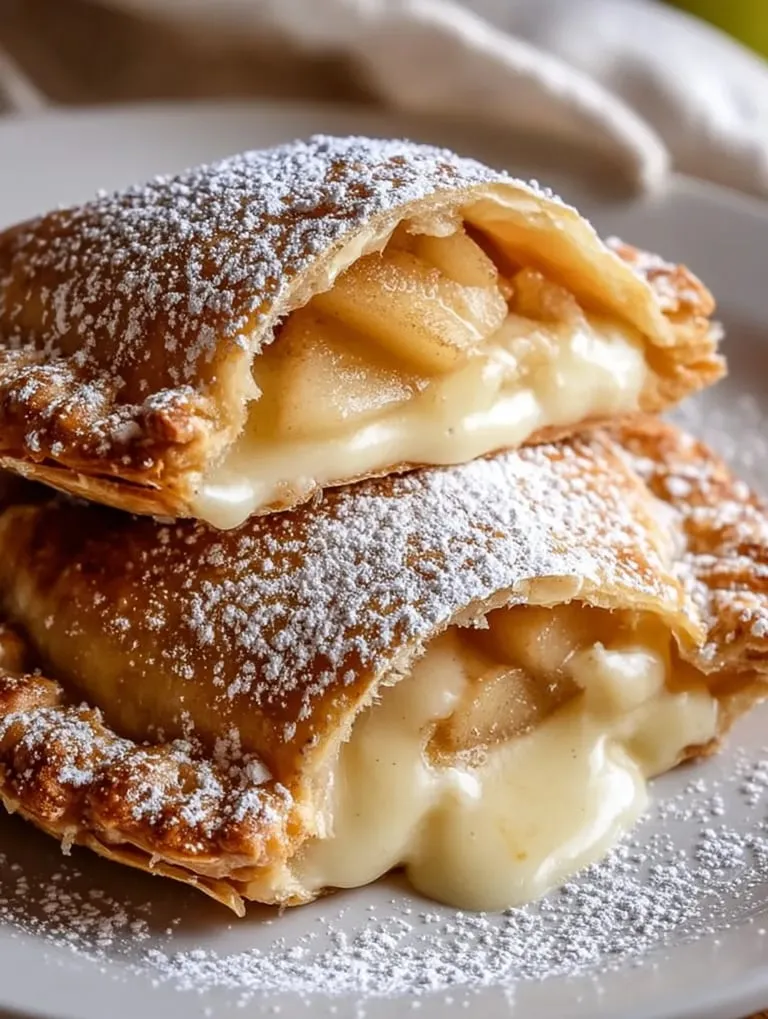
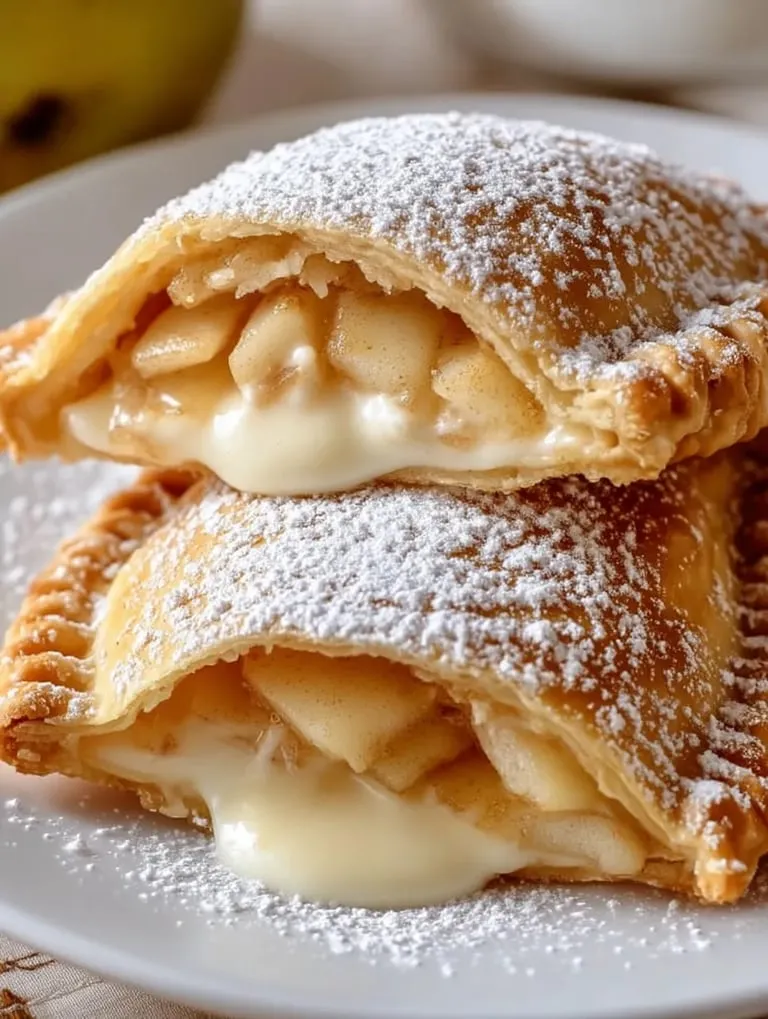
This mouthwatering handheld treat marries two classic desserts into one amazing bite. You'll fall for the way the sharp cream cheese plays against the sweet apple spice mix, all wrapped in that crunchy, hot fried shell. It's a taste combo that'll have your family begging you to make them again and again.
I whipped these up for the first time when my daughter couldn't pick between two desserts for her party. Everyone loved them so much that they've turned into our go-to treat whenever we're celebrating something special or during the holidays.
Ingredients
Apple Filling
- Granny Smith or Honeycrisp apples: grab the firm ones that won't turn mushy when they cook
- Butter: adds that lovely richness and helps soften the fruit
- Brown sugar: brings a deeper, more complex sweetness than plain white sugar
- Cinnamon: gives that cozy smell and taste we all love in apple treats
- Nutmeg: adds a hint of warmth that makes everything better
- Cornstarch slurry: keeps your filling thick so it stays inside while cooking
Cheesecake Filling
- Cream cheese: don't grab the light stuff, full fat makes everything tastier and smoother
- Sugar: cuts through the tang of the cream cheese
- Vanilla extract: go for the real stuff to get that genuine flavor kick
Assembly
- Refrigerated pie crusts: saves you tons of time and always turns out great
- Frying oil: grab something plain like veggie or canola that can take the heat
- Cinnamon sugar: gives the outside that sweet spicy crunch
- Optional toppings: drizzle with caramel or dust with sugar for an extra touch
Step-by-Step Instructions
Prepare Apple Filling
- Step 1:
- Put butter in your pan over medium heat and let it melt without browning. Toss in your peeled, diced apples and sprinkle with brown sugar, cinnamon, and nutmeg. Cook about 5 to 7 minutes, giving it a stir now and then until apples get soft but aren't falling apart. You'll know it's right when everything smells amazing and looks syrupy.
- Step 2:
- Pour in your cornstarch mix and keep cooking another minute or two, stirring the whole time until you see it thicken up nicely. Take it off the heat and let it cool completely before you use it.
Make Cheesecake Filling
- Step 1:
- Grab a bowl and mix your softened cream cheese with sugar and vanilla. Beat it until it's totally smooth without any little lumps. You want it creamy but still firm enough to stay in place.
- Step 2:
- Pop the mixture in the fridge for at least 15 minutes to firm up before you start putting your pies together.
Assemble The Pies
- Step 1:
- Roll your dough into circles about 4 to 5 inches across on a floured countertop. Put a big spoonful of the cold cheesecake filling a bit off center on each circle, then top with a spoonful of your cooled apple mix. Don't overstuff or they might leak while cooking.
- Step 2:
- Fold the dough over to make a half-moon and press the edges with your fingers before using a fork to crimp them shut. If they won't stick together, brush a tiny bit of water or egg wash along the edge.
Fry To Golden Perfection
- Step 1:
- Get your oil hot to 350°F in a heavy pot. You'll want the oil about 1 to 2 inches deep for good frying.
- Step 2:
- Gently drop 2 or 3 pies into the hot oil, giving them plenty of room. Fry each side for 2 to 3 minutes until they turn a nice dark golden color. Keep an eye on your heat between batches so everything cooks the same.
- Step 3:
- Lift them out with a slotted spoon and put them on paper towels to get rid of extra oil.
Finish With Sweet Coating
- Step 1:
- While they're still warm but cool enough to touch, roll them in the cinnamon sugar mix until they're covered all over. The warmth helps the sugar stick better to the outside.
- Step 2:
- Eat them right away for the best taste and texture, or dress them up with some caramel sauce or a little powdered sugar on top.
When I first tried making these, I accidentally dumped way too much cinnamon in the sugar coating. Turns out that mistake was a huge win! Now we always double up on cinnamon in the outer coating because that extra spicy kick works so well with the creamy filling inside.
Make Ahead Options
You can put these pies together and freeze them raw for up to 3 months before cooking day. Just lay the uncooked pies on parchment paper, freeze them solid, then toss them in a freezer bag. When you want to eat them, just fry them frozen and add about 2 extra minutes per side. This trick is super handy before big family get-togethers when you're short on time.
 Pin it
Flavor Variations
Want a caramel twist? Just add a couple spoonfuls of caramel sauce to your apple mix while it cooks. You can also swap out apples for peaches, cherries, or blueberries using the same basic steps. For a grown-up version, try adding a spoonful of bourbon to your apples for a rich flavor that goes perfectly with that tangy cheesecake element.
Serving Suggestions
These taste great by themselves but turn into something magical when you serve them hot with cold vanilla ice cream on the side. That mix of hot crunchy pie with cold creamy ice cream is unforgettable. For morning treats, pair them with coffee or hot apple cider. If you're setting up a dessert table, make smaller pies and arrange them with other mini sweets for a spread that'll wow your guests.
 Pin it
Frequently Asked Questions
- → Can I bake these hand pies instead of frying them?
Absolutely! Brush the dough with egg wash and pop them into a 375°F oven for 15-20 minutes until you see that golden glow. Baked pies won't be as crispy as fried ones but will still boast a satisfying flaky crust.
- → How should I store and reheat leftovers?
Keep extras in the fridge for up to three days, sealed tight in a container. To reheat, use a 350°F oven or air fryer for around 5-7 minutes to bring some of the crispiness back, although they'll never be as crunchy as fresh ones.
- → Which apples work best in the filling?
Granny Smiths bring a tart pop and hold up well when cooked, while Honeycrisp apples add sweetness and a nice bite. Braeburn or Pink Lady apples are also great picks for a balanced flavor.
- → Can I prepare these pies in advance?
You’ve got it! Assemble the pies, freeze them in a single layer on a baking sheet until solid, and then transfer to a freezer bag. They’ll last up to three months. Fry directly from frozen when needed—just allow a few extra minutes to cook them fully.
- → What are my alternatives to pre-made dough?
If store-bought pie crust isn’t handy, try biscuit dough, empanada wrappers, or puff pastry cut into circles. Homemade dough is another option if you’re feeling ambitious—all offer delicious outcomes with varying textures!
- → How do I check the frying oil temperature without a thermometer?
No thermometer? No problem! Drop in a tiny piece of dough. If it softly sizzles and quickly floats to the top, you're good to go. If it browns too fast, the oil's too hot. If it barely bubbles, give it a little more heat.
