 Pin it
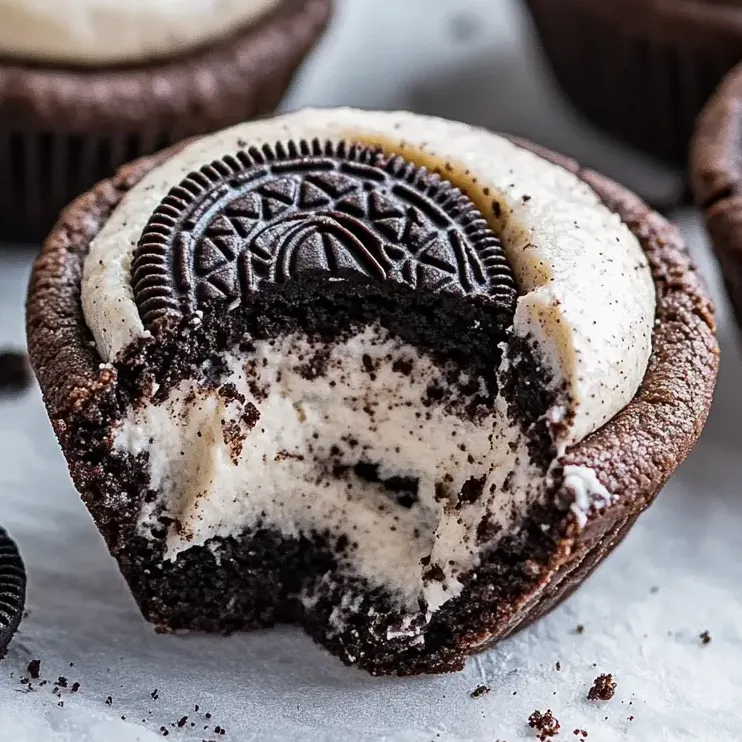
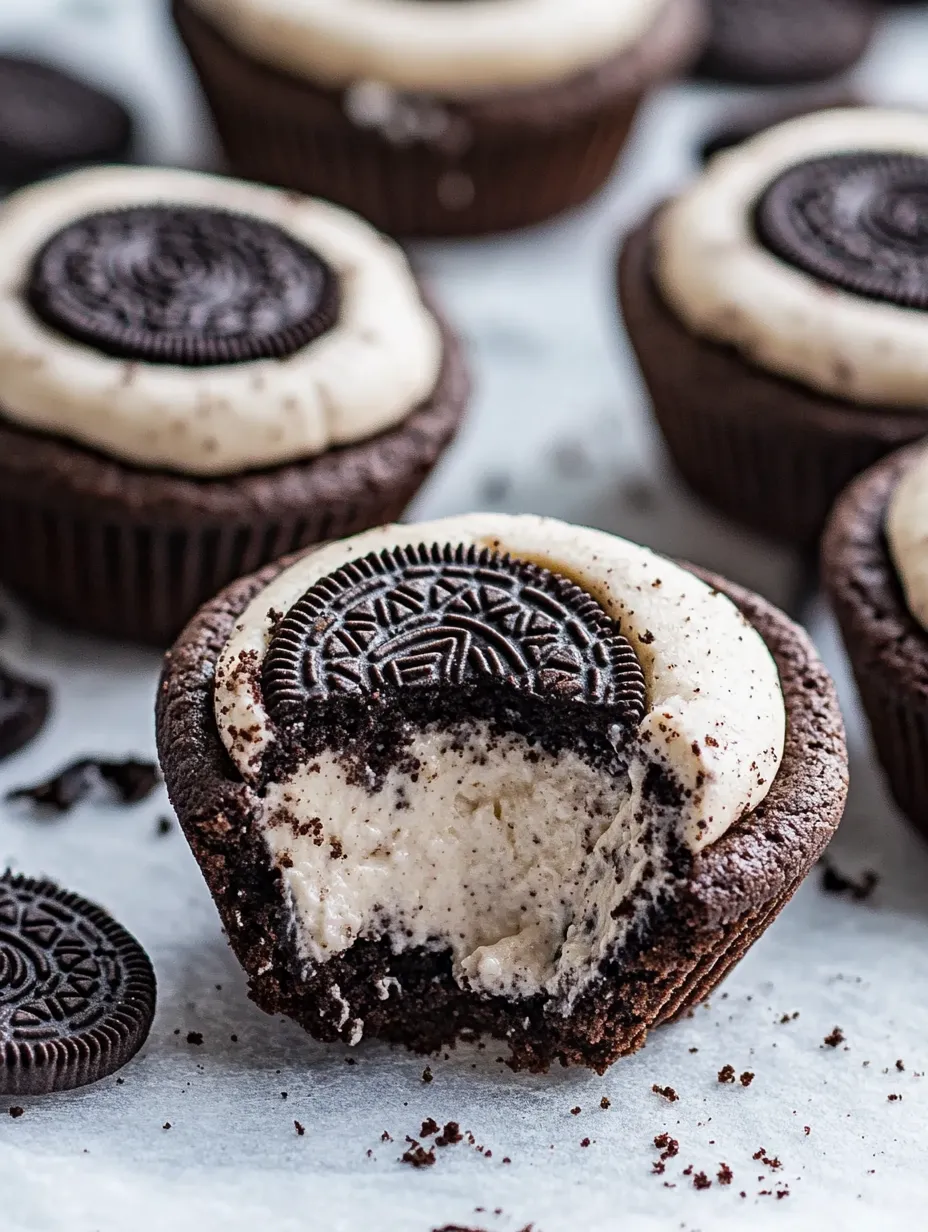
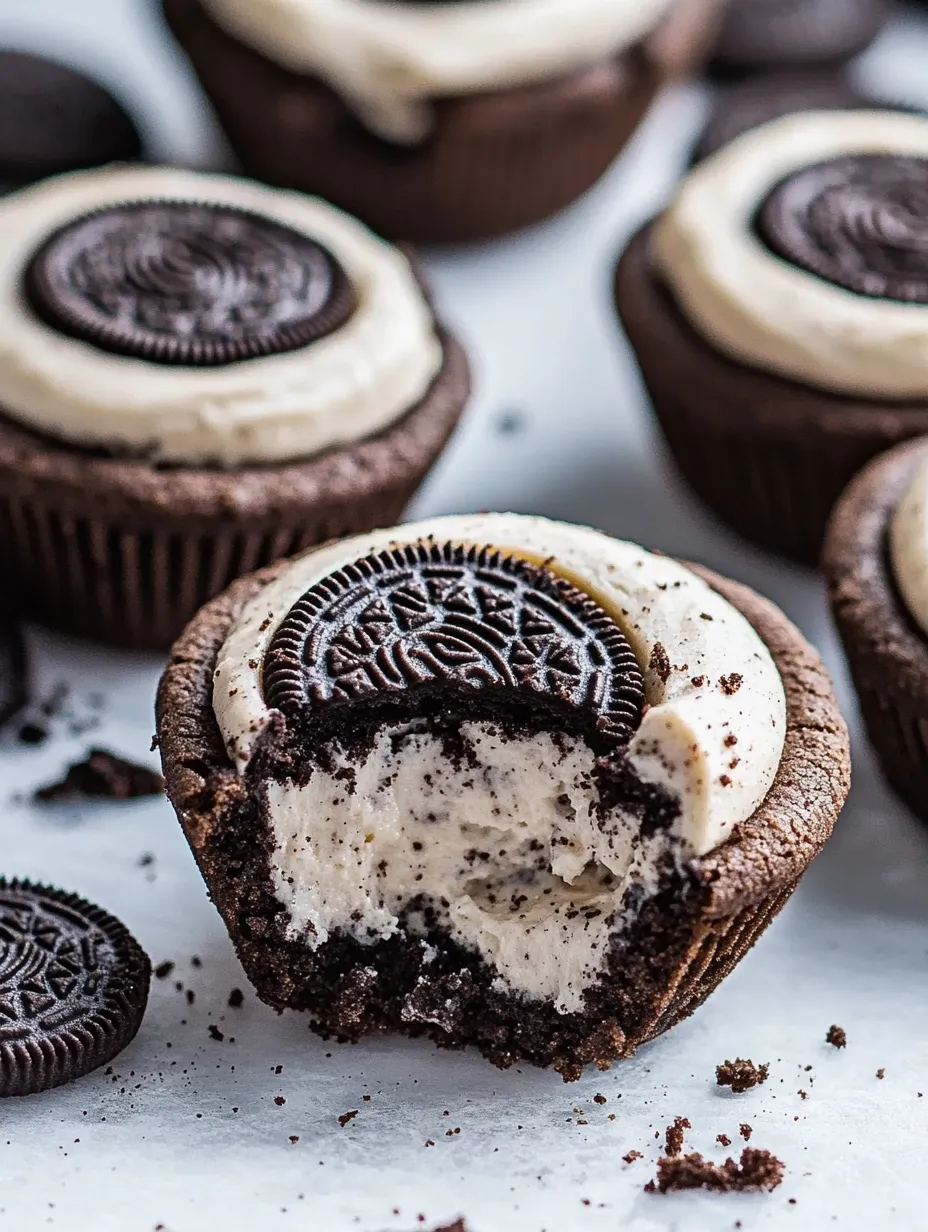
These indulgent, luscious Oreo cheesecake cookie cups bring together two favorites – crunchy chocolate cookie cups stuffed with smooth Oreo cheesecake filling. I whipped these up for my daughter's birthday bash last year, and now my family begs for them at every get-together.
We can't have a movie night without these cookie cups anymore. There's something about that slightly crunchy outside mixed with the creamy cheesecake inside that gets everyone coming back for more.
What You'll Need
- All purpose flour: gives our cookie cups the right structure so they can hold all that yummy filling
- Dutch processed and black cocoa powders: work together for that deep chocolate taste just like real Oreos
- Unsalted butter: softened to room temp so it mixes perfectly with the sugars for the best cookie texture
- Full fat cream cheese: brings that tangy richness you need for a proper cheesecake taste
- Heavy whipping cream: makes the filling fluffy and almost mousse-like
- Oreo cookie crumbs: pack the filling with that Oreo flavor we can't get enough of
How To Make Them
- Get everything ready:
- Heat your oven to 350°F and coat your muffin tins with cooking spray, making sure to get the sides too. This helps the cups pop out easily when they're done.
- Combine dry stuff:
- Stir the flour, both types of cocoa, baking soda, and salt together until they're well mixed. Using two kinds of cocoa gives you that true Oreo color and taste that makes these so special.
- Mix butter and sugars:
- Beat the butter with both sugars for 2-3 minutes until it looks lighter and feels fluffier. This adds air that helps make your cookies just right.
- Put in wet ingredients:
- Turn your mixer down before adding eggs one at a time, letting each one mix in completely. Add vanilla last and mix just enough - you don't want tough cookies.
- Mix wet and dry together:
- Slowly add your flour mixture to the butter mixture, mixing just until you can't see any flour anymore. Don't overmix or your cookie cups might turn out tough.
- Form your cookies:
- Use a 3 tablespoon scoop to get the same amount for each cup. Put the dough in the muffin tin and press down a little to flatten them out.
- Bake and make wells:
- Bake until the edges seem done but the centers are still soft, around 10-13 minutes. Right away, press the centers down with a small jar to make space for the filling. They'll feel soft but will harden as they cool.
- Make the whipped cream:
- Whip cold heavy cream in a cold bowl until it forms stiff peaks. This adds lightness to your filling.
- Create cheesecake mix:
- Beat cream cheese and sugar till it's totally smooth, then mix in the Oreo crumbs. You don't want any lumps or they'll show up in your finished dessert.
- Put filling together:
- Gently fold the whipped cream into the cream cheese mix, being careful not to pop all those air bubbles. This keeps it light and fluffy.
- Add filling to cups:
- Spoon or pipe filling into completely cooled cookie cups, making each one nice and full. The filling should stick up a bit above each cup.
- Cool and enjoy:
- Put them in the fridge for at least 1-2 hours until they're set. The wait is worth it for that perfect contrast between crunchy cookie and smooth filling.
 Pin it
I've found that mixing both regular Dutch processed and black cocoa gives you that real Oreo taste you just can't get with only one type. The first time I brought these to a family dinner, my brother-in-law gobbled up four before we even sat down to eat!
Keeping Them Fresh
These treats stay fresh in the fridge in a sealed container for about 3 days. If you want to keep them longer, put them on a baking sheet in a single layer and freeze until hard, then move them to a freezer container with parchment paper between layers. They'll stay good for up to 4 weeks that way.
Try Different Flavors
Once you know how to make the basic cookie cups, you can play around with lots of flavor ideas. You might swap the Oreo crumbs for crushed graham crackers and add some lemon zest to the filling for a lemony version. Or throw in some mini chocolate chips or peanut butter into your filling while keeping the chocolate cookie cups the same.
Ways To Serve Them
These cookie cups taste best when they're cool but not super cold from the fridge, so the flavors really come through. Try serving them with some fresh berries on the side, a little chocolate sauce drizzled on top, or even a small scoop of vanilla ice cream to make them extra special. For fancy occasions, you can sprinkle a bit of cocoa powder on top or stick a small piece of Oreo cookie in as decoration.
 Pin it
Where This Treat Came From
This sweet treat brings together two American dessert favorites in one perfect bite. Oreos hit the scene in 1912 and grew to become America's favorite cookie, while cheesecake got popular in America in the early 1900s when cream cheese was invented. This mash-up dessert shows off the fun creativity of today's American baking while still honoring these classic desserts everyone loves.
Frequently Asked Questions
- → Is it okay to prepare these Cheesecake Oreo Cups in advance?
Definitely! You can keep them in the fridge for up to 3 days. If you want to save them for later, freeze in a sealed container for up to a month. Just let them thaw in the fridge before digging in.
- → What’s a good swap for black cocoa powder?
If you can’t get black cocoa, use more Dutch-processed cocoa instead. Keep in mind it’ll slightly change the taste and color, making the cups less dark and not as close to Oreo flavor.
- → How can I make fine Oreo crumbs?
Take the filling out of the cookies (save it for later or toss it), then grind the cookies in a food processor. If you don’t have one, pop the cookies in a bag and crush them into fine crumbs with a rolling pin.
- → Why do my cookie cups break when I press them?
If cracking happens, it’s likely the cups were overbaked. Pull them out while they’re still a bit soft (around 10-13 minutes). Press them gently while they’re warm and easy to mold.
- → How can I tell if the cheesecake filling is evenly mixed?
Keep mixing until you see no whipped cream streaks and the filling is fluffy and smooth. Be cautious not to overdo it, since too much stirring can flatten the whipped cream and make it heavy.
- → Can I swap regular cocoa powder for Dutch-processed cocoa?
Regular cocoa powder works in a pinch, but Dutch-processed is better for its deeper flavor and darker look. Using natural cocoa will lead to a slightly tangy taste and lighter-colored cups.
