
 Pin it
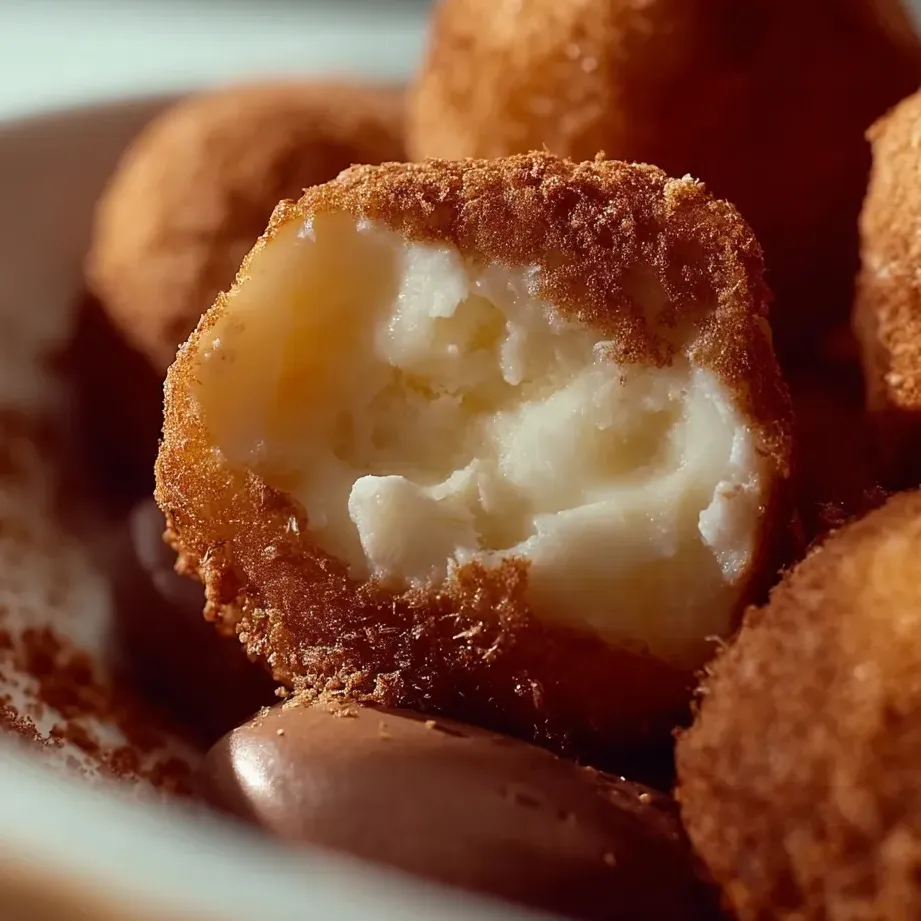
These bouncy milk mochi treats turn basic pantry items into soft, chewy goodies I stumbled upon while learning Japanese cooking. Their cloud-like softness and gentle milk taste work amazingly with different toppings, making these tiny bites tempting for quick snacks or fancy after-dinner sweets.
I whipped up these mochi nibbles for my kid's school international food day. They were such a smash hit that now we make them whenever friends pop by unexpectedly or when we need something quick that looks fancy.
Ingredients
- Milk 288g: forms the smooth base taste and wetness needed for that perfect mochi chewiness
- Glutinous Rice Flour 150g: gives that distinctive springy texture, grab packages marked sweet or glutinous rice flour (regular rice flour won't work)
- Cornstarch 36g: stops the dough from getting too sticky and makes the mochi feel smooth in your mouth
- Vegetable Oil 18g: makes the dough stretchy and keeps it from drying out too fast
- Sugar 46g: adds the right amount of sweetness without drowning out the light milk flavor
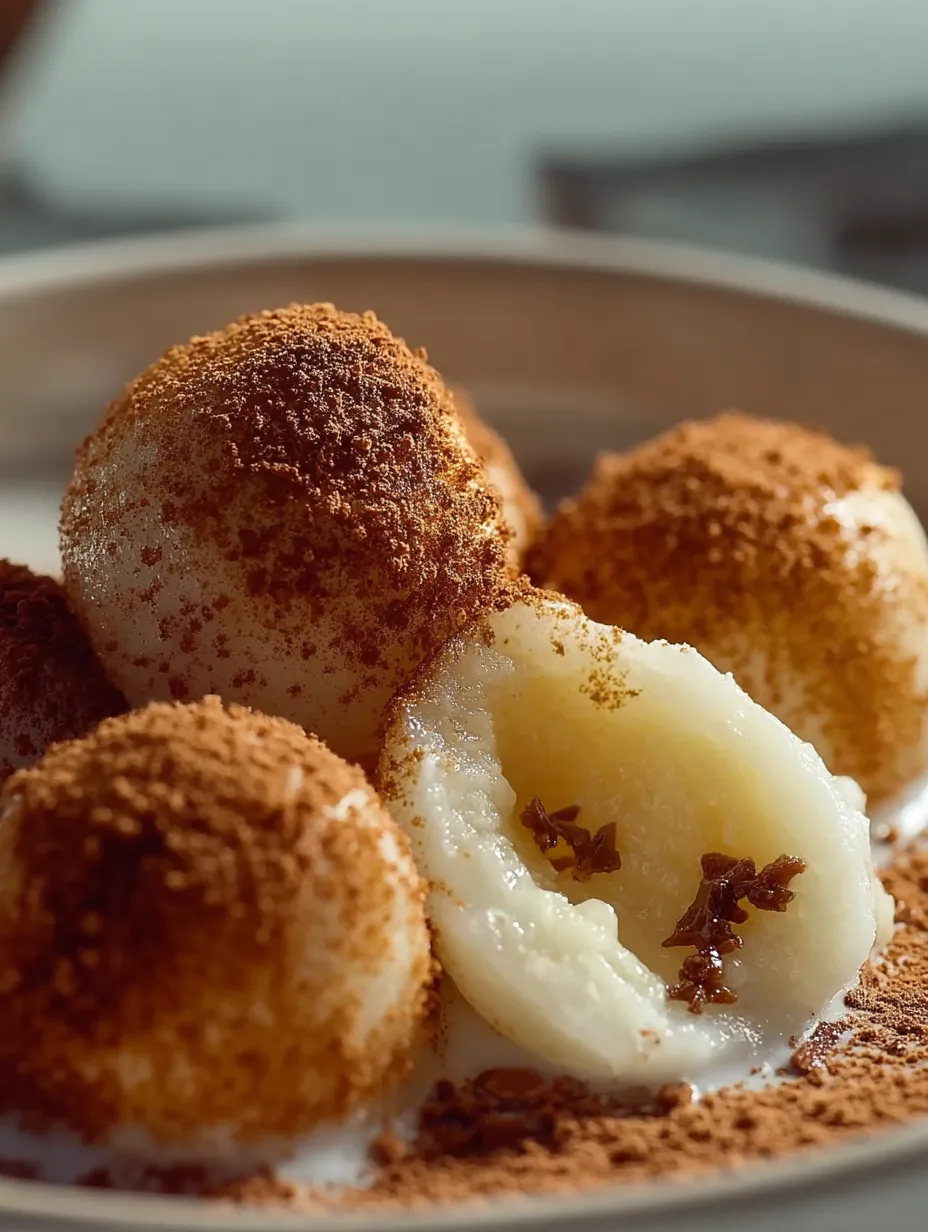
- Optional toppings: try cocoa, milk powder, or matcha powder to add different tastes and keep them from sticking together
Step-by-Step Instructions
- Blend Dry and Wet:
- Put milk, glutinous rice flour, cornstarch, and sugar in a microwave-safe bowl that can take heat. Stir really well until you can't see any dry flour spots and it looks like smooth, thin pancake batter. This makes sure your finished mochi won't have lumps.
- Mix in Oil:
- Drizzle in the vegetable oil and blend until it's fully mixed in. The oil might float separately at first, but keep mixing until everything looks the same. This fat helps your mochi stay soft instead of turning tough when it cools down.
- Get Ready to Cook:
- Wrap your bowl with microwave-safe plastic and poke a bunch of tiny holes with a fork. These little air holes stop the plastic from popping while cooking and let heat spread evenly through the mix.
- First Cooking Round:
- Microwave on high for 3 minutes. You'll notice the mixture starting to change from white to see-through around the edges. This first cooking starts turning the rice flour into that classic mochi texture.
- Mix and Keep Cooking:
- Take it out carefully since it'll be super hot and steamy. Mix thoroughly with a heat-safe spatula, making sure to scrape the bottom and sides where it cooks faster. Put it back in and cook for 1 minute at a time, stirring between rounds, until the whole thing looks clear and pulls away from the bowl.
- Start Working the Dough:
- Wearing food-safe gloves because it's really hot, move the cooked mochi to a clean counter dusted with cornstarch. Gently push and fold it for about a minute until it feels smooth. It should feel like soft play-dough, stretchy but not sticky on your hands.
- Making Small Pieces:
- Cut the warm mochi into roughly 20 equal chunks. Work fast before it cools too much, rolling each piece between your hands to make smooth balls about walnut-sized. The warmth from your hands keeps it soft while you shape it.
- Adding Toppings:
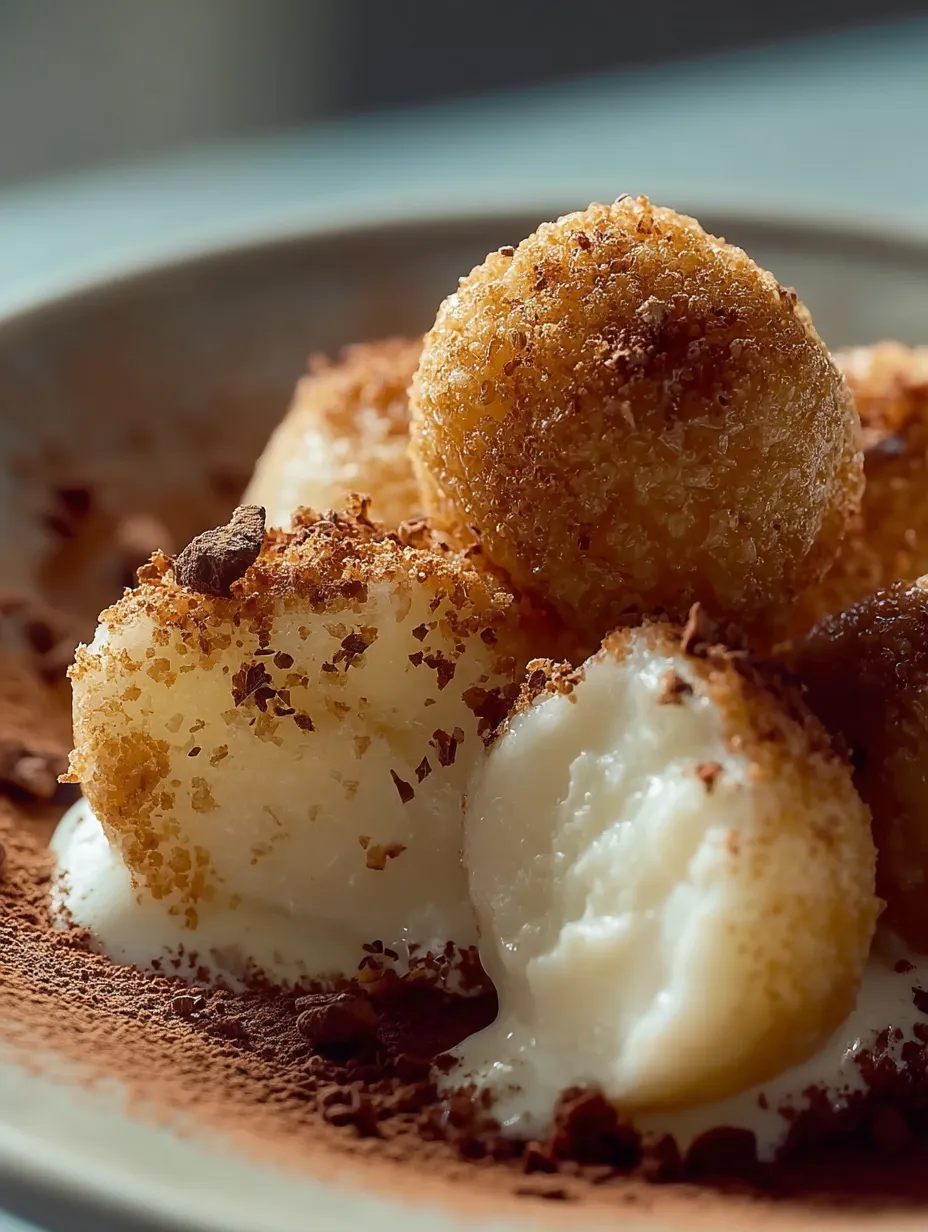
- Roll each mochi ball in whatever topping you picked. For cocoa, Dutch-processed tastes richer; for matcha, the fancy ceremonial kind gives better color and flavor; and for milk powder, the full-fat version tastes best. Press lightly so the coating sticks all over.
 Pin it
Glutinous rice flour stands out as the star ingredient here even though its name can throw people off. It actually doesn't have gluten but gets its name from how sticky it becomes. I learned about its cool properties while checking out street food in Asia where vendors would stretch and pound it into cool shapes. The first batch of mochi I made turned my kitchen into something like a fun experiment as I watched it change from liquid to that bouncy, chewy stuff.
Storage Solutions
These milk mochi treats keep best in a sealed container with parchment paper between the layers so they don't stick together. They stay good at room temp for about 1-2 days and get a slightly firmer outside while staying chewy inside. In the fridge, they last up to 5 days but get a bit harder. For keeping them longer, freeze each one separately on a tray until they're solid, then put them in a freezer bag. They thaw in around 30 minutes on the counter and amazingly return almost to their original texture.
Perfect Pairings
The mild milk flavor makes these mochi bites go well with lots of different things. Try them with strong matcha or hojicha tea for a true Japanese experience. The difference between the hot bitter tea and sweet chewy mochi creates a really nice balance. For a more modern dessert idea, arrange a few mochi with different coatings next to some fresh berries and a tiny scoop of vanilla ice cream. The mix of temperatures and textures makes a fancy-looking dessert that's actually super easy to put together.
 Pin it
Troubleshooting Tips
If your mochi gets too sticky while you're handling it, sprinkle a bit of cornstarch on your hands and work surface. Don't take too long since mochi gets harder to shape as it cools down. If your mochi turns out too hard, you probably cooked it too long. Cut back the cooking time by 1-2 minutes next time. Mochi that rips easily wasn't cooked enough. Stick it back in the microwave for extra 30-second bursts until it's fully cooked. Perfectly done mochi should look see-through, stretch nicely, and pull away cleanly from the bowl sides.
Frequently Asked Questions
- → Why is my mochi hard to handle?
If your mochi dough feels too sticky, it may need more cooking. Make sure it turns translucent and easily pulls away from the bowl when you stir it. Also, dust it with enough cornstarch to avoid it clinging to your hands or surfaces.
- → Can these be made without a microwave?
Yes, you can steam the mochi mixture for about 20-30 minutes over boiling water. Stir now and then to ensure even cooking. It takes a bit longer, but it works just as well!
- → How long do these stay good?
For the best texture, enjoy them within 1-2 days. Keep them sealed at room temperature. If they last longer, refrigerate up to 3 days, but be aware they’ll firm up. Let them warm to room temperature to soften again before eating.
- → Can I try different fillings for these mochi?
Totally! Once you’ve mastered the base, you can add things like red bean paste, fruit, or even ice cream. Just press out a piece of mochi, stick the filling in the middle, and wrap it up before rolling in your favorite coating.
- → How’s glutinous rice flour different from plain rice flour?
Glutinous rice flour (also called sweet rice flour) creates the stretchy, chewy texture you need for mochi. Plain rice flour lacks this stickiness and would give you a crumbly result, so they’re not interchangeable.
- → Why are gloves recommended for handling mochi?
Mochi is really hot and sticky when freshly made. Using gloves keeps your hands safe from burns and makes shaping the dough easier. Silicone or food-safe plastic gloves work best for this task.