
 Pin it
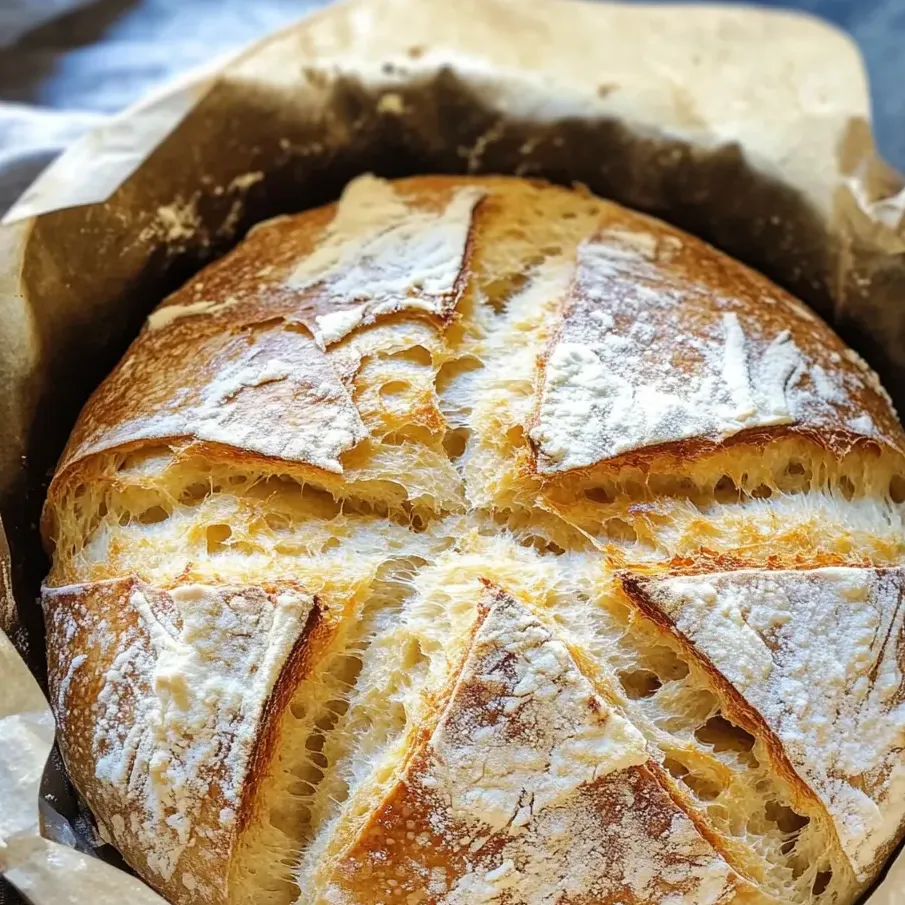
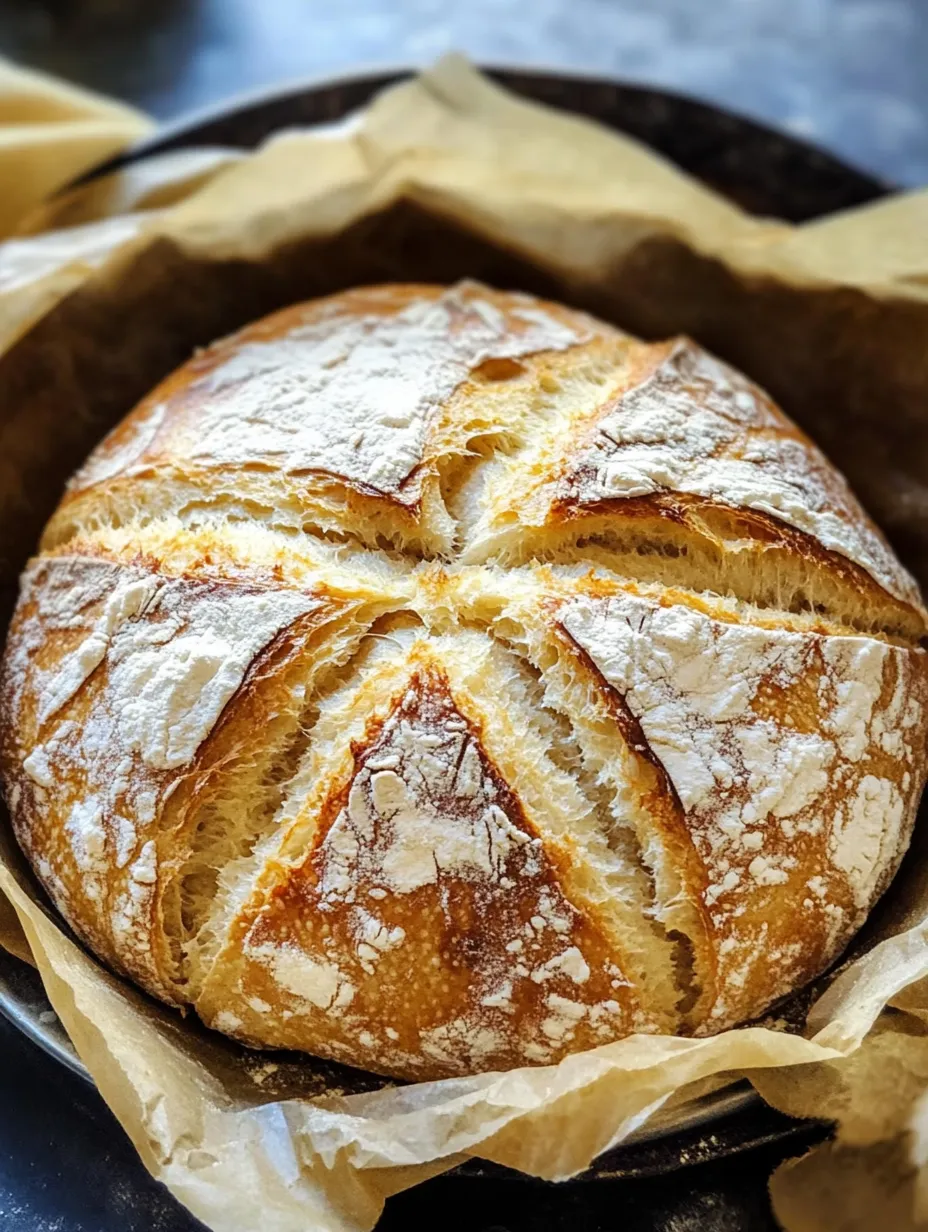
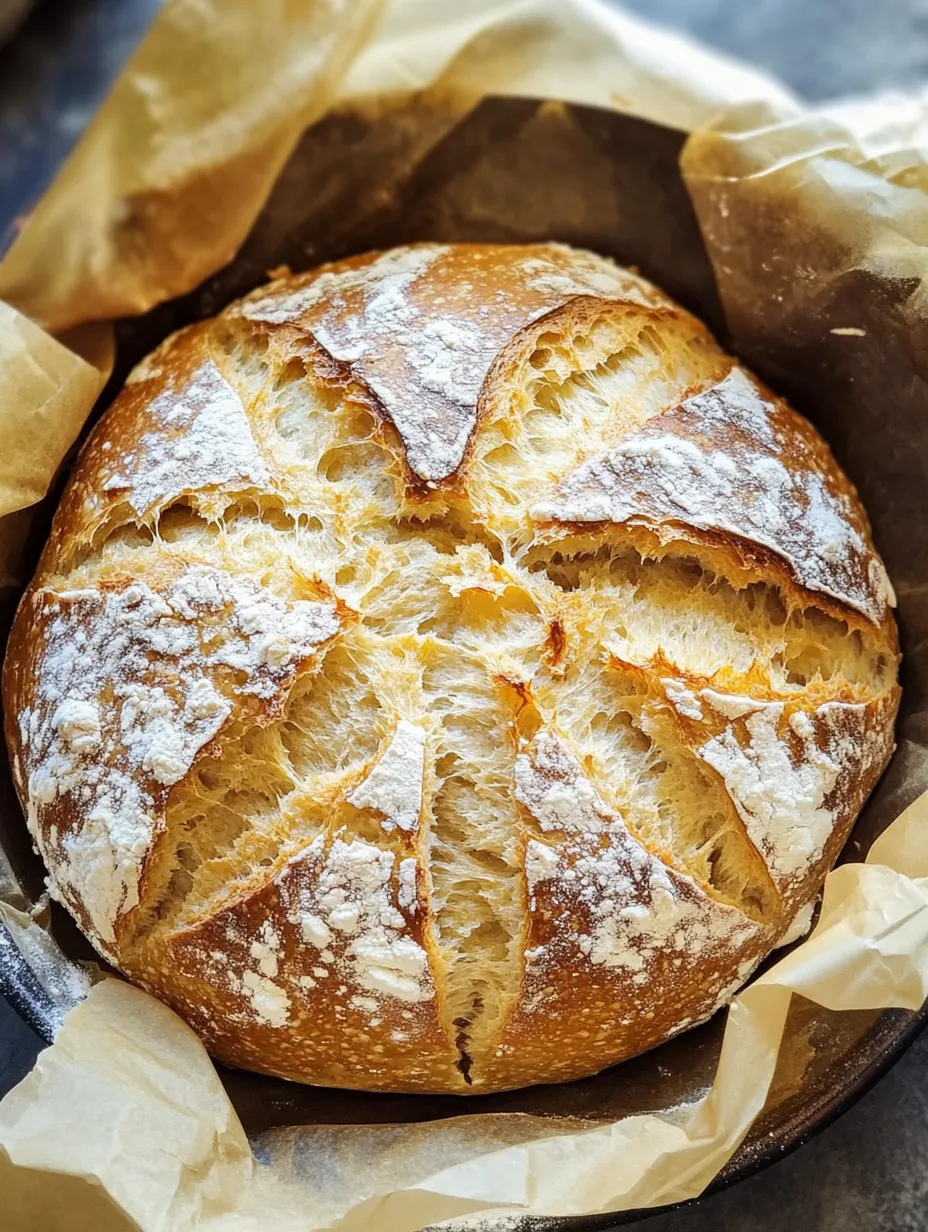
There’s nothing like pulling this old-school French loaf out of your oven. The inside’s chewy, the outside’s perfectly crisp, and you get those classic bakery vibes at home. Thanks to your Dutch oven, you’ll end up with that pro-level crunchy shell every time. I always lean on this whenever I want something filling next to a meal, or just want a warm, crusty chunk to snack on fresh from the oven.
Made this first to mark a cold, cozy weekend, but now I’ll throw it together for any hangout because friends can’t stop grabbing slice after slice.
Tasty Ingredients
- Water: Use warm water—about 105 to 115°F—to help that yeast wake up. Grab a food thermometer if you’re new at this
- Active dry yeast: This is what makes your bread puff up with big holes inside. Make sure it isn’t too old so it still works
- Salt: Can’t skip it—salt boosts flavor all through the dough. Fine sea salt gets sprinkled in really evenly
- Sugar: Just a pinch helps the yeast get started and leaves a tiny bit of sweetness. Granulated sugar works best here
- All-purpose flour: Keeps things nice and sturdy but not tough. For max flavor, get the unbleached type if you can
Easy Step-by-Step
- Cool and Store:
- Move the loaf to a rack once it’s baked. Wait until it’s all the way cool (no cheating—you don’t want it sticky inside) and stash it in a bag or box for as long as five days
- Score and Bake:
- Slice a few lines on top of the dough with a sharp blade. Drop the dough into your rip-roaring-hot Dutch oven (use the parchment to lift). Bake with the lid for 30 minutes, then pop it off and give it 10 more minutes. She’s done when golden, sounds hollow when you knock, and reads 210°F inside
- Preheat the Dutch Oven:
- Crank the oven up to 425°F and toss your Dutch oven (with its lid) inside for 20 minutes. You want it super hot for a killer crust
- Shape and Second Rise:
- Put the dough onto a flour-dusted board or paper. Gently roll it into a round ball, dust with flour, and cover with another bowl to rest for 30 minutes more. This gives you good air pockets inside
- First Rise:
- Plop the dough in a floured bowl. Tuck a towel on top and leave it on the counter for two hours—you want to see it really puff up
- Make the Dough:
- Pour in half your flour and all your salt to the yeast mix. Use a dough hook and keep it slow. Scoop in the rest of the flour little by little till it’s one sticky mess—don’t overmix! It should just barely come together
- Bloom the Yeast:
- Mix up yeast, warm water, and sugar in your mixer bowl. Let it chill for five minutes until it’s nice and foamy on top. That’s how you know the yeast is good to go
 Pin it
The crackle you hear when it cools is the best part. My family can’t even wait for it to cool—they’re grabbing pieces and slathering butter on while it’s still steamy and soft.
How To Keep It Fresh
Let your loaf cool before putting it in a bread box or leaving it in a paper bag so the crust stays snappy. Freeze extra slices wrapped up, then just pop them straight in the toaster or oven when you’re ready to eat. Skip the fridge—it makes the bread dry out too fast.
Swap It Up
Want extra chew? Try blending in some bread flour for half the all-purpose. Love herbs? Toss in some thyme or rosemary as you’re finishing the mixing part. Drizzling a bit of olive oil into your dough will keep the middle crazy soft.
Ways To Eat
This loaf’s best ripped up by hand, dipped in olive oil, and shared with friends. Smear it with some creamy French butter or layer on melty cheese. Slices make epic sandwiches, especially if you’ve got leftovers and some roasted veggies or ham to pile on.
 Pin it
Quick Story Time
People have baked bread in Dutch ovens for ages in French homes. The secret to that famous crunchy crust? The sealed lid—it locks in steam and helps you get that bubbly, airy inside and that wicked crackle when you break it open.
Frequently Asked Questions
- → How does the crunchy crust happen?
Heating up the Dutch oven first keeps the steam inside so you get that cracking, deep golden crust rustic French bread is famous for.
- → Is bread flour okay instead of all-purpose?
Definitely! Try bread flour to get a chewier bite and boost the gluten, if that's your thing.
- → How hot should water be for the yeast?
Keep it between 105–115°F (40–46°C) and your yeast will start working just right.
- → Why is the dough a little sticky before baking?
If it's a tad sticky, your loaf gets that big oven spring and a soft, airy inside that's so good. It helps with the bread's feel and texture.
- → What's the best way to keep the bread fresh?
After it's totally cool, stash it in something airtight and leave it on the counter. It'll be good for around five days.
- → Why score the top of the loaf?
Slashing the dough before it bakes helps it puff up nicely and look like classic bakery bread.