
 Pin it
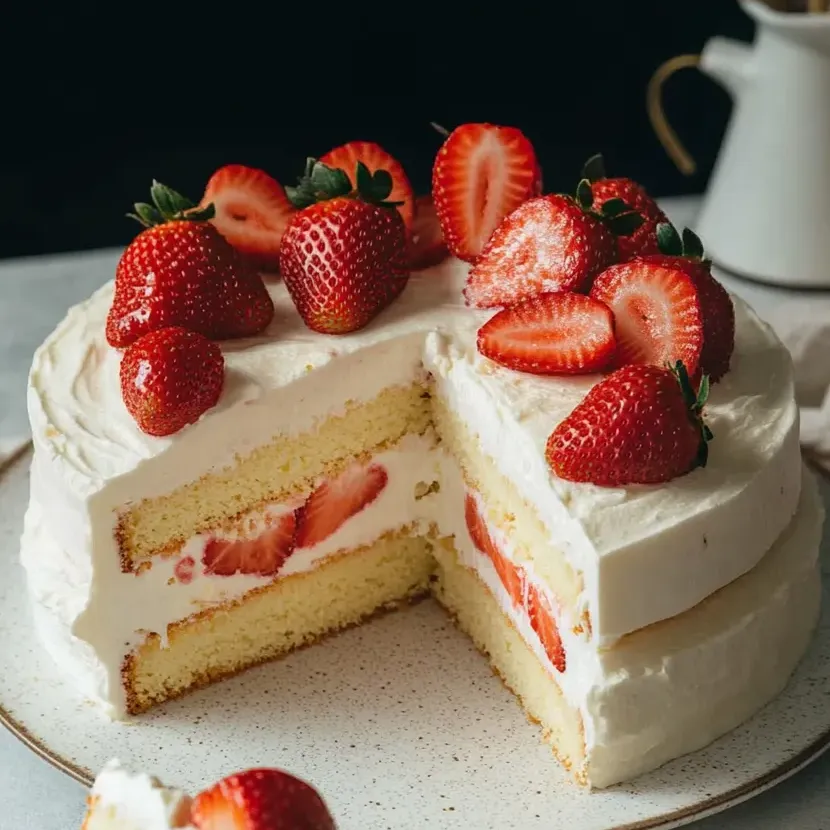
You’ll catch yourself craving this Japanese strawberry delight once you try those tender sponge layers and clouds of whipped cream hugging sweet strawberries. This is our go-to centerpiece at gatherings. Family crowds the kitchen once they know this is on the table. Ever since I learned the secret of baking the sponge gently with steam, it’s now the first thing requested for birthdays and spring get-togethers.
Irresistible Ingredients
- Powdered gelatin: You can use this if you want your whipped cream to keep its shape longer—pick an unflavored one
- Granulated sugar: Coats your berry slices so they turn syrupy and glossy
- Cake flour: The trick to that feathery tender texture—try a soft wheat kind, or sift regular flour if you need to
- Whole milk: Adds a little richness and keeps the crumb extra soft—grab whole, not skim
- Unsalted butter: For that pure milky kick, make sure it’s softened
- Heavy cream: This makes the whipped topping—use the coldest you can and go with at least thirty-six percent fat for the best fluff
- Caster sugar: This superfine sugar blends in quickly for an even taste—buzz regular sugar in a processor if you’re out
- Cold water: Used with gelatin so your cream holds up, but skip if you’re not using gelatin
- Confectioners sugar: Sifts right into your cream and dissolves fast—no lumps to fuss with
- Fresh strawberries: Pick ones that are firm and smell amazing—the fragrance tells you they’re ready
- Large eggs: Use both the whites and yolks—they help the sponge puff and hold together. Fresh ones whisk up best
- Sugar and hot water: These make the drizzle that keeps your layers super moist—add some strawberry juice for a flavor boost
Foolproof Step by Step Directions
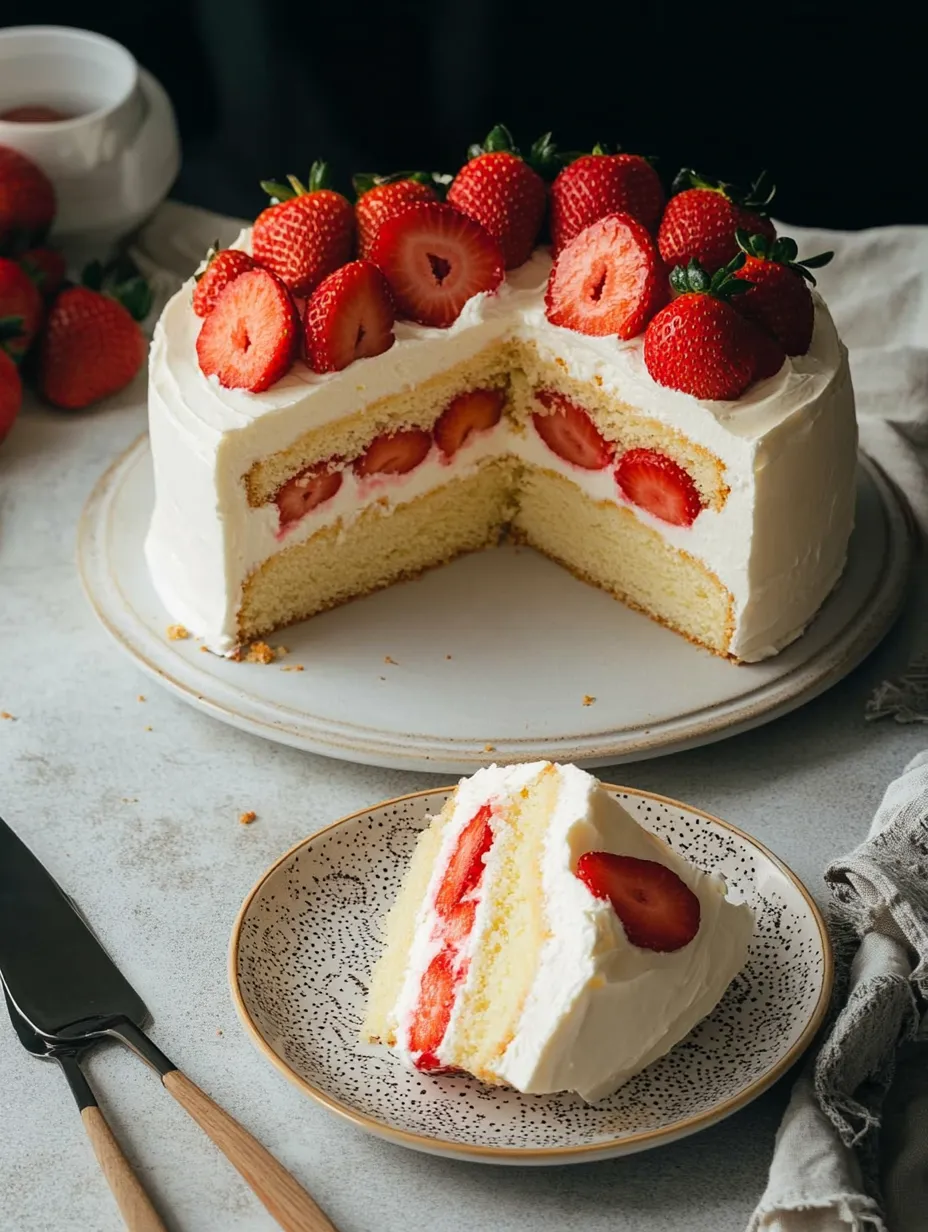
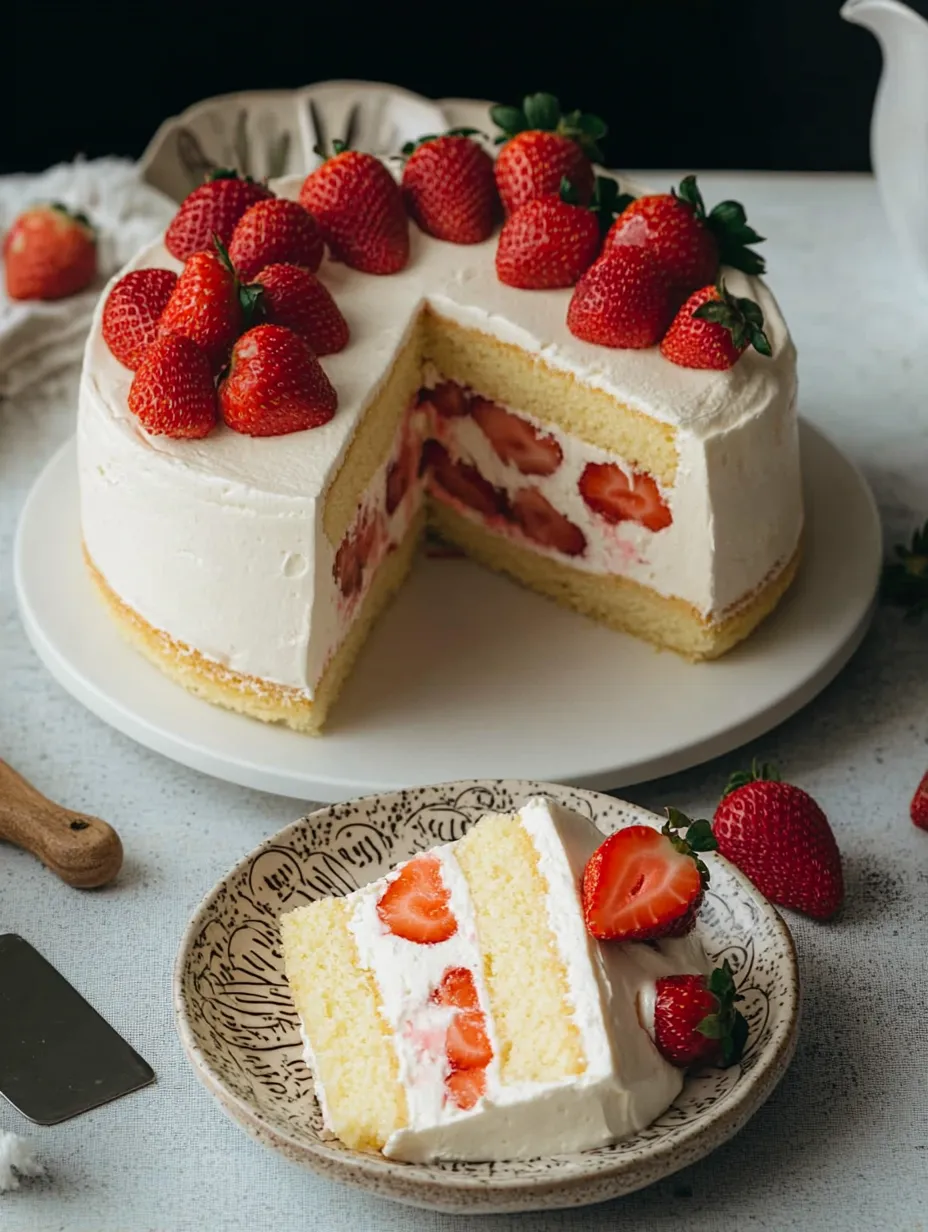
- Slice and Serve:
- To cut, use a serrated knife so you get clean slices. Set out at room temp for about an hour after chilling if you want a softer texture before you dig in.
- Chill and Set:
- If you’ve gone for stabilized cream, give the whole cake at least half an hour in the fridge, uncovered, so it firms up. With classic cream, you’ll want to slice and serve within a few hours for the best taste and look.
- Frost and Decorate:
- Smooth whipped cream over the whole cake and around the edges. You can swirl or pipe borders if you’re feeling fancy. Top it all with extra whole or halved berries for that wow finish.
- Fill and Stack:
- Level off the cooled sponge and cut it in half. Brush syrup over both of the exposed sides. Place the bottom layer down, slather over a good amount of cream, and spread macerated strawberries on top. Add a little more cream, then line up the second layer over everything.
- Make Whipped Cream or Stabilize if Needed:
- For firmer cream, let gelatin soak in cold water for five minutes, then gently warm until it’s clear. Whip the cooled heavy cream with sifted confectioners sugar just until soft peaks form. If you're using the gelatin, whisk in a spoonful of your whipped cream to help it mix, then blend it back in and finish whipping until you’ve got soft peaks. With regular cream, whip until it’s thick and holds its shape, but don’t overdo it or it’ll get grainy.
- Mix Syrup:
- Combine sugar with hot water, making sure it dissolves fully. Stir in any leftover strawberry syrup for a fruity kick if you’re up for it.
- Macerate Strawberries:
- Trim the tops and cut up about eight ounces of strawberries, slices about a quarter inch thick. Toss them with granulated sugar and let them soak up the sweetness for up to two hours. Stir them once in a while, then save the syrupy juice.
- Unmold and Cool:
- Once it’s cooked through, gently loosen the edges with a skinny knife, flip onto a rack, and let it cool off completely before you try to cut or finish it.
- Bake the Cake:
- Pour the batter into your lined pan and tap it twice to knock out bubbles. Nestle it in the water bath and pour in hot water so it comes about an inch up the side. Bake for an hour and a half until a poked skewer comes out clean and the cake shrinks from the pan.
- Combine Batters:
- Take a quarter of your whisked egg whites and gently fold it into the yolk-flour mixture to make it lighter. Then pour that back over the rest of your whites and carefully fold everything together until it’s all mixed. Don’t squish all the air bubbles.
- Whip Egg Whites:
- Drop egg whites in a spotless dry bowl and whisk them up at medium high speed until you see bubbles. Add caster sugar a bit at a time and beat until you get shiny peaks that stand and curl when you lift the beater.
- Mix Wet Base:
- In a heat-safe bowl, melt milk and butter just until they’re mixed, not hot. Sift in cake flour and fold with a spatula until you can’t see any more flour. Toss in egg yolks and stir gently until it’s all one pale color.
- Prepare Water Bath:
- Grab a big deep dish for your water bath and fill with boiling water so it’ll reach about an inch up the sides once your pan is in. If you’re using a springform, wrap the base snugly with foil to keep water out.
- Line and Preheat:
- Line an eight-inch round cake pan with parchment and preheat the oven to 325 degrees Fahrenheit to get everything ready for action.
 Pin it
This sponge turns out much fluffier and less rich than a standard genoise. Your cake will be fine in the fridge for two days if you use stabilized cream. Freezing single wrapped slices works great, just thaw right in the fridge without a cover. My daughter and I can’t help but sneak a scoop of the whipped cream while we make it. It always makes us smile and fills the kitchen with fun.
Storing It Right
After frosting, stash your cake in the fridge. Make sure it’s covered loosely with some plastic wrap so the cream stays fresh for up to two days. If you cut a slice, press parchment against the exposed cake to keep it from drying out between nibbles.
Swaps for Ingredients
No cake flour? Use plain flour—just sift it well and take out two tablespoons per cup to make it lighter. For a dairy free spin, use coconut cream for the topping and plant milk in the sponge. When strawberries aren’t happening, swap in thin peach or kiwi slices for pretty pops of color.
 Pin it
How to Serve
Let guests dig in solo, or serve more macerated fruit alongside a slice for bonus freshness. If you want that café feel, pair it up with icy matcha tea. For a party, toss on a mix of berries and dust with even more confectioners sugar to make it extra special.
Backstory and Culture
Japanese strawberry shortcake made its mark as a celebratory western-style treat in Japan way back in the early 1900s. Using whipped cream instead of the usual buttercream keeps it so much lighter and less filling. My family loves chatting about all the different versions around Asia while we enjoy this for holidays and birthday dinners.
Frequently Asked Questions
- → Why bake this cake in water?
Baking in a water bath means slow, steady heat so your cake stays super soft and doesn't brown too much.
- → How do I keep the cream nice and thick?
Adding a pinch of gelatin to your cream lets it hold up longer, which is clutch if you need the cake to last.
- → How do I get strawberries all juicy?
Mix sliced strawberries with some sugar, chill them for an hour or two, and you'll get soft, tasty fruit with lots of syrup.
- → Tips for slicing without making a mess?
After chilling the whole cake for about half an hour, use a sharp bread knife to get tidy slices without smashing it.
- → Is cake flour a must?
Cake flour makes it extra tender, but if you’re out, swap out two tablespoons of each cup of all-purpose flour for cornstarch.
- → Should I use all the syrup?
Just brush some syrup on each layer till it's barely moist. You can always add more, but don't drown it.