
 Pin it
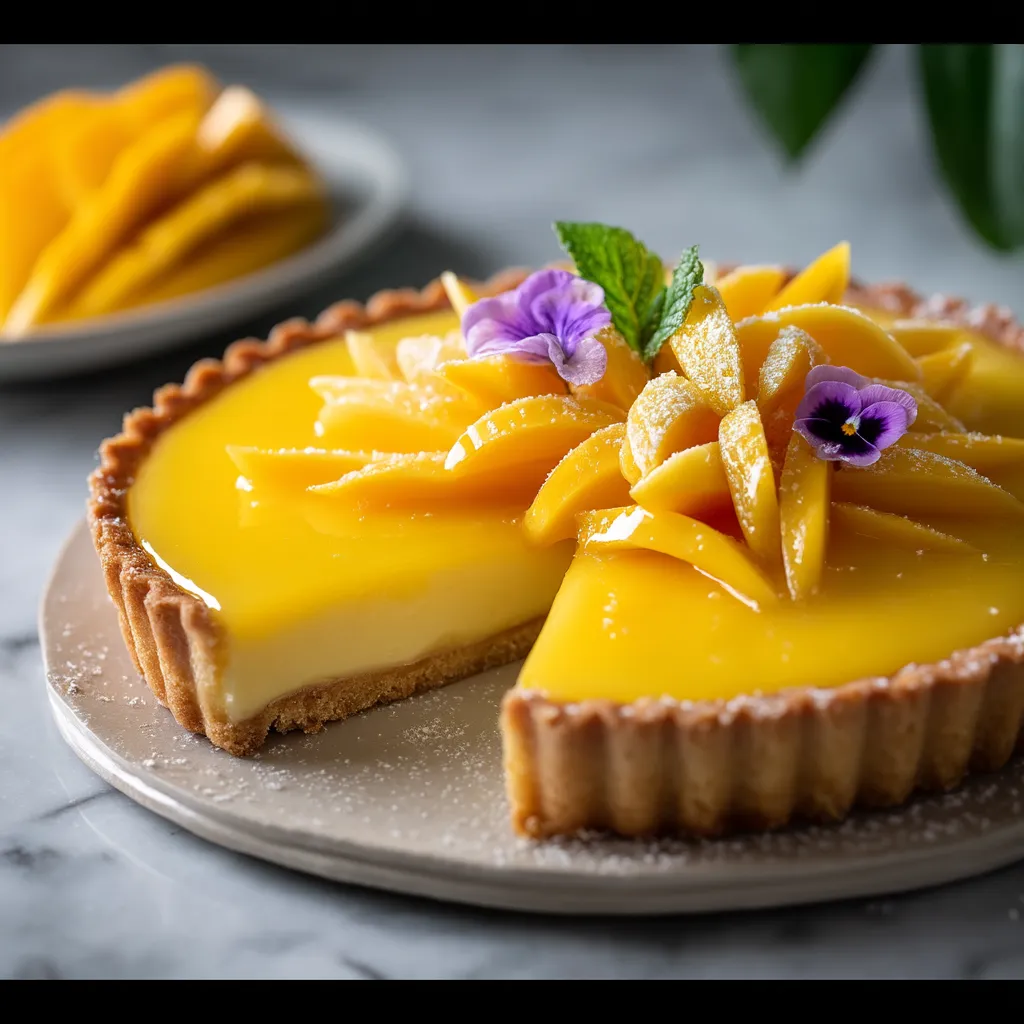
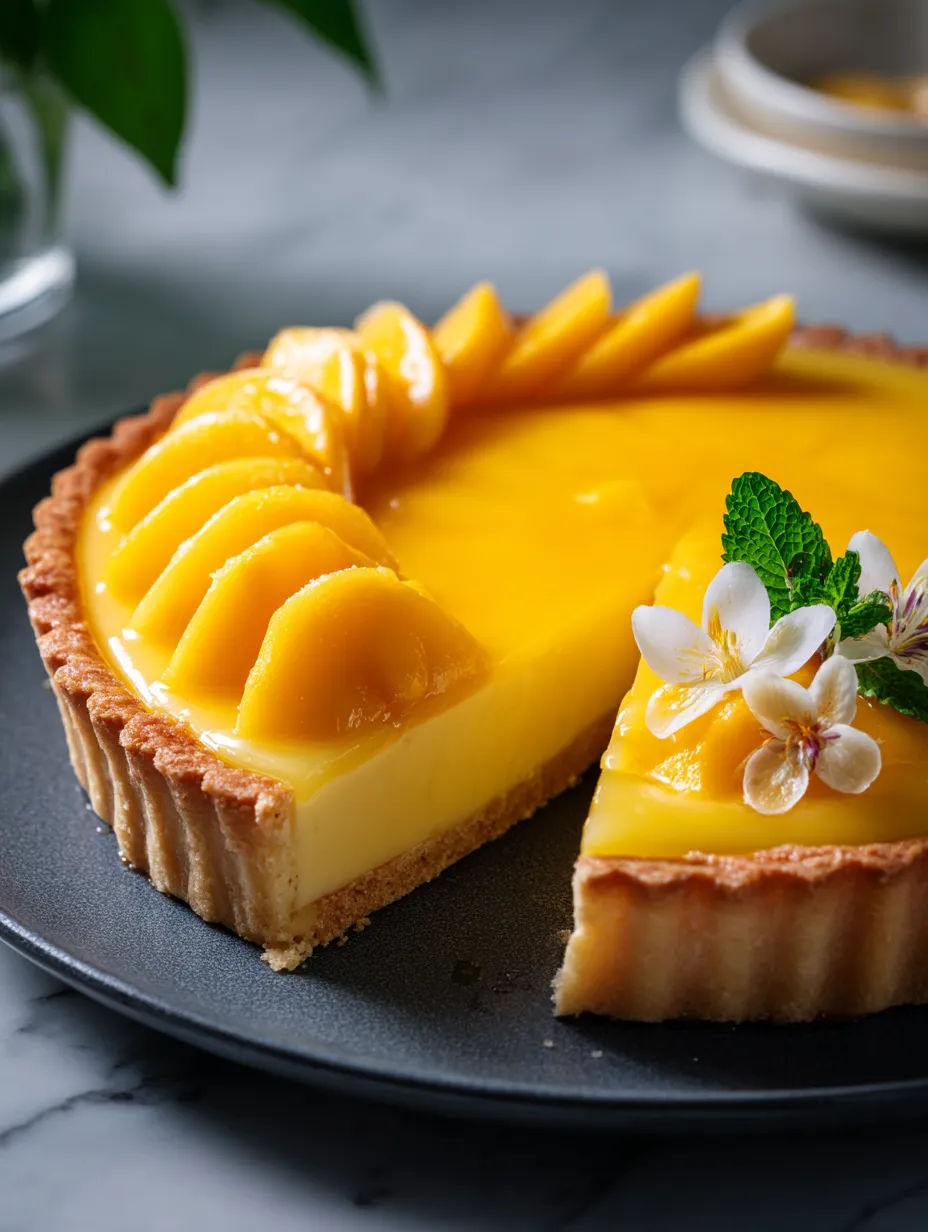
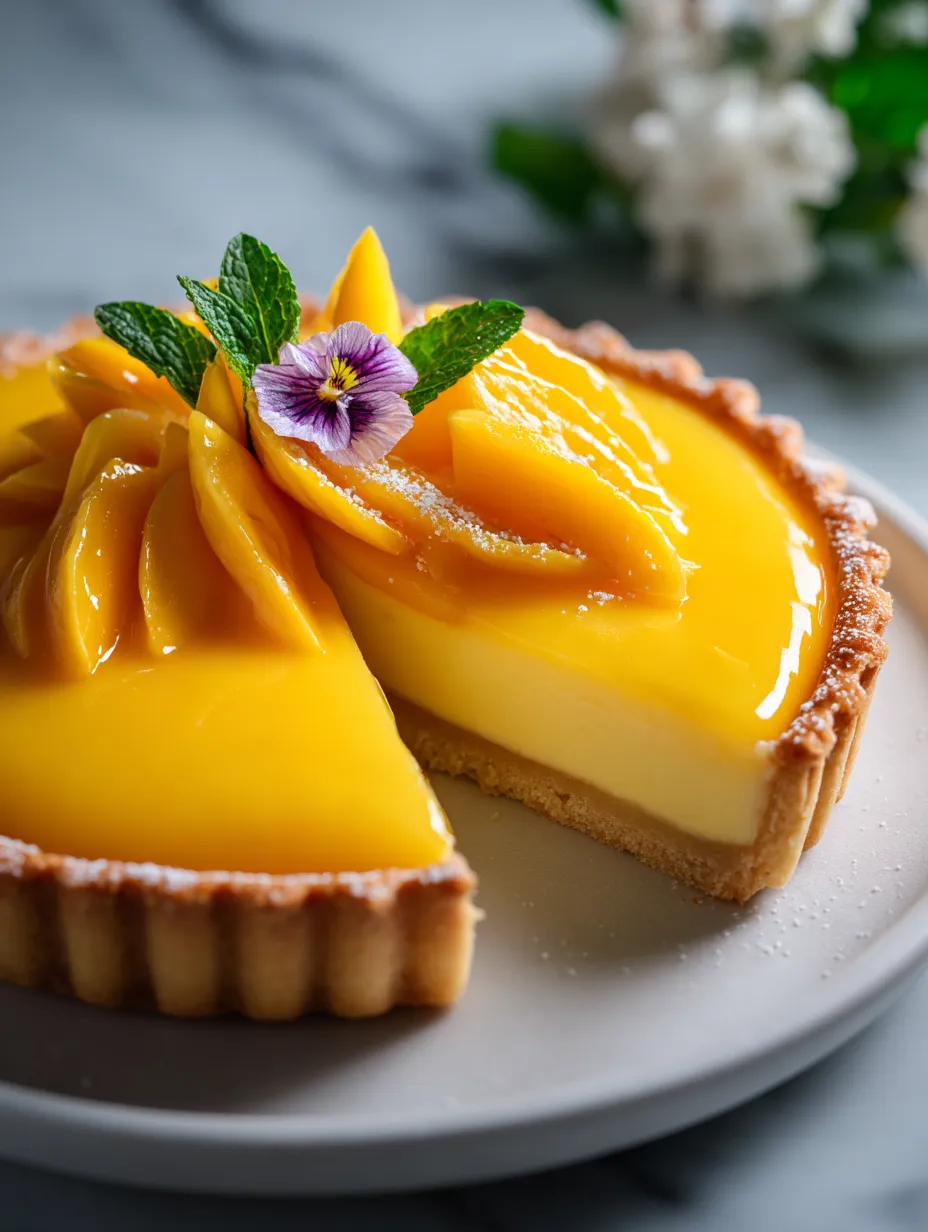
This bright island-inspired mango curd tart adds some vacation vibes to your dining experience with its bold yellow color and zingy taste. When tangy mango curd sits inside a crunchy coconut graham base, you get that perfect mix of sweet and zesty that'll make you feel like you're lounging on a beach somewhere with every mouthful.
I created this tart for a backyard get-together when I was tired of serving the usual strawberry desserts. The tropical taste was such a winner that friends now always ask for it whenever they come over for dinner.
Ingredients
- Graham cracker crumbs: create that wonderful crumbly foundation that gives the right texture
- Brown sugar: brings a warm, molasses flavor that works really well with mango
- Toasted coconut: adds that island feel and nice bit of crunch to the base
- Canned mango puree: gives reliable flavor year-round try Kesar type for the strongest mango punch
- Fresh lime zest and juice: cut through the sweetness with some tangy zip
- Egg yolks: make the filling incredibly smooth and rich
- Unsalted butter: adds depth and richness to both crust and filling
Step-by-Step Instructions
- Prepare the crust:
- Mix up the graham crumbs with your toasted coconut brown sugar and salt in a big bowl. Don't skip the salt—it makes the coconut flavor pop and keeps things from being too sweet. Pour the melted butter in and stir until everything looks damp and clumps when you squeeze it.
- Form the perfect shell:
- Push the mix firmly into your tart pan starting in the middle and working your way out and up the sides. A measuring cup bottom works great for getting a smooth, packed crust. The harder you press, the better your crust will hold together when you cut it later.
- Pre bake for stability:
- Pop the crust in a 350°F oven for just 10 minutes until it smells good and looks slightly golden. This quick bake sets it up without making it too brown since it'll go back in the oven later with the filling.
- Create the mango curd:
- Stir together your mango puree lime zest juice vanilla sugar salt and egg yolks in a heatproof bowl until everything's mixed well. It'll look kind of frothy and bright orange. Set it over the simmering water but don't let the bowl touch the water.
- Master the water bath technique:
- Keep stirring with a silicone spatula or wooden spoon and don't forget to scrape the bottom and sides. This keeps the eggs from cooking too fast in spots. You'll need about 20 minutes of patience here. You'll know it's done when you can coat the back of a spoon and run your finger through it leaving a clear path.
- Incorporate the butter:
- Take it off the heat once it's thick and drop in butter one spoon at a time mixing until each chunk disappears completely. This step makes your curd all shiny and smooth.
- Bake to perfection:
- Pour your curd into the half-baked crust and smooth the top flat. Bake at a cooler 325°F for 15 to 17 minutes. The edges should look set but the middle should still wobble a little bit like jello.
 Pin it
Kesar mango pulp is my hidden trick in this dessert. I tried lots of different kinds before landing on this one because it gives the strongest mango taste and that gorgeous yellow color that makes everyone say wow. Now my kids want this tart for every summer celebration we have.
Storing Your Tart
Your finished tart will stay good in the fridge for about three days if you cover it loosely with plastic wrap. The bottom stays crisp and the filling doesn't get watery. If you want it to look its best, wait to add any toppings like meringue or fresh fruit until right before you serve it.
Seasonal Variations
While you can grab canned mango puree anytime, you can switch things up with the seasons too. Try mixing in some passion fruit for part of the mango or top with fresh berries in summer. In the colder months, sprinkle some toasted coconut flakes and chopped dried mango on top to bring some sunshine to your table.
Serving Suggestions
This tart tastes best when it's cool but not straight-from-the-fridge cold. Letting it warm up a bit really brings out the mango flavor. A small spoonful of barely sweetened whipped cream on the side gives you a nice cool contrast that works really well.
The Science Behind Perfect Curd
Getting that silky smooth mango curd happens because of slow, gentle cooking. The low heat thickens those egg yolks without turning them into scrambled eggs, and the lime juice helps everything set up right. When you add butter at the end, you're making a fancy mixture that gives the curd that glossy look and smooth feel in your mouth.
 Pin it
Frequently Asked Questions
- → Which mango works best for the filling?
Kesar mango pulp is ideal here because of its smooth texture and bold flavor. Usually, it comes canned and can be found in Indian grocery stores or online. If unavailable, substitute with Alphonso pulp or blend fresh, ripe mangoes instead.
- → Can this tart be prepared ahead?
Definitely! It's a great dessert to prepare in advance. The tart needs a minimum of 4 hours to chill but can stay in the fridge overnight. Save the garnishes for the moment you’re ready to serve. Without meringue, it’ll keep fresh in the refrigerator for up to 3 days.
- → How do I know the curd has thickened enough?
You’ll see it’s just right when it clings to a spoon evenly and leaves a sharp line if you run your finger down it. This usually takes roughly 20 minutes of consistent stirring on low heat. It will also firm up further when it cools in the tart shell.
- → Can I skip the coconut part of the crust?
Sure! To keep it simple, swap the coconut for extra graham cracker crumbs (½ cup) and proceed with the steps. The flavor won’t be as tropical but will still taste wonderful.
- → Is the meringue absolutely necessary?
Nope, you can skip it if you'd like. It just adds a nice decorative and creamy touch. If you prefer, go with whipped cream, powdered sugar, or just some fresh mango, lime, and coconut as an alternative.
- → What if the filling isn’t setting?
If it’s still runny, it’s likely the curd needed more heat during cooking. Make sure the egg yolks cook enough to thicken. Also bake it fully for 15-17 minutes and don’t skip the chilling time—at least 4 hours—for it to firm up properly.