
 Pin it
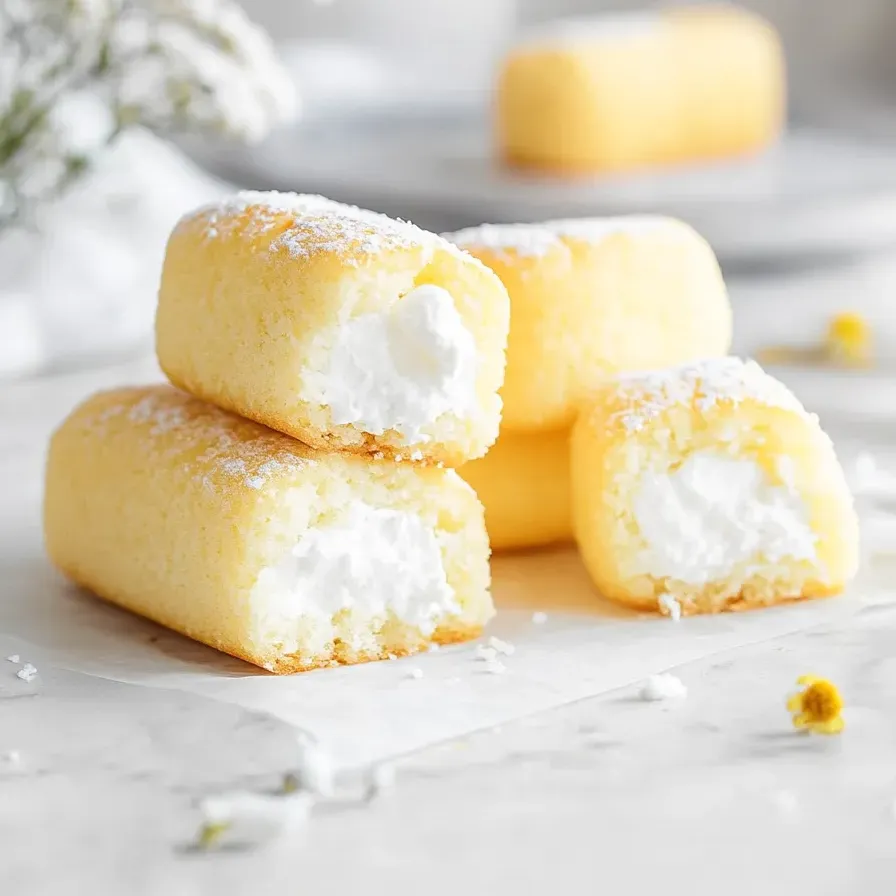
Soft golden vanilla cakes loaded with fluffy meringue filling will give you all the lunchbox magic but with way more delicious flavor. When you bake your own classic Twinkie-style treats, you’re in charge—they’ll taste fresher and come out even lighter than the ones from the store.
My first batch made my whole house smell like sweet vanilla sugar. Before I even finished filling them, my kids grabbed bites. Now they ask for these for every birthday—it’s become a yearly tradition.
Effortless Ingredients
- Baking powder: Makes sure your cakes get that perfect light and fluffy lift
- Large eggs: Let eggs warm up to room temp—they help the cake hold its shape and bake up higher Use fresh ones for best results
- Salt: Brings the flavors together and tames the sugar A pinch of fine sea salt spreads out best
- Whole milk: Adds moisture and a soft bite Go for whole milk to keep things tender
- Vegetable oil: Makes sure your cakes don’t dry out and stay soft for days Any mild-flavored oil like canola will work
- Cake flour: Sift it well for that impossibly light texture Pick a good brand and get rid of lumps before mixing
- Vanilla extract: Real vanilla lights up the flavor Skip the fake stuff if you can
- Granulated sugar: Needed in both the cake and filling Fine sugar blends best for smooth batters and the shiny, fluffy filling
- Egg whites: Needed just for the filling Make sure not a drop of yolk sneaks in, and use at room temperature for the best-whipped meringue
- Granulated sugar: Same sugar again for the meringue, helps get that pillowy finish See above for sugar tips
- Water: Needed in the filling so the sugar melts right Use clean water to avoid any odd tastes
Step-by-Step Directions
- Fill the Cakes:
- Flip your cakes upside down Take your piping tip and gently push it into three spots on the base of each Squeeze in the filling until just full—don’t go overboard
- Prep to Fill:
- Fill up a piping bag (or a zip-top bag snipped at the corner) with the cooled marshmallow Whip if you’ve got no fancier tools handy
- Mix Sugar Syrup with Whites:
- With your mixer going, slowly pour that hot sugar syrup right into the whipped whites Keep mixing until you’ve got a thick, shiny filling that cools to the touch That’s your marshmallow layer
- Cook Up Sugar Syrup:
- Set sugar and water in a small pot Stir gently over low heat until dissolved, then let it simmer on medium until it hits about 119-121°C Take it off the heat
- Whip Egg Whites for Filling:
- Whip egg whites on high with super-clean beaters Beat until they’re stiff and fluffy
- Let Cakes Cool:
- After baking, cool cakes fully on a rack or clean surface So they don’t fall apart when moving or filling
- Bake Cakes:
- Pour batter in the pans—aim for two-thirds full Pop them in the oven center rack for 15-20 minutes Toothpick should come out clean
- Combine to Make Batter:
- Pour the wet mix into dry Whisk just enough to blend—don’t overdo it or the cakes will turn tough The batter should be smooth without lumps
- Mix the Wet Ingredients:
- In another bowl, whisk together vanilla, oil, milk, and eggs until creamy
- Mix the Dry Ingredients:
- Blend sifted cake flour, sugar, salt, and baking powder together using a whisk Get everything even
- Prep the Pan:
- Coat Twinkie pans all over with baking spray and set aside so nothing sticks after baking
 Pin it
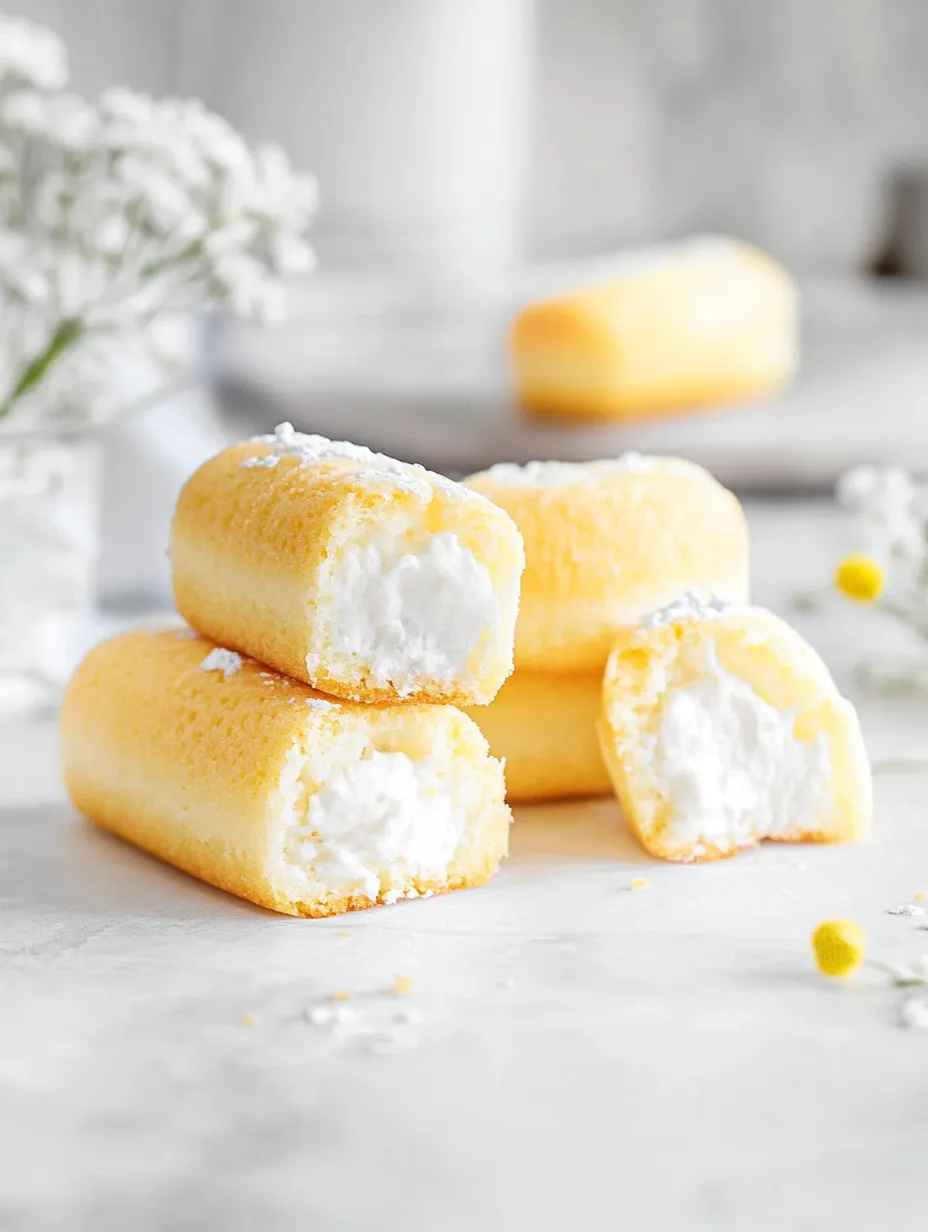
Whenever I use real vanilla in the filling, it reminds me of that first summer picnic with my family. My little brother devoured two before lunch was even set out—now he asks for them every time he comes over.
Keep Them Fresh
Keep these cakes sealed up in a container on the counter for up to three days. If you want them to last longer, stash in the fridge—just bring them back to room temp before munching. The meringue filling is lightest if you don’t refrigerate too long
Try These Swaps
All out of cake flour? Just scoop out two tablespoons per cup of regular flour and sprinkle that much cornstarch back in. Quick swap for filling: use marshmallow fluff from the store. Or go for whipped cream for an extra airy treat
How to Serve
Perfect in lunch bags after school birthday tables or just sneaking as a snack. Try topping with extra powdered sugar or your favorite fresh berries. Sometimes I split them and pile in fruit and cream for a sunshine-y brunch idea
 Pin it
Fun Backstory
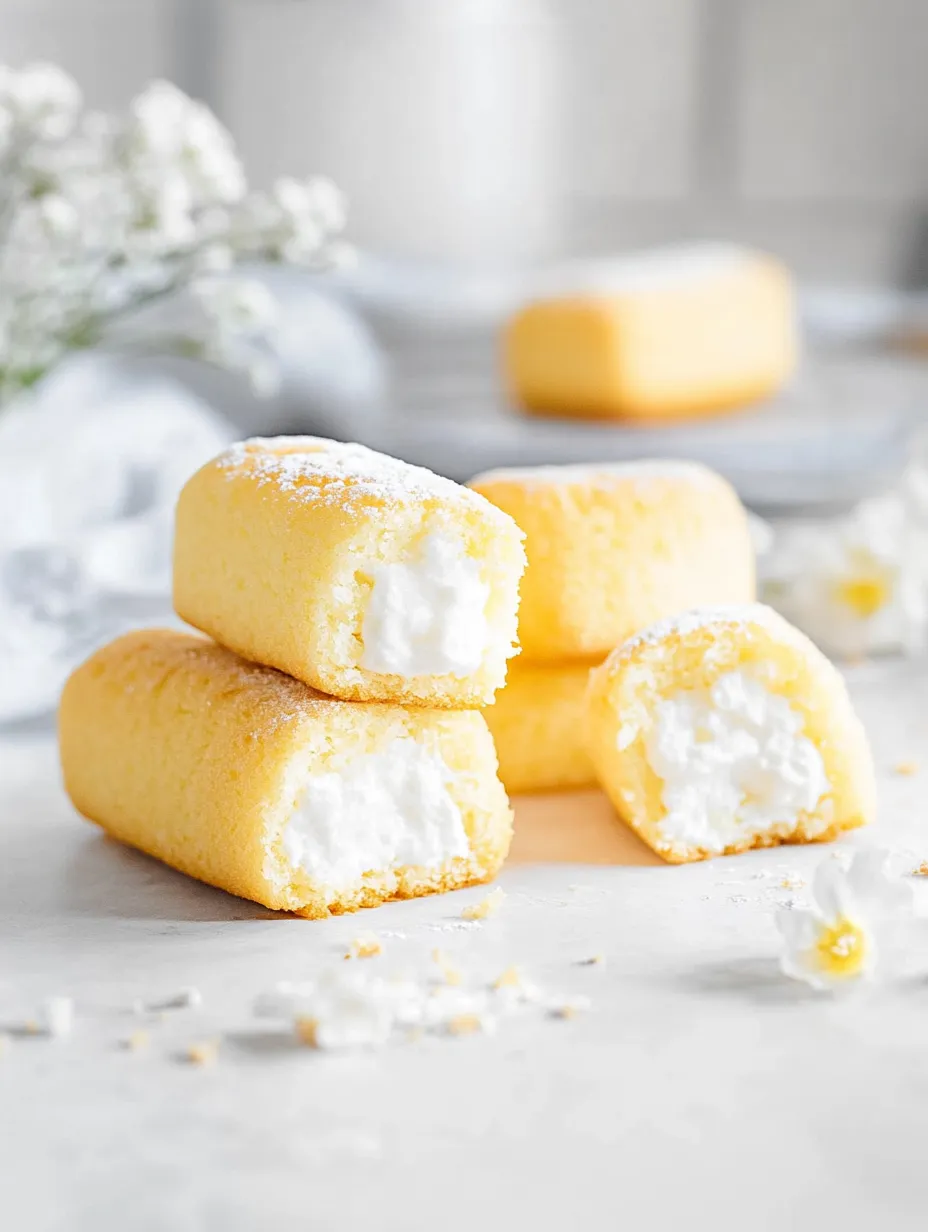
This snack hit it big in the US for its soft, yellow cake and creamy vanilla inside. You’ll taste those throwback vibes with every bite, but homemade versions feel fresher and way more flavorful. It’s a great one to bake with family—the filling part is the best
Frequently Asked Questions
- → Why are these cakes so pillowy?
Using cake flour and getting those eggs nice and whipped keeps everything super soft and airy.
- → Can I swap out the meringue center?
Sure! You can try marshmallow fluff if you want, it’ll give you a creamy inside too.
- → How can I tell when they’re baked through?
If a toothpick comes out clean and the tops look golden, you’re good to go.
- → What if I don't have a piping bag for the center?
No worries, just use a plastic zip bag and cut the corner off to pipe in the filling.
- → Why’s it so important to keep yolk out of the whites?
Any little bit of yolk can mess up your meringue, so make sure the whites are totally clean for stiff peaks.
- → Can I get by with all-purpose flour instead?
You can! Just mix some cornstarch in and you'll have a pretty good cake flour stand-in for that tender bite.