
 Pin it
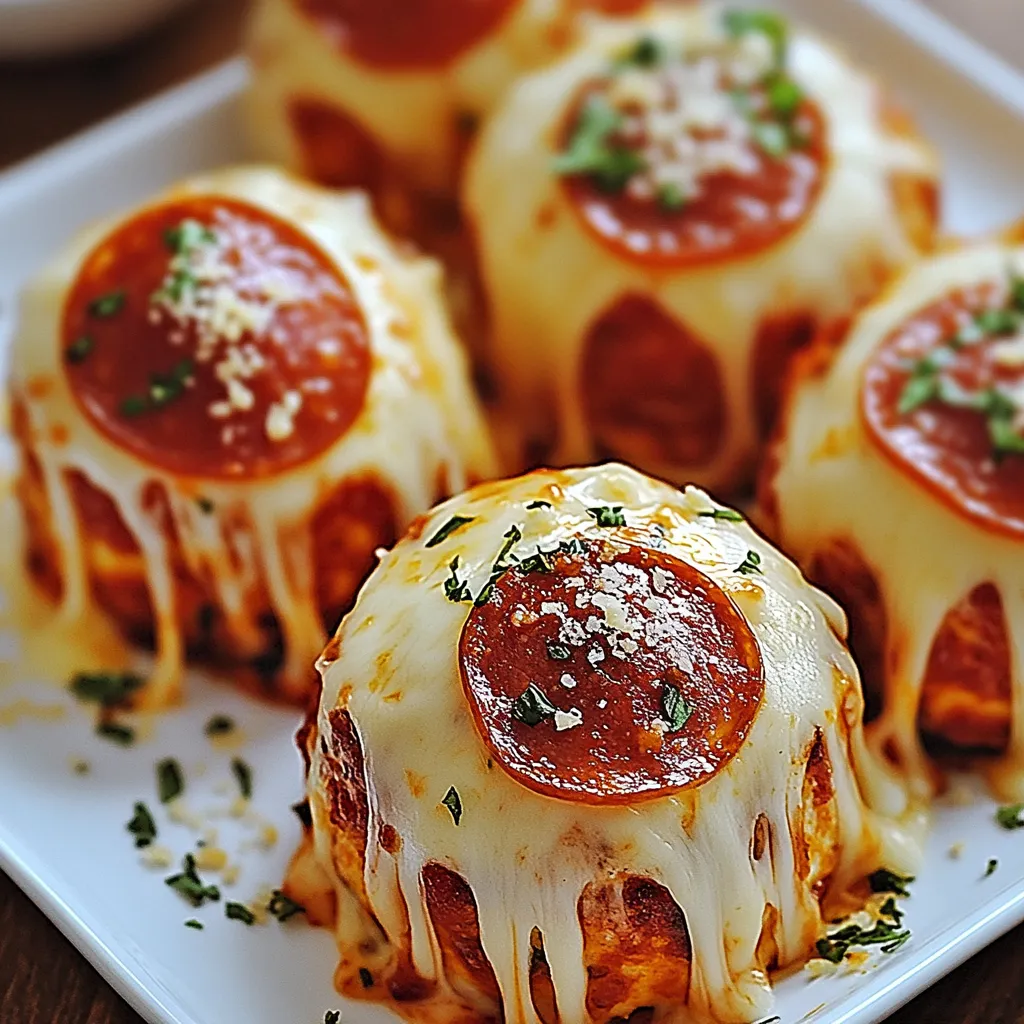
Cheesy Pepperoni Pizza Bombs transform classic pizza flavors into irresistible, golden-brown bundles of joy. These handheld delights pack all the charm of your favorite pizzeria into perfect little pockets of melted cheese, savory pepperoni, and Italian seasonings. After discovering this recipe during a family game night, these bombs have become our go-to crowd pleaser, disappearing faster than I can make them.
Last weekend, I made these for my nephew's basketball team celebration. The moment these golden bombs emerged from the oven, the kitchen was swarmed with hungry teenagers. Their faces lit up with each cheese-filled bite, and I knew I'd found my signature party dish.
Essential Ingredients Guide
- Pizza dough (homemade or store-bought): Creates that perfect chewy exterior that seals in all the goodness
- Mozzarella cheese blocks: Fresh-cut cubes melt better than shredded, creating irresistible cheese pulls
- Pepperoni: Choose regular-sized slices for easy folding and maximum flavor coverage
- Pizza sauce: Keep it slightly thicker than normal to prevent leaks during baking
- Italian seasoning: A blend of dried herbs elevates the classic pizza flavor
Creating Your Pizza Bombs
- Prepare The Foundation:
- Roll your dough to perfect thickness, aiming for that sweet spot between too thin and too thick. Cut into even squares, giving yourself plenty of room to wrap the filling.
- Build The Flavor:
- Layer pepperoni and cheese in the center of each square, adding just enough pizza sauce to enhance without overwhelming.
- Seal With Care:
- Work the dough edges up and around your filling, pinching firmly to create an airtight seal. Each fold matters - think of it as wrapping a tiny present filled with cheesy treasure.
- Crown Your Creation:
- Brush each bomb generously with garlic butter, sprinkle with parmesan, and watch them transform into golden masterpieces in your oven.
When I first started making these bombs, I struggled with cheese explosions until discovering the perfect cube size. Now my teenagers gather in the kitchen just to watch that first cheese pull when they break one open.
Perfect Pairings
Create an Italian feast by serving these bombs alongside a fresh Caesar salad drizzled with homemade dressing. For casual gatherings, I set up a dipping station with warm marinara, ranch, and garlic butter. During movie nights, we love pairing them with crispy zucchini fries and a selection of Italian sodas.
Make It Your Own
Transform these bombs into personal pizza pockets by switching up the fillings. Try buffalo chicken with blue cheese, spinach and feta for a Mediterranean twist, or load them with sautéed mushrooms and Swiss for an earthy variation. My daughter's favorite combines BBQ chicken with caramelized onions and smoked gouda.
Keep Them Fresh
Store any leftover bombs in an airtight container. They stay delicious for up to three days in your refrigerator. For the best reheating results, pop them in a 350°F oven for 8-10 minutes - this restores their crispy exterior while keeping the inside perfectly melty.
After countless pizza nights and party celebrations, these bombs have become more than just another recipe in my collection. They represent those precious moments when family and friends gather around the kitchen, eagerly waiting for the next batch to emerge from the oven. Every time I make them, I'm reminded that the best recipes are the ones that bring people together, creating memories one cheesy bite at a time.
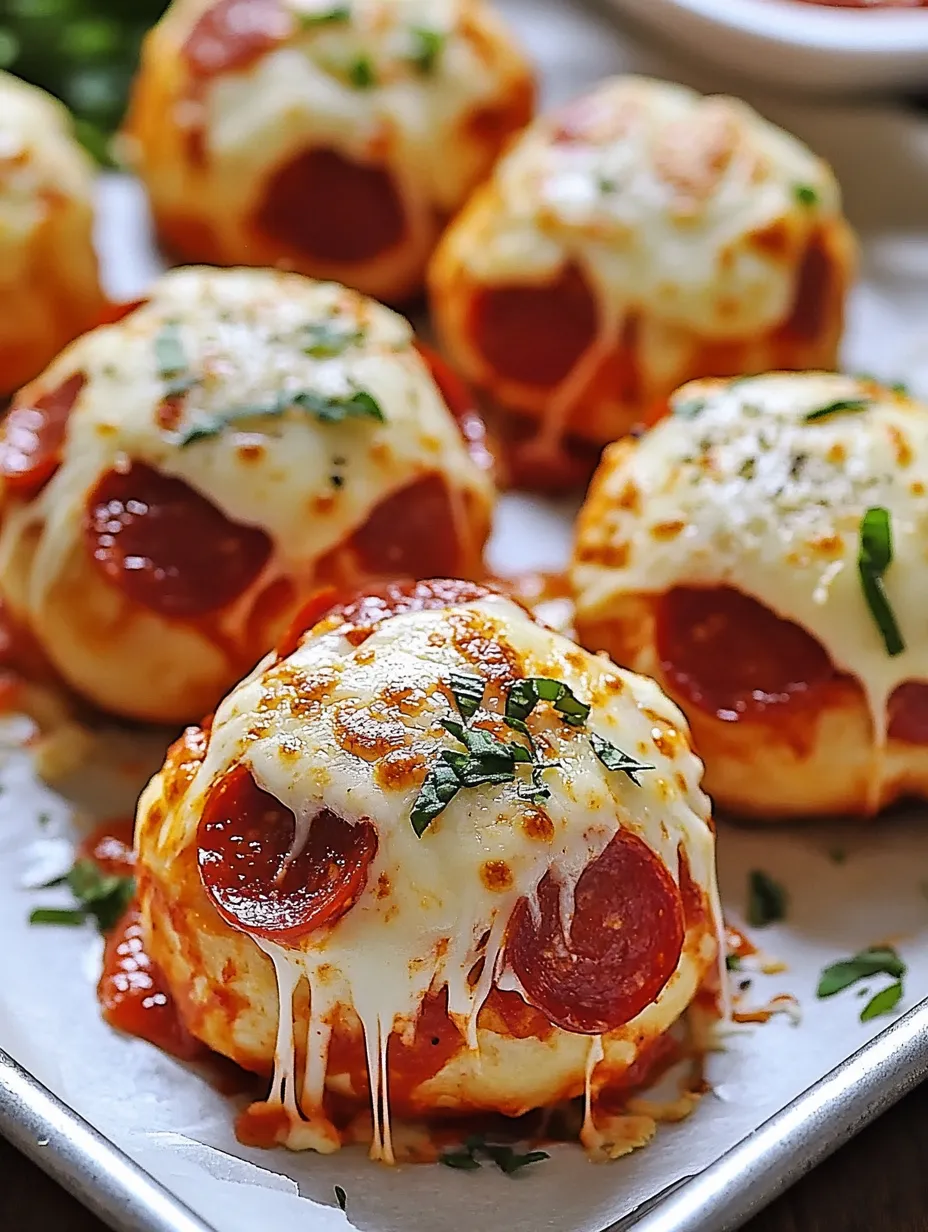
Temperature Mastery
Understanding the nuances of baking temperature elevates these bombs from good to exceptional. Begin with a preheated 375°F oven - any hotter and the outside browns before the center melts, any cooler and you lose that perfect crispy exterior. Position your rack in the middle of the oven where heat circulates most evenly. I've learned through trial and error that rotating the pan halfway through baking ensures uniform golden-brown perfection.
 Pin it
Dough Management
Working with pizza dough requires a gentle touch and proper timing. After bringing it to room temperature, dust your work surface lightly with flour - just enough to prevent sticking without drying out the dough. When rolling, use steady, even pressure to maintain consistent thickness. If the dough springs back too much, let it rest for five minutes before trying again.
Filling Strategy
Layer your ingredients strategically for the best flavor in every bite. Start with a small piece of pepperoni, followed by the cheese cube, then another pepperoni. This creates a protective barrier that helps prevent the cheese from escaping during baking. Keep fillings centered and resist the urge to overfill - remember, these are bombs, not grenades!
Sealing Secrets
The art of sealing these bombs perfectly comes down to technique. Gather the dough edges up like a drawstring purse, pinching firmly to create a tight seal. Then, give the sealed bomb a gentle roll between your palms to ensure even shape and reinforce the seal. Place them seam-side down on your baking sheet for extra security.
Make-Ahead Magic
These bombs are perfect for preparing in advance. Assemble them up to 24 hours before baking, arranging them on a parchment-lined baking sheet and covering with plastic wrap. When ready to bake, simply remove from the refrigerator 30 minutes before baking to take the chill off. You can even freeze the unbaked bombs for up to three months - just add a few extra minutes to the baking time.
Party Planning Tips
When serving these at parties, I've learned to stagger the baking. Rather than making all at once, I prepare several batches and bake them in shifts. This ensures everyone gets to experience that magical moment of biting into a warm, cheese-filled bomb. Keep the first batches warm in a low-temperature oven while the others bake.
 Pin it
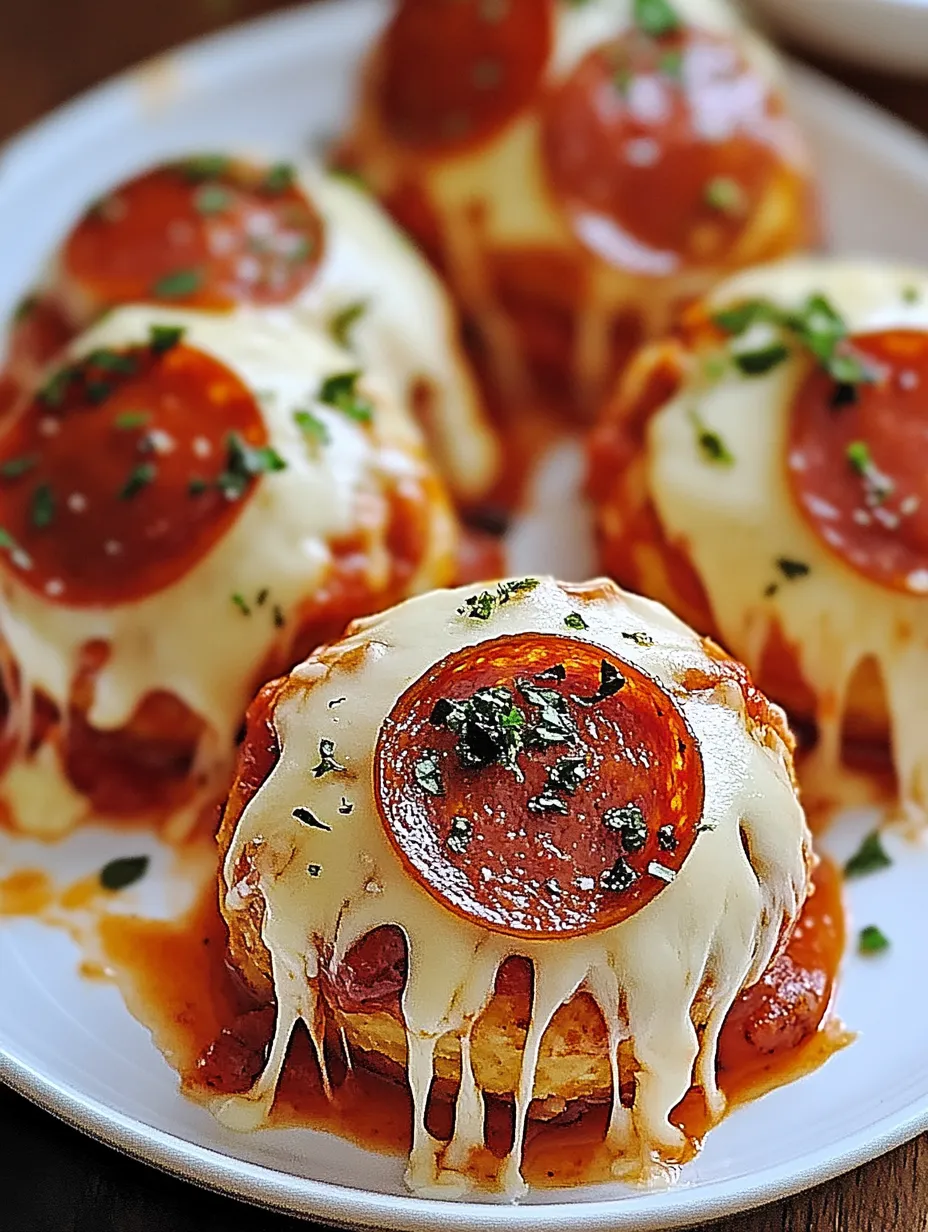
Professional-Level Presentation
Elevate your presentation by arranging the bombs in a spiral pattern on a round serving platter, creating a pizza wheel effect. Garnish with fresh basil leaves and provide small ramekins of warmed dipping sauces in the center. A light dusting of grated parmesan and a sprinkle of red pepper flakes adds that final touch of pizzeria authenticity.
The beauty of these pizza bombs lies in their ability to bring smiles to faces and warmth to gatherings. Through countless batches and many happy moments, they've proven themselves to be more than just a recipe - they're a vehicle for creating joy and bringing people together, one cheesy, perfect bite at a time.
Frequently Asked Questions
- → Can I make these pizza bombs ahead of time?
- Yes, you can prepare them ahead and reheat in a 350°F oven for 5-7 minutes until warm and cheese is melted.
- → How do I prevent the cheese from leaking?
- Make sure to pinch and seal the dough edges completely, and place the bombs seam-side down on the baking sheet.
- → Can I use different fillings?
- Absolutely! Try other pizza toppings like mushrooms, bell peppers, or cooked sausage.
- → What's the best cheese to use?
- Shredded mozzarella or cut-up string cheese both work great. The key is using a good melting cheese.
- → How do I store leftovers?
- Store in an airtight container in the fridge for up to 3 days. Reheat in the oven for best results.