
 Pin it
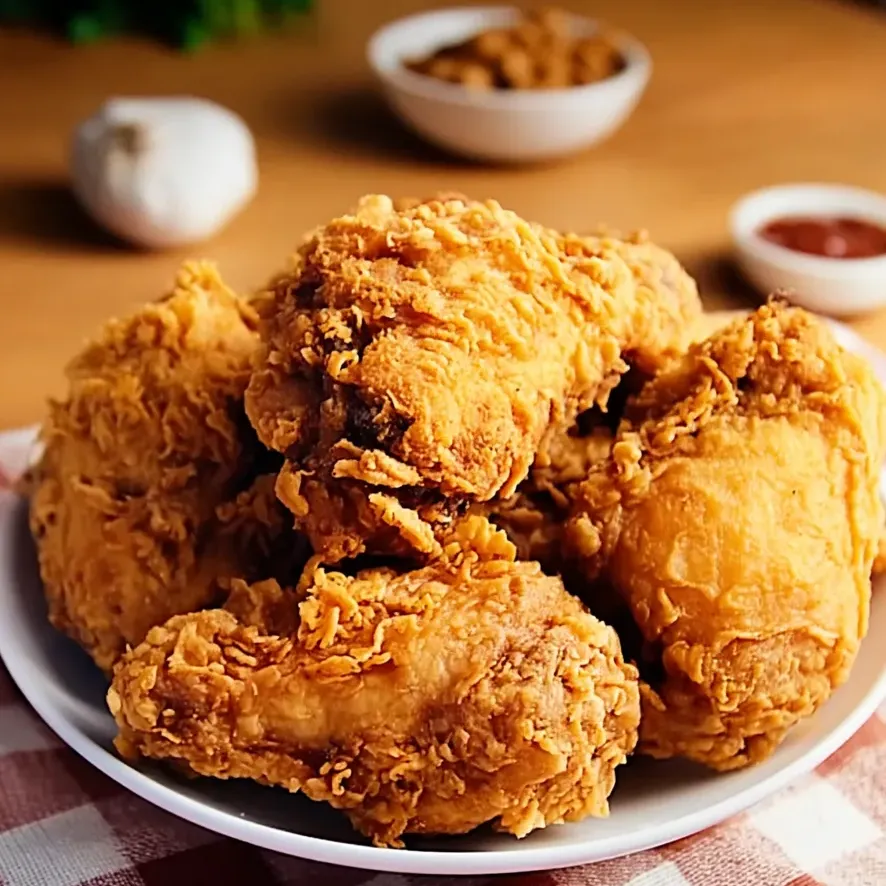
I've finally cracked the homemade version of that famous Kentucky fried chicken with its irresistible crispy, herb-coated exterior. Through tons of kitchen testing, I've figured out how to match that mouthwatering flavor profile everyone recognizes from the popular fast-food chain.
My journey to make this copycat chicken started when my kid wanted it for his birthday dinner during quarantine. After many tries and tips from my buddy who once worked at the famous chicken place in his college days, my family swears we don't need takeout anymore.
What You'll Need
- Regular flour: Forms the essential crunchy layer with perfect thickness
- Special spice combo: Blending thyme, basil, oregano, paprika, and ginger creates that unforgettable taste everyone knows
- Buttermilk: Makes the chicken super tender and helps the coating stick well
- Celery salt: Gives that unique savory kick that makes this chicken instantly familiar
- White pepper: Adds mild heat without dark spots in the coating
- MSG if you want: Boosts the savory flavor just like in the restaurant version
How To Make It
- Mix Your Coating:
- Combine all dry ingredients thoroughly. You'll notice a light reddish color from the paprika. This flavor-packed flour mixture is what makes it taste authentic, so be exact with your measurements.
- Soak Your Chicken:
- Stir buttermilk and egg together in a big bowl until well mixed. Add chicken pieces and coat them completely. Let them sit for at least half an hour at room temp or overnight in the fridge. The buttermilk works magic to make your chicken super juicy.
- Get Everything Ready:
- Turn your oven to 175°F and set up a wire rack on a foil-covered baking sheet. This keeps your first batch warm and crisp while you finish cooking. Heat your oil to exactly 350°F in a heavy pot or deep fryer, checking with a thermometer.
- Coat The Chicken:
- Take each piece from the buttermilk, letting extra liquid drip off for a moment. Put it in the flour mix and press down firmly to create little ridges that'll get extra crispy. Gently shake off extra flour so the coating stays put during frying.
- Fry It Up:
- Slowly place chicken into hot oil without crowding the pot. Keep oil between 325°F and 350°F the whole time. Cook for exactly 12 minutes, flipping once halfway through for even golden browning all around.
- Let It Rest:
- Move fried chicken to your prepared rack in the warm oven while cooking remaining pieces. Let everything sit 5 minutes before serving so the juices spread back through the meat for maximum tenderness.
 Pin it
What really makes this work is using both white and black pepper together. Most knockoff versions miss this crucial detail, but the original definitely includes both for that signature taste. My grandma always told me good fried chicken needs both kinds of pepper, and she wasn't wrong.
Getting That Super Crunchy Coating
Want that extra crunchy version many folks love? Just double-dip your chicken. After the first flour coating, quickly dunk it back in the buttermilk, then roll in the seasoned flour again. This builds up multiple crispy layers that stay crunchy even as the chicken cools down. The thicker coating also works like insulation, keeping more moisture locked inside the meat.
Prep Ahead and Storing
You can mix your seasoned flour up to a month ahead and keep it in a sealed container. The flavors actually get better over time as they blend together. Your fried chicken stays crispy in the fridge for up to 3 days when stored right. For best results, put paper towels between layers and keep in an airtight container. Warm it up in a 300°F oven for 15 minutes to bring back the crunch.
Great Side Dishes
Enjoy your homemade fried chicken with classic sides like smooth mashed potatoes with gravy, tangy-sweet coleslaw, and soft biscuits. For the full experience, offer little honey packets so everyone can customize their meal. This combo gives you that perfect mix of flavors and textures that makes this meal so comforting and reminds many people of good times.
 Pin it
Frequently Asked Questions
- → How long should the chicken sit in buttermilk?
Let it soak in the buttermilk mixture for at least 30 minutes, but overnight in the fridge ensures maximum flavor and the juiciest meat. The buttermilk softens the chicken while helping the flour stick better.
- → Can I fry this in an air fryer instead of oil?
Sure, you can! Preheat your air fryer to 380°F, spray the coated chicken lightly with oil, and cook for 25-30 minutes, flipping halfway. It won’t be exactly like deep-fried, but it’ll still turn out crunchy with less grease.
- → Is MSG important to make it taste right?
MSG adds an extra hit of umami that matches KFC’s flavor, but you don’t need it for awesome fried chicken. The herbs and spices are perfectly balanced on their own. If you do use MSG, sprinkle it after frying for a deeper savory taste.
- → What’s the best oil for frying this chicken?
Use an oil without strong flavors and a high smoking point. Peanut oil gives a clean taste, but canola or vegetable oil are solid budget-friendly choices. Whatever you pick, aim for 350°F to fry it just right.
- → How do I make the chicken even crispier?
For extra crunch like KFC's Extra Crispy style, double coat the chicken. After the first flour layer, dip back into the buttermilk, then coat again with more flour. Press the flour on firmly to create a thicker, ridged crust before frying.
- → How should I keep and reheat leftover chicken?
Once it cools, put leftovers in an airtight container in the fridge for up to 3 days. Reheat on a wire rack over a baking sheet in a 350°F oven for 15-20 minutes. This keeps it crispy without turning soggy, unlike using a microwave.