
 Pin it
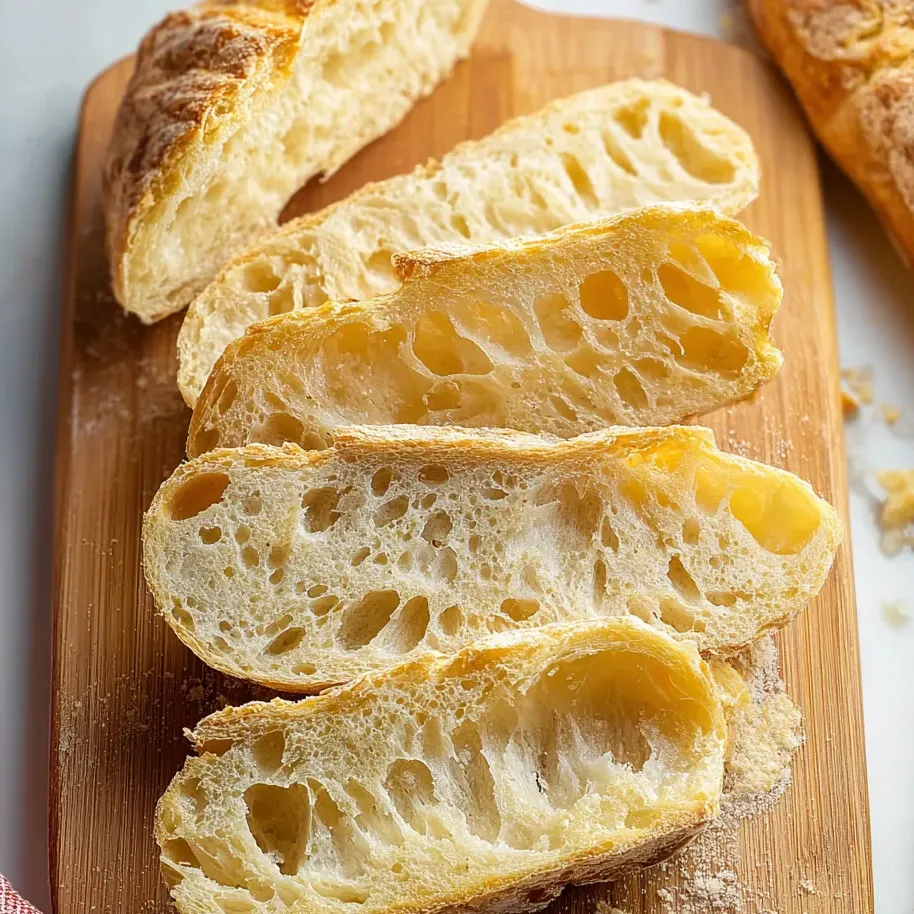
Making no knead bread at home couldn’t be easier now. You barely have to do anything or use fancy gadgets—anyone can pull off a loaf that’s crusty on the outside and soft in the middle. This style takes all the scary parts out and goes great with soup, dips, or just slathered in butter.
The first time I was out of bread for sandwiches, this one totally saved the day. Pulling out a bakery-level loaf from my little oven felt like I’d done a magic trick.
Easy Ingredients
- Butter: melts into a gold crust for a burst of flavor Choose really good butter for best yum
- Bread flour: keeps the inside stretchy and soft If you’ve got a kitchen scale, use it for accuracy All purpose works, but bread flour makes it stand taller
- Salt: evens out the taste and makes dough strong If you can, pick a sea salt or Redmond Real Salt for even better taste
- Sugar: gets the yeast fired up so the dough fluffs up fast Regular white sugar does the trick
- Instant yeast: always gives a good rise Can swap in rapid or active kinds too Fresh packets work best
- Barely warm water: gets yeast moving Try for water about as warm as your skin Use a thermometer for confidence
- Olive oil: keeps things soft inside while bringing a gentle fruity taste Go for extra virgin if you can grab it
Simple Step-by-Step
- Cool and Serve
- Let your loaf rest at least five minutes before you slice in That way, the middle stays soft and airy
- Bake the Bread
- Pick up the parchment with the dough and drop it into the hot Dutch oven Pop the lid on and bake for forty minutes Brush on some melted butter and bake uncovered for ten or so minutes more until the top is deep golden
- Preheat the Oven
- Set your oven to four hundred twenty five and heat your Dutch oven inside it If your Dutch oven isn’t built for that heat, check the guide first
- Shape for Baking
- Dust parchment with flour then flip dough onto it Fold edges toward the middle a few times for strength Spray the top then cover Let the dough chill and puff up about forty five minutes while the oven heats
- Give Time to Rise
- Form dough into a loose ball, coat with nonstick spray, and cover up tight Let it sit for two to three hours until big and puffy For even deeper flavor, stash it in the fridge for up to three days after rising
- Combine the Dough
- Pour flour and salt in a big bowl Stir in the olive oil plus your yeast mix Blend using a silicone spatula till it just comes together It’s supposed to be sticky
- Mix the Yeast
- Dump yeast, sugar, and warm water into a small bowl Give it a swirl, cover, and wait a few minutes till foamy
 Pin it
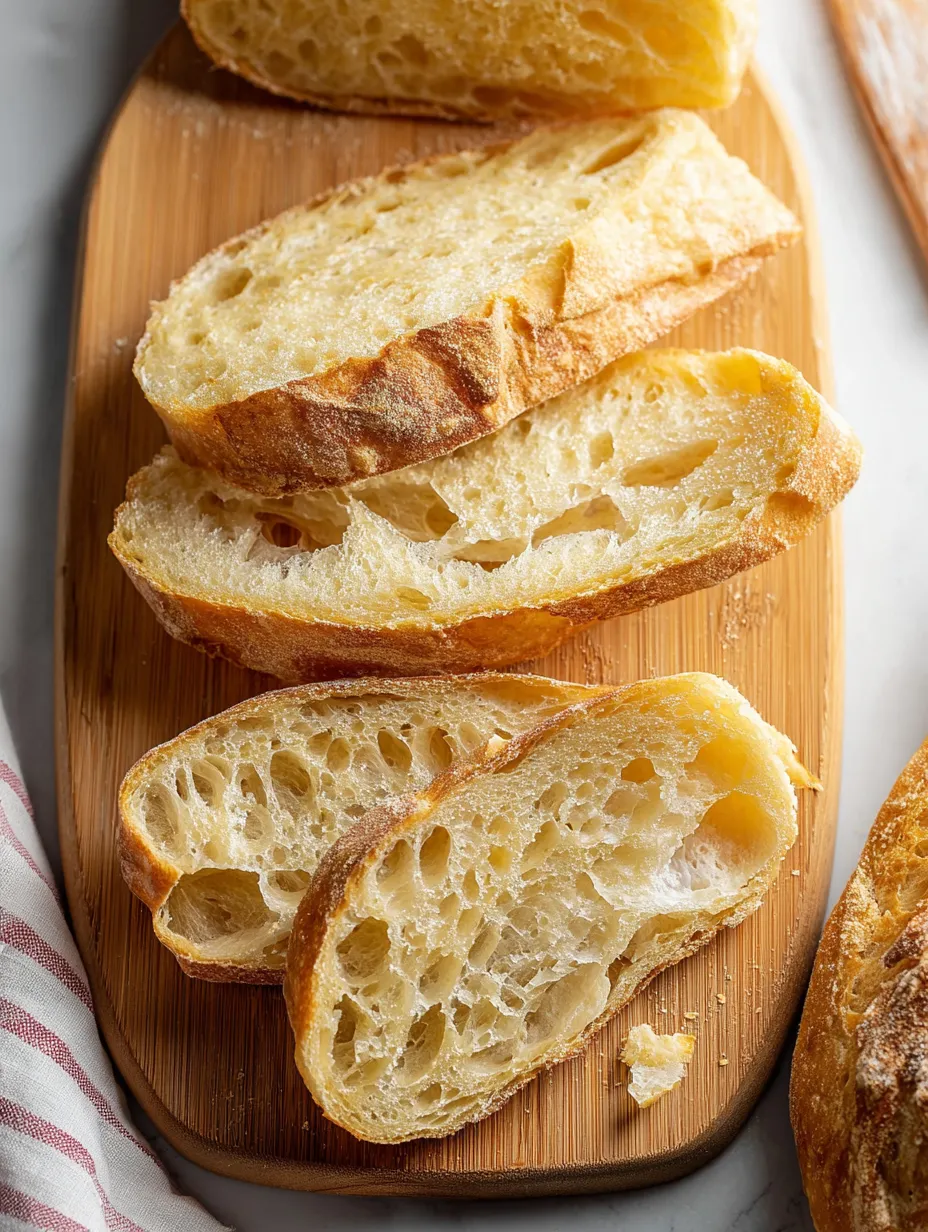
Honestly, the best thing is that unbelievable smell when this loaf is baking My kids always rush in, hoping for a taste of a warm end piece We all look forward to this—it’s become a cozy thing in our house
How to Store It
Once it cools down, stash your loaf in something airtight right on the counter for five days If you need it to last longer, the fridge keeps it fresh for up to ten days—or toss slices in the freezer for months Freezing sliced makes breakfasts and sandwiches a breeze
Swaps You Can Try
No bread flour? Grab all purpose—it’ll come out a little heavier but still awesome Any salt will do though plain table salt might taste a tad bitter Add chopped fresh herbs to the dough if you’re feeling adventurous for more flavor
 Pin it
Ways to Serve
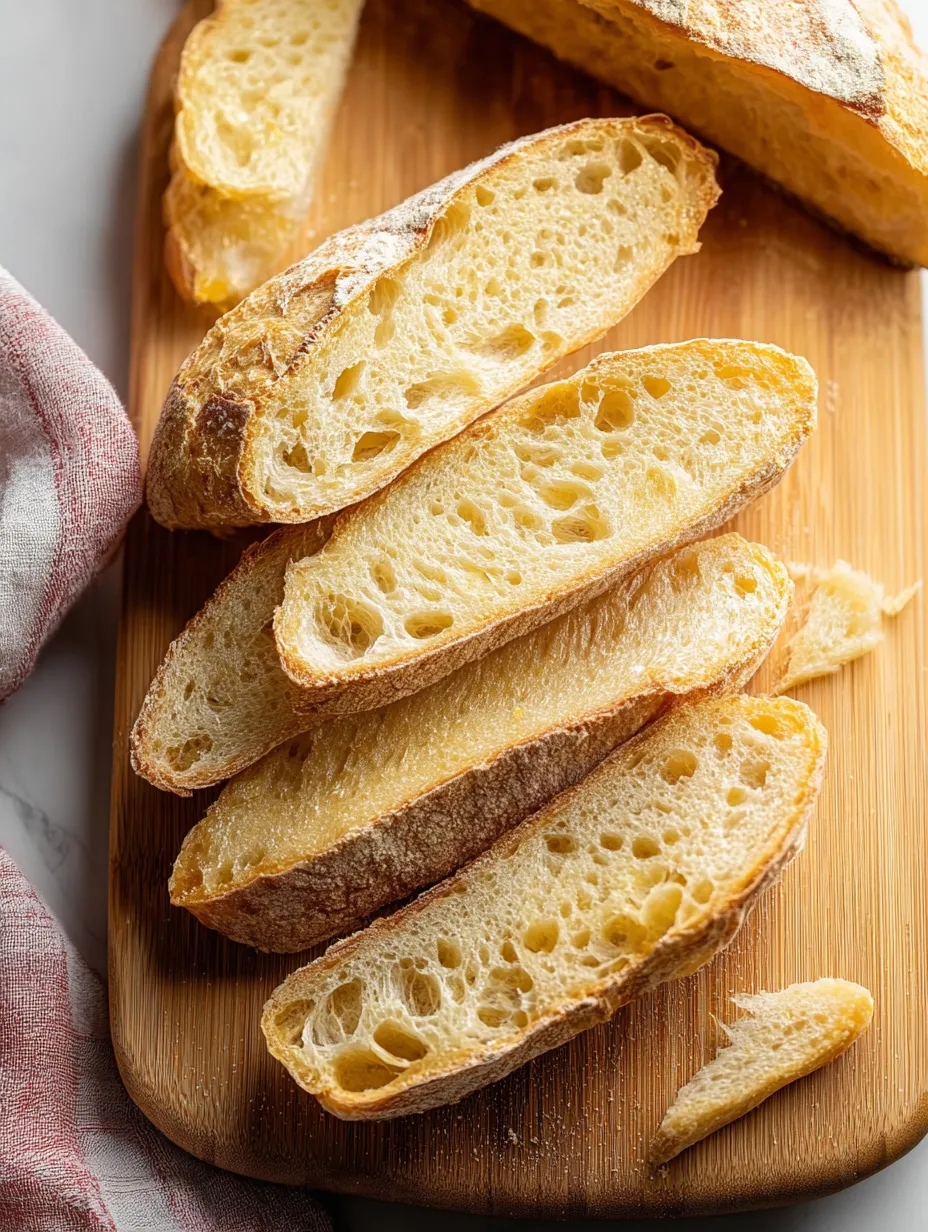
That thick outside means you can dunk slices in olive oil or scoop up chili It’s perfect for grilled cheese or any toasted sandwich Try it thin with jam or soft cheese for breakfast too
Fun Background Info
No knead bread totally blew up when Jim Lahey and Mark Bittman showed off the slow-rise style in the 2000s It kills off any worries home bakers have and lets anyone make an awesome loaf with hardly any work Sharing bread is classic comfort food, and this one makes it so simple
Frequently Asked Questions
- → Can I use all-purpose flour instead of bread flour?
Sure can! All-purpose works fine if that's what you have, but bread flour gives a chewier loaf. If you switch, you might need to tweak the water a little.
- → How do I get a crispier crust?
More steam makes the outside crunchier. Use a Dutch oven or just throw a water-filled pan in your oven while baking.
- → Is there a way to develop a tangier flavor?
Popping the dough in the fridge for up to 3 days lets the flavors get bolder and a bit tangy.
- → My dough isn't rising well. What should I do?
Check that your yeast’s still good. Try giving your dough a cozy warm spot—like near the stove or a slightly warm oven—to help it puff up.
- → How should I store leftover bread?
Just tuck the loaf inside a sealed box or bag on your counter for about 5 days. It'll last around 10 days in the fridge or 3 months frozen.
- → Can I make this bread without a Dutch oven?
Absolutely! Shape it and bake on a flour-dusted tray or skillet. Just pop a pan of water in your oven so the crust turns out crunchy too.