
 Pin it
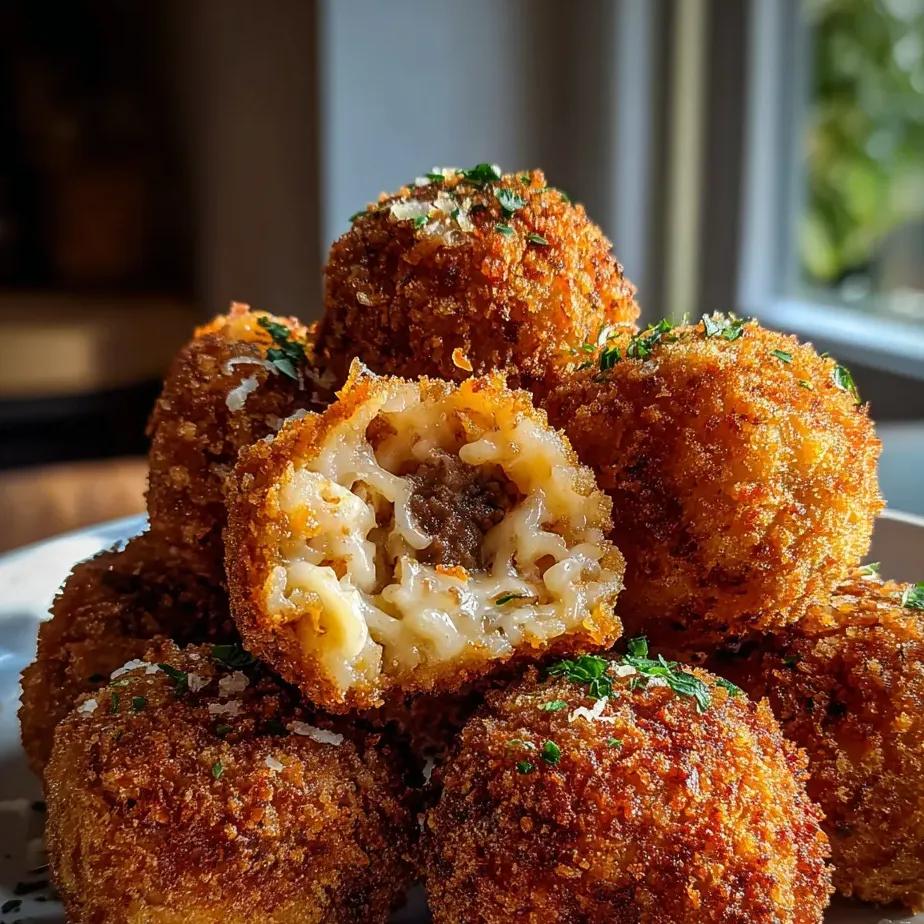
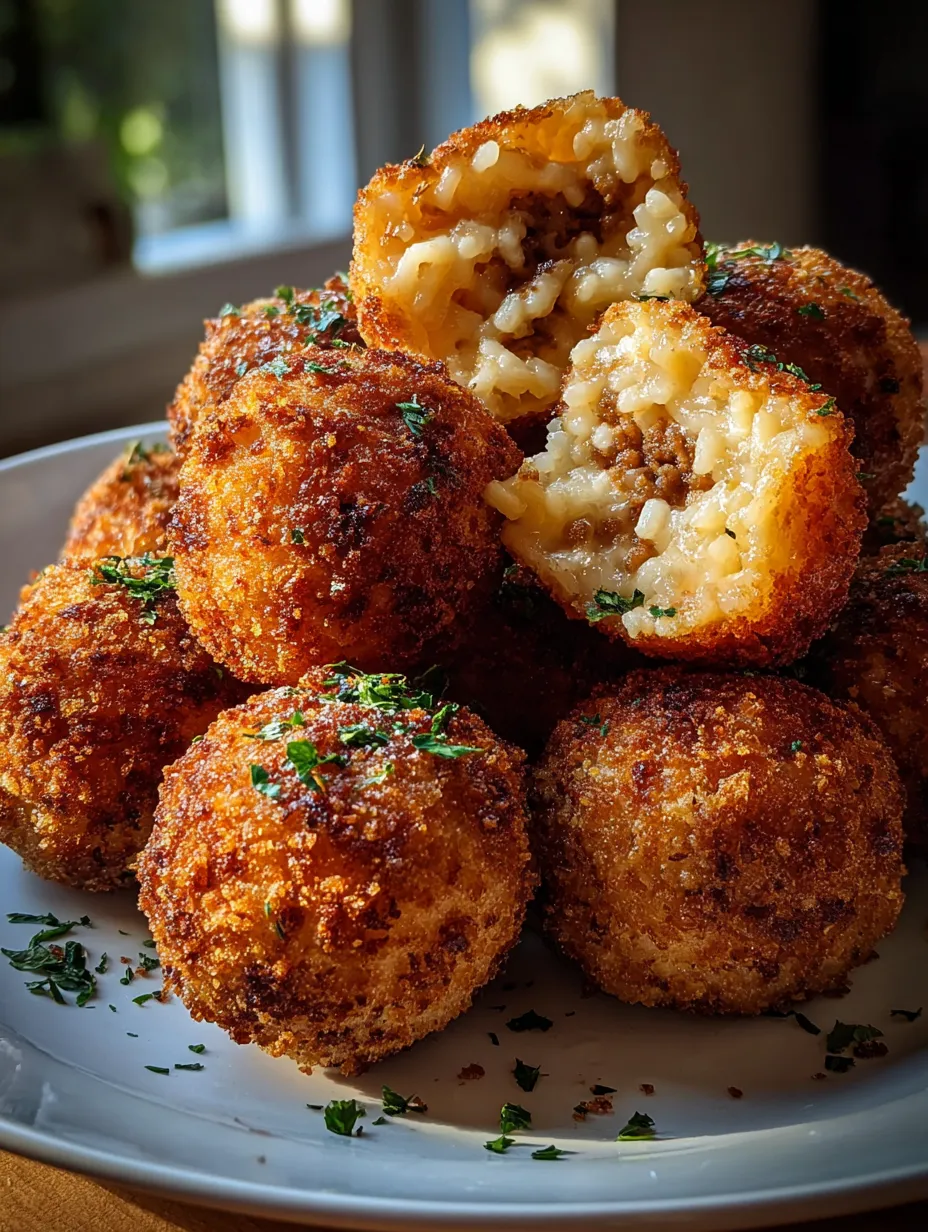
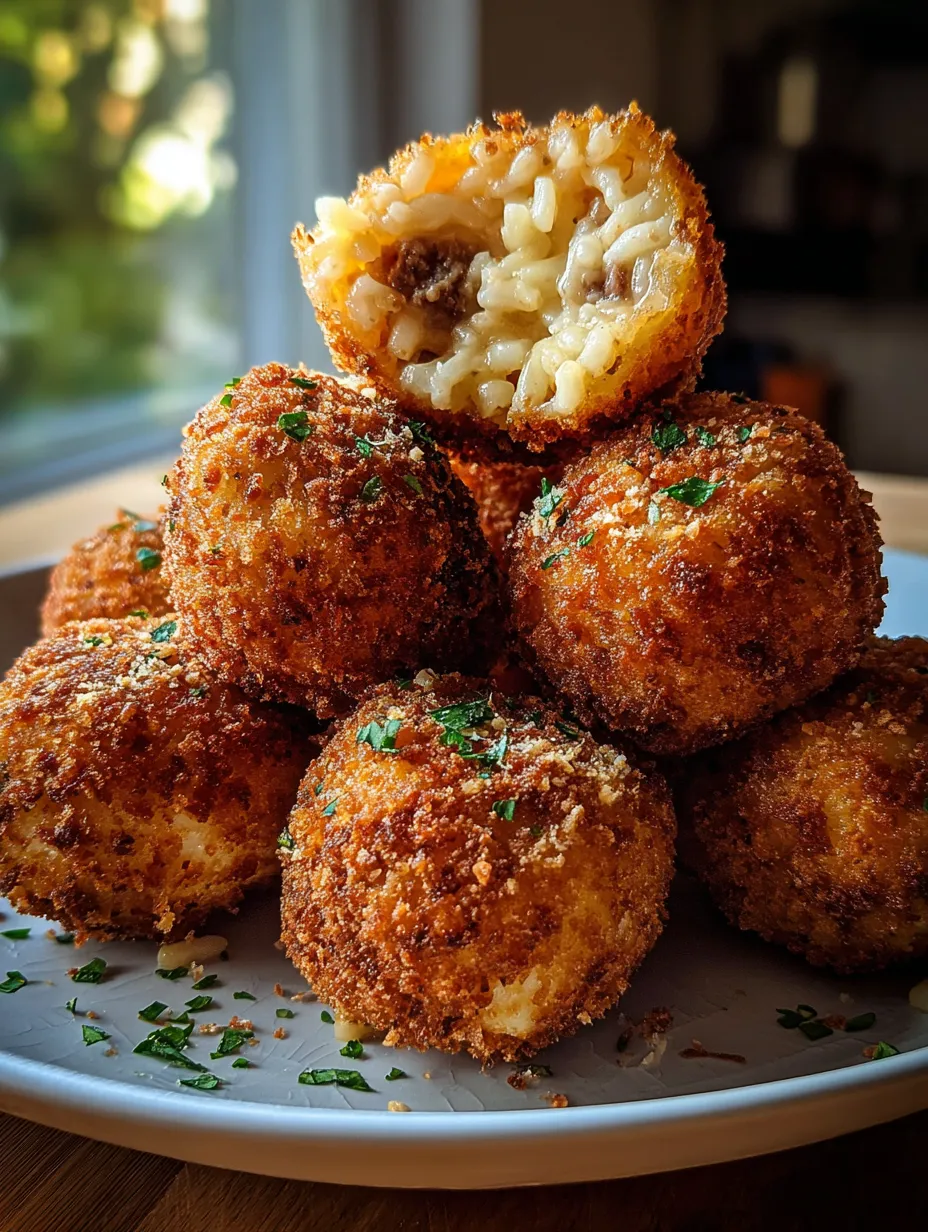
Bite into these Italian rice balls stuffed with beef and you'll get all the best comfort food vibes—crunchy on the outside, soft and melty inside, rich with cheesy goodness, and hiding a hearty core of beefy tomato sauce and stretchy mozzarella. I first got hooked on them at an old-school Sicilian spot, and now when I make these at home, they get snapped up almost as soon as they hit the serving dish.
First try? I totally wrecked my kitchen but loved every minute. Now rice ball night means the whole family is in the mix and everyone gets their hands messy helping out.
Mouthwatering Ingredients
- Vegetable oil: you’ll need this for frying make sure you pick a type that tolerates high heat
- Italian breadcrumbs: these go on the outside for the finishing crunch use finely ground for that classic bite
- Bay leaf: drop it in the filling for depth but remember to take it out before rolling the balls
- Mozzarella cheese: cut it into cubes and tuck inside for a puddle of gooey cheese after frying
- Frozen peas: sweet pop and bright color thaw before using them in your filling
- Tomato sauce or passata: pick a silky smooth version for the meaty filling
- Olive oil: sauté your onions and aromatics in this for big flavor extra virgin if you've got it
- Ground beef: best is 80 20 so you get a juicy filling without greasy drips
- Eggs: mixed into the cold risotto to help you shape the balls and give a golden fried shell
- Parmesan cheese: sharp and nutty always grate it fresh for a flavor upgrade
- Butter: gives your risotto lots of creamy richness unsalted is best
- Onion: diced and cooked to bring sweetness and depth to both rice and beef mixture
- Chicken broth: the key for cooking your rice for taste use the low-sodium kind
- Arborio rice: you want these big fat grains so the center turns smooth and creamy
Simple Step-by-Step
- Serve It Up:
- Ladle on warm marinara, hit them with more Parmesan, and finish with fresh basil or parsley if you've got it—hot from the fryer is always best.
- Fry Till Golden:
- Get your neutral oil to 350 F in a Dutch oven or fryer around 2 inches deep. Fry a few balls at once so you don't crowd them. Use a slotted spoon to turn until evenly crisp and browned, usually 3-4 minutes each batch. Set on paper towels.
- Bread the Balls:
- Lay out bowls with flour, whisked eggs, and breadcrumbs. Roll each chilled ball in flour, then egg, then breadcrumbs to coat all over. Keep finished balls on a tray ready for frying.
- Shape the Balls:
- Mix eggs into cooled risotto, scoop a handful, and flatten. Drop in meat sauce and a mozzarella cube, then fold rice up so nothing leaks out. Make all your balls and chill them for half an hour. Wet hands help the process go faster.
- Meat Filling Time:
- While rice cools, cook onions and garlic in olive oil until soft. Add ground beef and break up as it browns. Toss in tomato sauce, broth, peas, oregano, bay leaf, and seasoning. Simmer till thick, then remove bay leaf and let cool.
- Make Risotto Base:
- Get broth hot and keep it on low. In a big pot, melt some butter, then sweat onions till soft but not colored. Stir in rice for a couple minutes. Add broth in batches, stirring and letting each soak in. Cook about 20 minutes so rice is creamy not mushy. Finish with more butter and parmesan, season, then spread on a tray and chill uncovered till firm and cold—at least 2 hours.
 Pin it
I always look forward to that first chomp when the mozzarella in the middle stretches out. And watching my kids try to sneak extra balls before anyone else gets one? Hilarious every time.
Storing Leftovers
Wait for rice balls to cool all the way, then seal them in a container and keep in the fridge—they’ll last three days. Need to freeze? Put on a tray, freeze solid, then pop them in a freezer bag. Heat up in a 375 F oven (no need to thaw) till hot and crispy. Skip the microwave if you want the outsides to stay crunchy.
Swaps for Ingredients
Lighter option? Use ground turkey instead of beef. Want a different cheese pull? Swap in provolone or something else that melts. For a fully veggie version, just pick vegetable broth and vegan cheese.
Ways to Serve
Keep toothpicks handy for appetizers with bowls of warm red sauce. For a meal, set these alongside a crisp green salad and roasted veggies. If you’re feeling fancy, a drizzle of pesto on top takes the flavor up a notch.
 Pin it
Tradition Behind This Dish
You'll spot arancini at street carts all over Sicily, and every town puts its own spin on fillings—sometimes it’s spinach, sometimes ham, sometimes just tons of cheese. This style with ragù, peas, and tomato feels like the OG version folks used to make to avoid wasting extra risotto, flipping leftovers into something totally new.
Frequently Asked Questions
- → Which rice should I use to make arancini?
Pick short grains like Arborio, Carnaroli, or Vialone Nano. These types get sticky, creamy, and easy to shape.
- → How do I keep arancini from falling apart while they fry?
Stick shaped balls in the fridge before coating and frying. This helps them keep their shape instead of breaking.
- → Is it okay to bake arancini instead of frying?
Sure, line them up on a baking tray, spray oil, and bake until they’re browned, but they won’t be as crispy as fried ones.
- → What dips go with arancini?
Marinara sauce is a go-to. Or change it up with pesto or smooth garlic mayo for dipping.
- → How can I reheat extra arancini?
Pop leftovers in a 350°F oven for about 10 minutes. They'll get warm and crunchy again.
- → Can I prep arancini in advance?
Yep, roll and bread them first, keep chilled or freeze, then cook when you're ready to eat.