
 Pin it
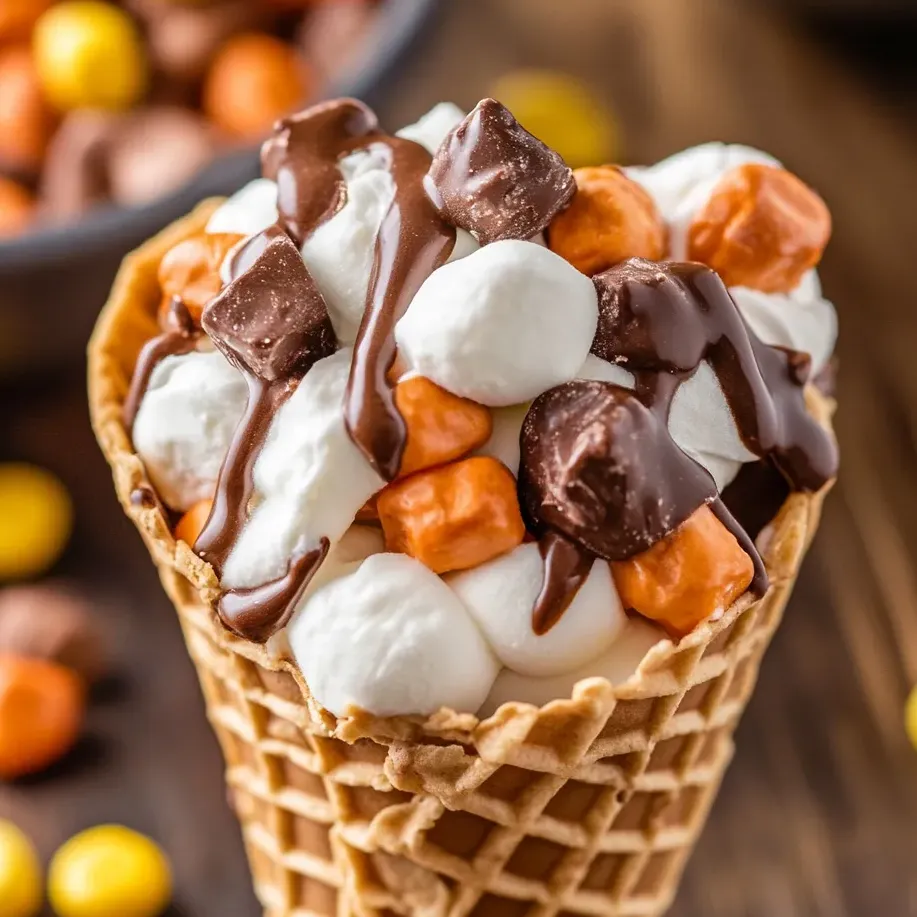
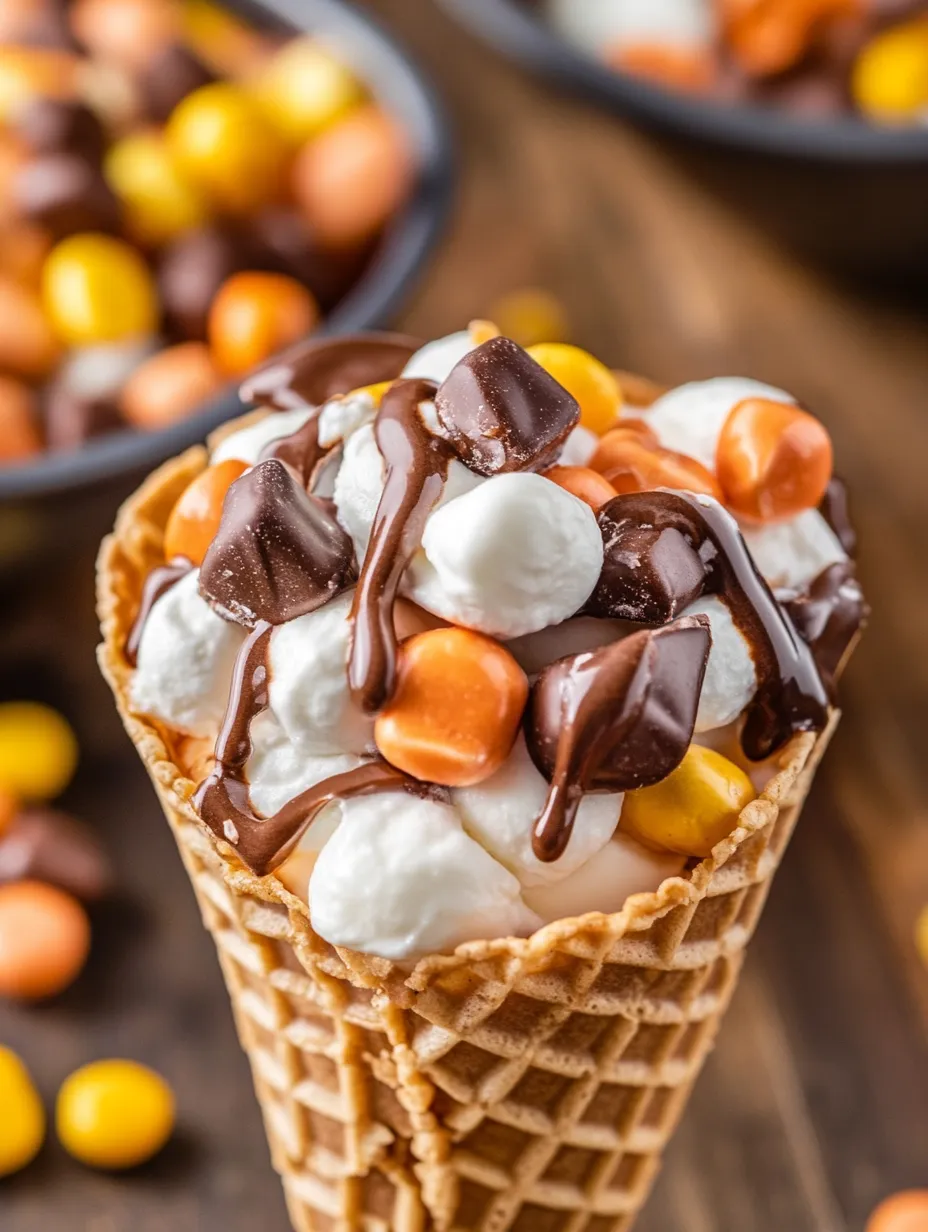
These waffle cone treats mix peanut butter candy, gooey marshmallows, and chocolate for a fun twist on campfire desserts. They're less messy than regular s'mores and work great for backyard parties, camping, or whenever you want a sweet treat that brings smiles without the sticky cleanup.
I came up with these during a rainy camping trip when our usual s'mores plans got washed out. The little ones loved having their own special dessert cones so much that they ask for them even when we're just hanging out at home.
What You'll Need
- Waffle cones: These form a crunchy container that gets a bit toasty while holding all your melty goodies
- Mini marshmallows: They turn into a sticky, gooey layer that helps everything stick together
- Chocolate chips: Go with semisweet for not-too-sweet taste or milk chocolate if you like things sweeter
- Reese's Mini Peanut Butter Cups: These create amazing pockets of melted chocolate-peanut butter magic
- Reese's Pieces: They add pretty colors and extra peanut butter flavor while staying somewhat firm when heated
How To Make Them
- Build Your Marshmallow Bottom:
- Pack mini marshmallows into the bottom quarter of each cone. This stops chocolate from leaking out and creates your first gooey layer.
- Stack Your Goodies:
- Add layers switching between chocolate chips, halved Reese's Mini Cups, Reese's Pieces, and more marshmallows. Push down gently after each layer to make sure everything's packed in without air gaps for better melting.
- Wrap Them Up:
- Fold aluminum foil over the top opening first, then wrap the rest of the cone. Make sure it's snug all around. Good wrapping keeps everything from leaking and helps everything heat evenly.
- Home Baking Method:
- Stand your wrapped cones on a baking sheet and cook at 350°F for about 10-15 minutes until everything inside melts together. The baking sheet catches drips and makes them easier to handle.
- Over The Fire Method:
- Put the wrapped cones near hot coals or on a grill over the flames. Turn them every few minutes for about 5-7 minutes total. The fire gives a nice smoky touch to the chocolate and marshmallow mix.
- Let Them Rest:
- Wait 1-2 minutes before carefully opening the foil. The filling will be super hot and will firm up a bit as it cools, giving you that perfect gooey texture that isn't too runny.
 Pin it
My children always argue about who gets more Reese's Pieces, so now I use clear cups to divide everything equally before we make the cones. This simple trick has stopped so many arguments and taught them about sharing fairly at the same time.
Prep Early and Keep Leftovers
You can put these together up to 12 hours before cooking them. Just assemble, wrap in foil, and keep in the fridge until you're ready. This makes them super handy for camping when you don't want to pack a bunch of stuff. In the rare case you have extras (almost never happens in my house), you can keep them wrapped in the fridge for 2 days and warm them up for 5 minutes in a 300°F oven.
Try Different Candy Combos
What's great about these cones is how easy they are to change up. You might try caramel bits with chopped Snickers for a gooey caramel version, or white chocolate with crushed Oreos for a cookies and cream flavor. If someone can't eat peanuts, M&Ms and Hershey miniatures work great instead of Reese's. Just follow the basic idea - start with marshmallows on the bottom, then layer in chocolate and whatever treats you love.
 Pin it
Ways To Serve
Give everyone small bowls to catch any yummy drips while the cones cool down. Want to make them extra special? Add a scoop of vanilla ice cream next to the warm cone so it starts melting into all that chocolate goodness. For parties or bigger groups, let folks build their own cones before cooking. It's a fun hands-on dessert activity everyone enjoys.
Where This Sweet Idea Came From
These fancy cones are basically s'mores 2.0. Traditional s'mores started with Girl Scouts in the early 1900s. While regular s'mores can get messy and you need to know how to toast marshmallows just right, these cones make it easy for everyone, no matter their age or camping skills. Adding Reese's candy celebrates America's love for chocolate and peanut butter that started back in 1928 when H.B. Reese first created his peanut butter cups.
Frequently Asked Questions
- → Can I swap out the candies for something else?
Absolutely! Try using caramel pieces, chopped chocolate bars, small marshmallows, or even fruits. Just make sure the replacements are bite-sized for proper melting and fit inside the cone.
- → What’s the trick to stopping the cone from burning over a fire?
Making the foil tight around the cone is key. Seal every part thoroughly with foil and keep the cone away from direct flames by setting it on the edges of the coals, turning it regularly for balanced heating.
- → Can I prepare them before cooking time?
Sure can! Fill and wrap the cones the night before—up to 24 hours early—then keep them chilled until cooking. Don’t prep too far ahead though, or the cones might soak up moisture and lose their crunch.
- → What’s an easy way to enjoy without making a mess?
Leave some of the foil on the bottom as a liner while you eat to catch drips. Enjoy the cone top-to-bottom, and have napkins handy—these treats are delightfully gooey! You can also rest them in a small cup or bowl after heating for easier serving.
- → How will I know when it’s all melted and ready?
Feel the wrapped cone after 5-7 minutes on a fire or 10-15 minutes in an oven—it should feel softer. Peek inside by unwrapping just the top to check for sticky marshmallows and melted chocolate. If it’s not quite there, rewrap and give it another minute or two.
- → Is it possible to make these in a microwave?
It’s possible, but not the best method. Skip the foil and place the cone upright in a microwave-safe mug. Heat in short 15-20 second bursts until the ingredients melt. Be ready for a mess—it won’t crisp or toast like it would with a fire or oven.