
 Pin it
This soothing layered bean and cheese enchilada dish brings real Mexican tastes to your dinner table without much work. When you stack tortillas with tasty beans and gooey cheese, you get a meal that makes both veggie fans and meat eaters happy. I came up with this dish while looking for quick weeknight dinners that still packed lots of flavor.
I first threw these enchiladas together during a crazy busy week when I needed something everyone at home would eat. How easy it was shocked me, but the taste got me to add it to our usual lineup. Now my teenage son asks for it almost every Sunday night.
Ingredients
- Enchilada sauce: A whole 15 oz can gives you that real Mexican taste base. I like medium hot red sauce because it has a nice tomato backbone
- Block cheese: Grating your own cheese works better for melting than the pre-shredded stuff. Monterey Jack gives you perfect melt with a soft flavor
- Refried beans: The smooth protein heart of our dish. Go with classic pinto for the real deal or try black beans for something different
- Corn tortillas: These are a must for real texture and taste. They stand up to baking better than flour ones do
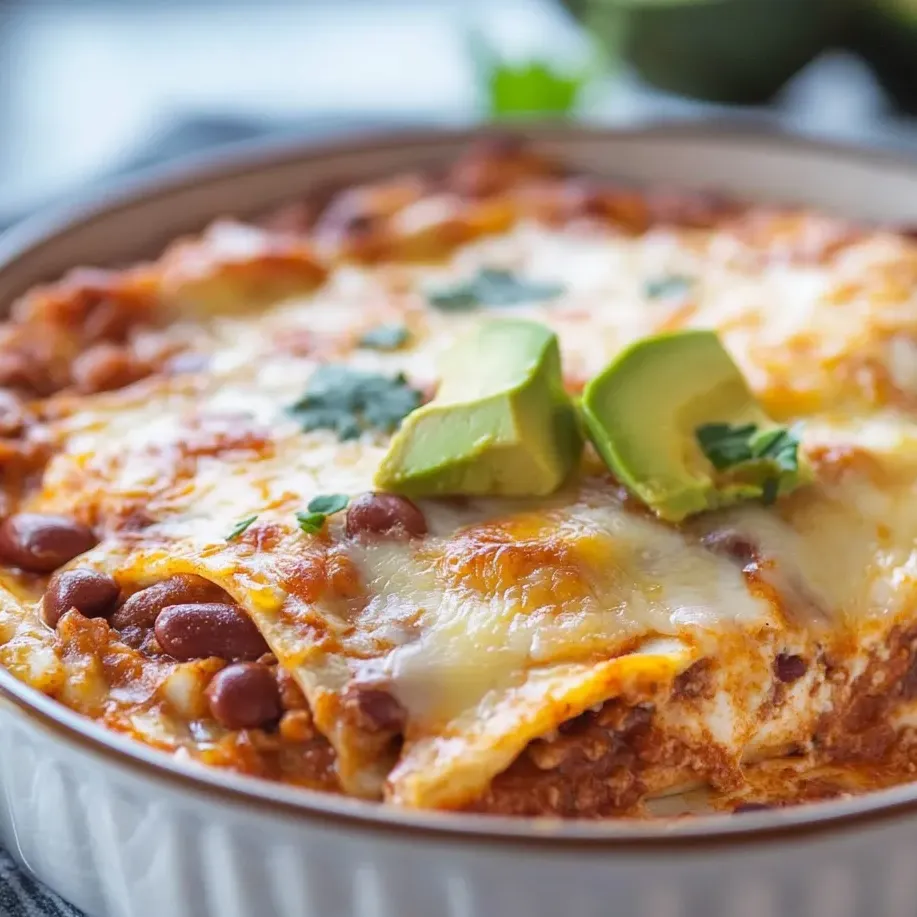
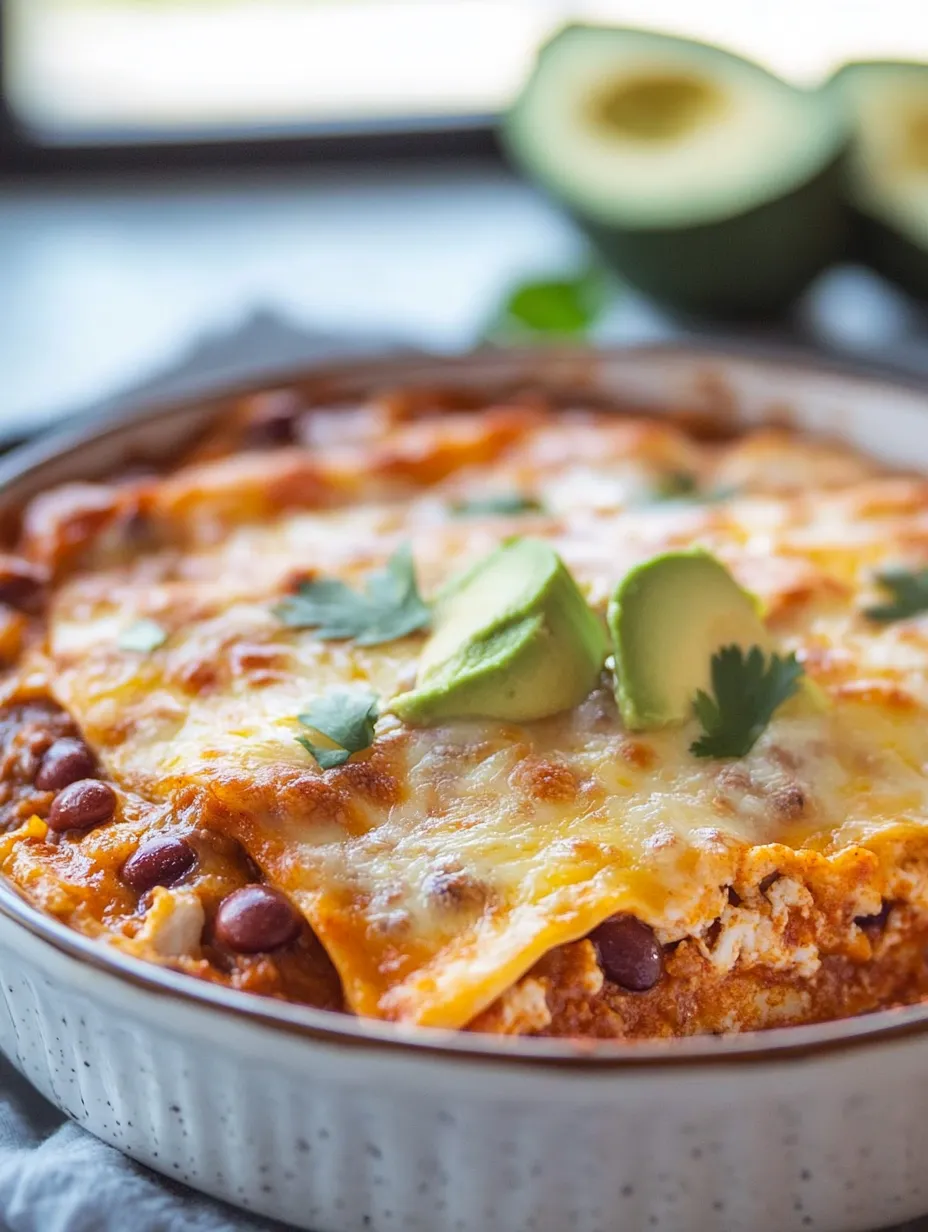
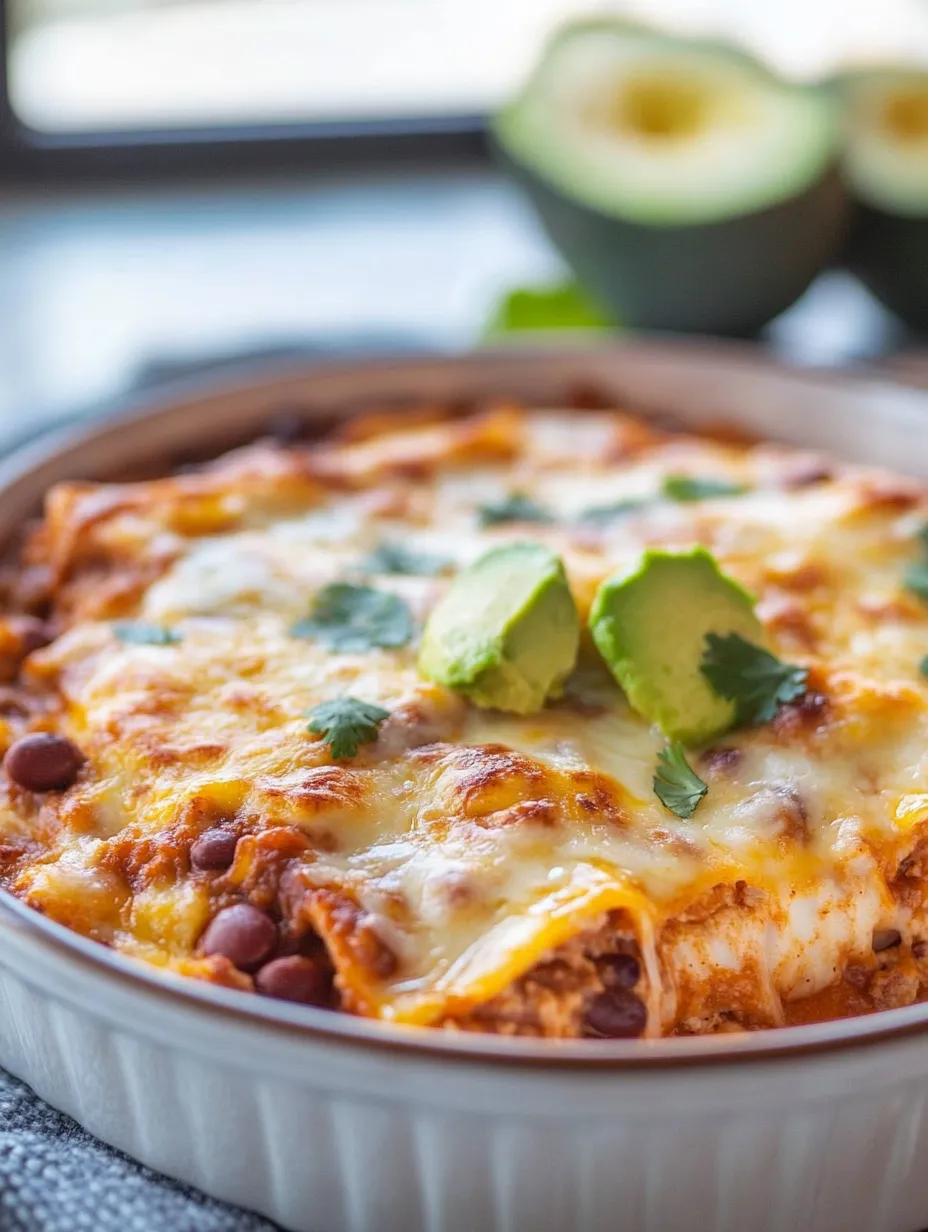
- Optional toppings: Fresh stuff like avocado, cilantro and tomato cuts through the richness of the baked enchiladas
Step-by-Step Instructions
- Get The Bottom Ready:
- Put half cup of enchilada sauce across your baking dish bottom. This stops things from sticking and adds flavor to the lowest layer. Try to cover the whole bottom so everything tastes good all the way through.
- Build Your Bottom Layer:
- Put tortillas down in one layer, cutting some in half to fill in the edges. Then spread refried beans about quarter inch thick on the tortillas with the back of a spoon. The beans should spread okay but not be too runny. Sprinkle a good amount of cheese on top, using about a third of what you have.
- Fill The Center:
- Pour another half cup of sauce over the cheese, making sure it goes everywhere. Add more tortillas, then the rest of your beans and another third of the cheese. This middle part really matters for getting that perfect bite.
- Top It Off:
- Add your last tortilla layer, then pour all the leftover sauce over everything, making sure to wet all the tortillas. This keeps them from drying out while cooking. Sprinkle all your remaining cheese on top, covering everything for that pretty golden finish.
- Cook It Right:
- Cover with foil tightly and bake at 425F for 20 minutes. This heats everything through without browning too fast. Take the foil off and cook 15 more minutes until the cheese turns golden and bubbly with slightly crispy edges.
- Let It Sit Before Eating:
- Give the dish 5 minutes to cool down before cutting. This helps everything stay together and makes serving cleaner. Add your favorite fresh toppings just before you bring it to the table.
 Pin it
The refried beans really make this dish special. I found out that heating them up a bit before spreading makes putting everything together much easier. My grandma always threw a little pinch of cumin in her beans, a trick I still use that gives amazing depth to the whole flavor.
Make Ahead Options
These enchiladas work great for planning meals ahead. You can put the whole dish together up to two days before you plan to bake it. Just wrap it tight with plastic wrap and keep it in the fridge. When you're ready to cook, take it out while your oven warms up, then follow the cooking steps but add 5 more minutes to the covered baking time.
Customize Your Enchiladas
While this dish is great just as it is, you can easily change it to suit what you like. Try adding some cooked peppers and onions between the bean layers to get more veggies in. If you love meat, mix some cooked ground beef or shredded chicken with the beans for a bigger meal. You can also play around with different cheeses a mix of jack and cheddar tastes really good and melts nicely too.
 Pin it
Serving Suggestions
These enchiladas go really well with Mexican rice and a basic green salad with lime dressing. For a full party meal, put out some fresh guacamole and pico de gallo too. The casserole shape makes this great for big gatherings or family meals. I often set out small bowls with different toppings so everyone can dress up their own serving how they want.
Storage And Reheating
Leftover enchiladas stay good in the fridge for up to four days if you keep them in a sealed container. To warm them up again, cover with foil and heat in a 350°F oven for about 20 minutes until hot all the way through. For just one portion, the microwave works fine at 70% power so the cheese doesn't get tough. I've noticed the flavors actually get better after sitting for a day.
Frequently Asked Questions
- → Can I swap corn tortillas for flour ones?
Sure, but the texture will differ—flour tortillas may become softer and slightly soggy with the sauce. To keep them firmer, lightly toast them first. Corn tortillas bring more authentic flavor, though, so it depends on your preference.
- → What kind of cheese melts best here?
Monterey Jack is a top pick because it’s mild and melts easily. You can also try Mexican-style blends, Colby Jack, or cheddar mixed with Monterey Jack. For a more authentic vibe, go with Queso Oaxaca or Queso Asadero.
- → Can I prepare this dish ahead of time?
Absolutely! Cover and refrigerate the dish up to a day in advance. Before baking, leave it at room temp for about 30 minutes. Expect to add 5-10 minutes to the cook time since it’ll start cold.
- → How do I know it’s done baking?
You’ll see the cheese melted and bubbling with golden spots, and the sauce will be hot and bubbly around the edges. The inside should be fully heated to 165°F (74°C), especially for pre-made dishes.
- → What’s the best way to save leftovers?
Keep leftovers in a sealed container in the fridge for up to 4 days. Heat them in the oven at 350°F (175°C) for about 20 minutes, covered with foil, or use the microwave. Adding a little fresh cheese on top before reheating improves the texture.
- → Can I freeze this dish?
Yep! Assemble it without baking first. Wrap it tightly with plastic and foil, then freeze for up to 3 months. Thaw in the fridge overnight, and bake with 10-15 extra minutes added to the cooking time.