
 Pin it
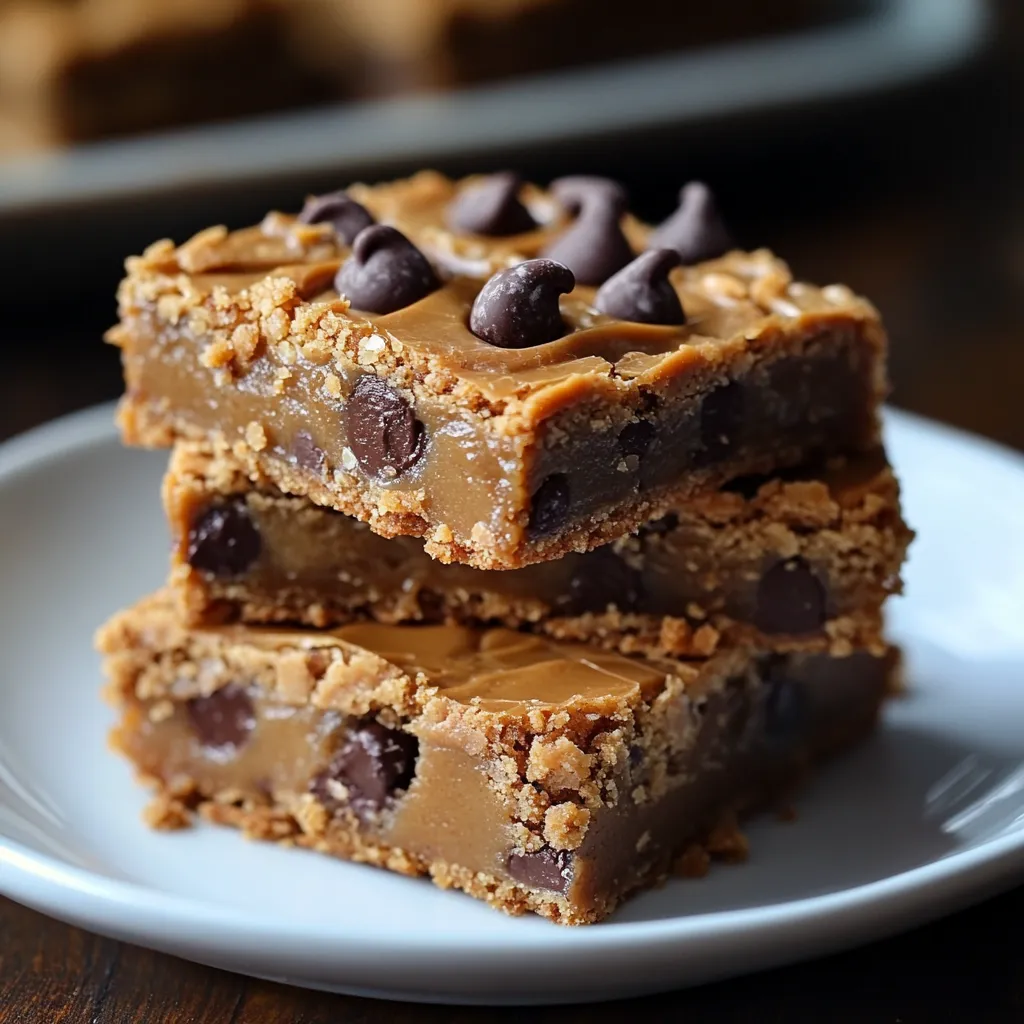
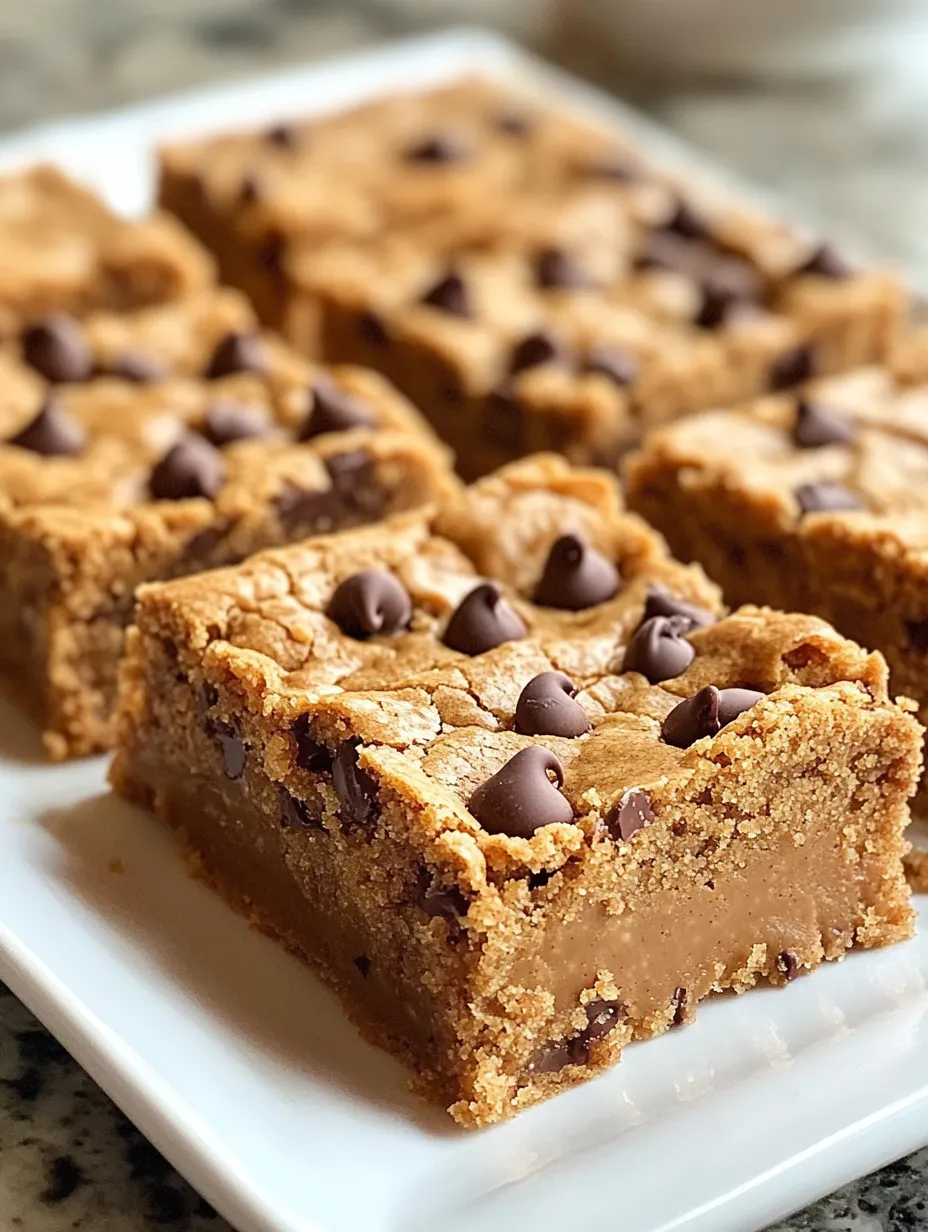
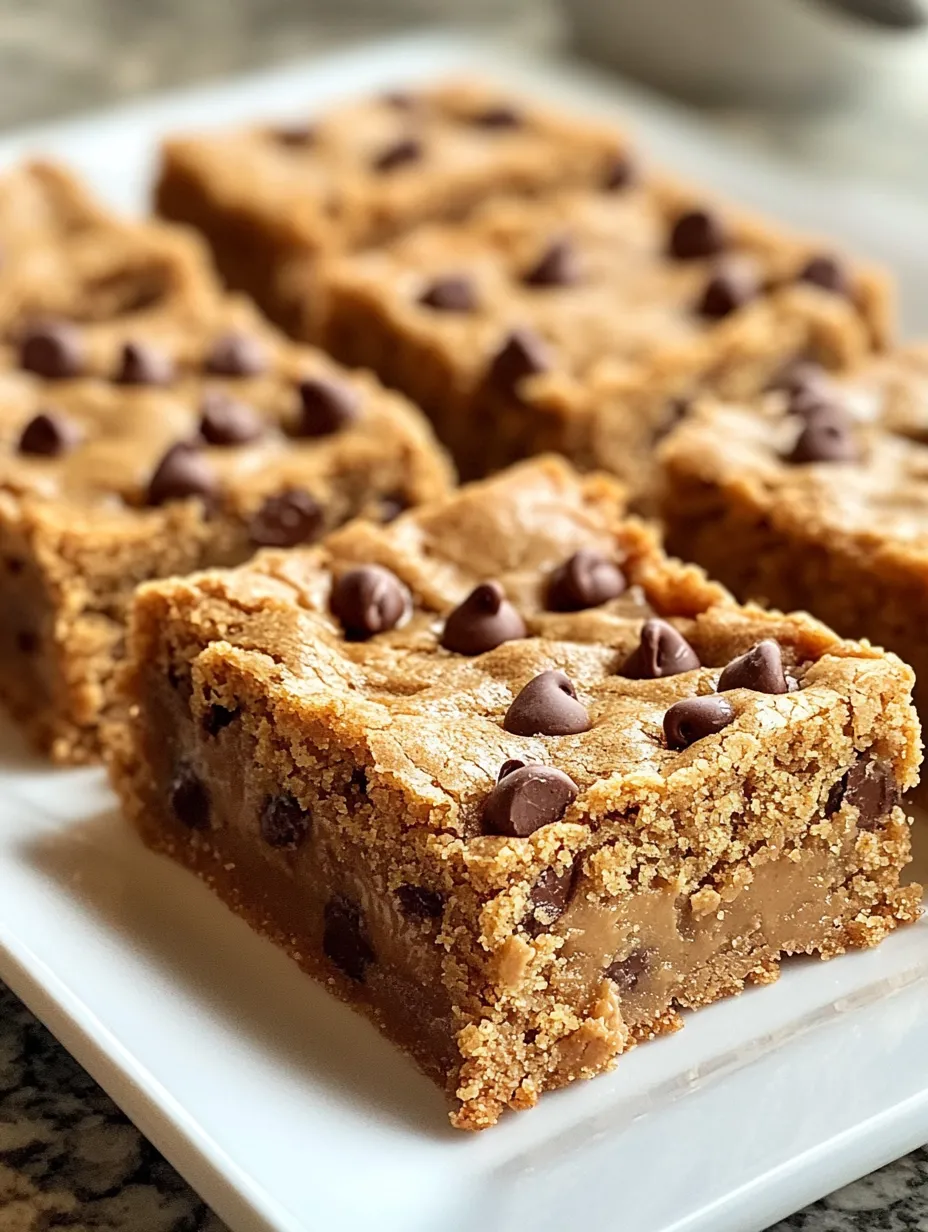
These peanut butter bar cookies turn the standard peanut butter cookie into a handy, easy-to-share snack that's ideal for parties, school sales, or just fixing your sweet cravings without making separate cookies. With peanut butter, chocolate, and a tender, gooey middle, these bars are pretty much impossible to say no to.
I originally baked these bars when my kid's baseball team wanted snacks for their games. They vanished quicker than everything else, and these days my family asks for them at basically every get-together we have.
Ingredients
- All purpose flour: builds the right base for these bars while keeping them soft
- Baking powder: adds the perfect amount of rise without making them too fluffy
- Fine sea salt: brings out all the tastes, mostly the sweetness
- Creamy peanut butter: delivers the main flavor - stick with brands like Jif or Skippy for best outcome
- Unsalted butter: makes them extra yummy and helps get that chewy bite
- Granulated sugar: sweetens while making crispy edges
- Light brown sugar: creates richer flavor and keeps everything moist
- Large eggs: hold everything together and give structure
- Vanilla extract: boosts the other flavors
- Peanut butter chips: make the peanut taste even stronger
- Semi sweet chocolate chips: cut through sweetness with slight bitterness
Step-by-Step Instructions
- Prepare Your Workspace:
- Turn your oven on to 375°F and put parchment paper in your baking pan with some hanging over the sides. This way you can lift the bars out easily and cut them perfectly.
- Mix Dry Ingredients:
- Stir flour, baking powder, and salt together in a bowl until they're mixed really well. This gets rid of lumps and makes sure the baking powder works throughout.
- Cream The Fats:
- Beat the softened butter and peanut butter until they're totally smooth. Your butter should be soft but not melty for the best results.
- Add Sugars:
- Slowly put both sugars into the butter mix, and keep beating until it looks lighter and gets fluffy. This puts air in the mix and helps the texture turn out right.
- Incorporate Eggs And Vanilla:
- Put in one egg, mix it in completely, then add the next one. This keeps the mix from breaking apart. Then stir in the vanilla just until it's mixed.
- Combine Wet And Dry Ingredients:
- Little by little, add the flour mix to the wet stuff, stirring gently just until it comes together. If you mix too much now, your bars might get tough.
- Add The Mix Ins:
- Fold in the peanut butter and chocolate chips with a spatula by hand. This careful approach stops overmixing and spreads the chips evenly through the dough.
- Spread In Pan:
- Put the dough in your pan and spread it out to the corners. Use a spatula or spoon back to make the top smooth so it bakes evenly.
- Bake To Perfection:
- Bake for 25 to 30 minutes, looking for golden edges and a toothpick that comes out mostly clean. The middle might still be a bit soft since they'll keep setting as they cool down.
- Cool And Cut:
- Let the bars cool all the way in the pan before lifting them out and cutting into squares. Full cooling means neat cuts and the right texture.
 Pin it
I really enjoy using both chocolate and peanut butter chips in these bars. My grandma always told me peanut butter needs chocolate the way bread needs butter, and this recipe totally follows her kitchen smarts.
Make Ahead And Storage
These cookie bars stay fresh in a sealed container at room temp for up to 5 days. If you want to keep them longer, wrap each square in plastic and freeze them for up to 3 months. Let them sit out for about an hour to thaw before eating. Their texture stays amazingly good even after freezing, so they're great for surprise dessert needs or when friends drop by unexpectedly.
Variation Ideas
While this basic version is super tasty, you can change these bars in tons of ways. Try using half butterscotch chips instead of chocolate for a flavor that tastes like Butterfinger candy. White chocolate with dried cranberries makes a nice sweet-sour combo. For extra fancy bars, drizzle some melted chocolate or thinned peanut butter over the top after they cool. You can even put peanut butter frosting between two thin bars for a really over-the-top dessert.
 Pin it
Serving Suggestions
These bars taste great by themselves, but they're really special when served a bit warm with vanilla ice cream on top. For a nice dessert plate, cut them tiny and put them next to brownie bites and blondies. They work great as ice cream sandwich bases too. I sometimes eat them with my morning coffee, though I don't really tell my kids about that habit.
Frequently Asked Questions
- → Can crunchy peanut butter work here?
Totally! Crunchy peanut butter can replace creamy, giving your bars a fun texture with little nutty bits. Use 1/2 cup as usual, but expect a slightly chunkier feel.
- → How do I tell if they’re done baking?
When the edges are golden and a toothpick near the center comes out almost clean, they’re ready! A little stickiness is fine to keep them soft and chewy.
- → Can I freeze the bars?
Yes, they freeze beautifully! Let them cool, slice them up, and wrap each square in plastic wrap. Store in a freezer container for up to 3 months. Thaw before serving to enjoy.
- → What can I use instead of peanut butter chips?
Butterscotch, white chocolate chips, or extra semi-sweet chocolate chips work great. For an indulgent twist, chopped peanut butter cups are a fun alternative too.
- → Can these bars be made gluten-free?
Yes! Swap all-purpose flour for a gluten-free baking mix (1:1 ratio). Double-check all other ingredients, like baking powder, are certified gluten-free as well.
- → How do I keep them fresh after baking?
Use an airtight container at room temperature—they’re good for up to 5 days. Layer parchment between them to prevent sticking. For longer storage, refrigerate up to 7 days or freeze as mentioned earlier.