
 Pin it
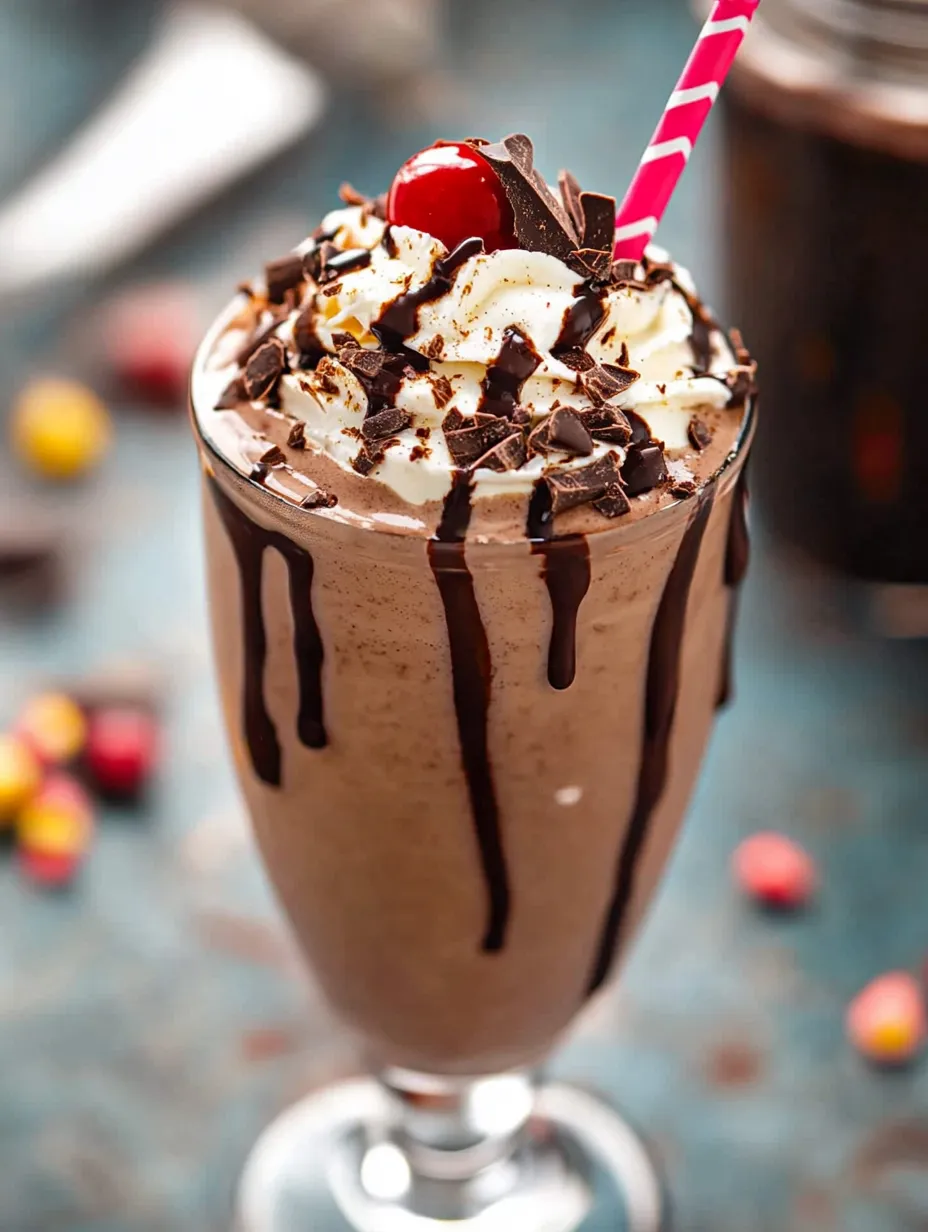
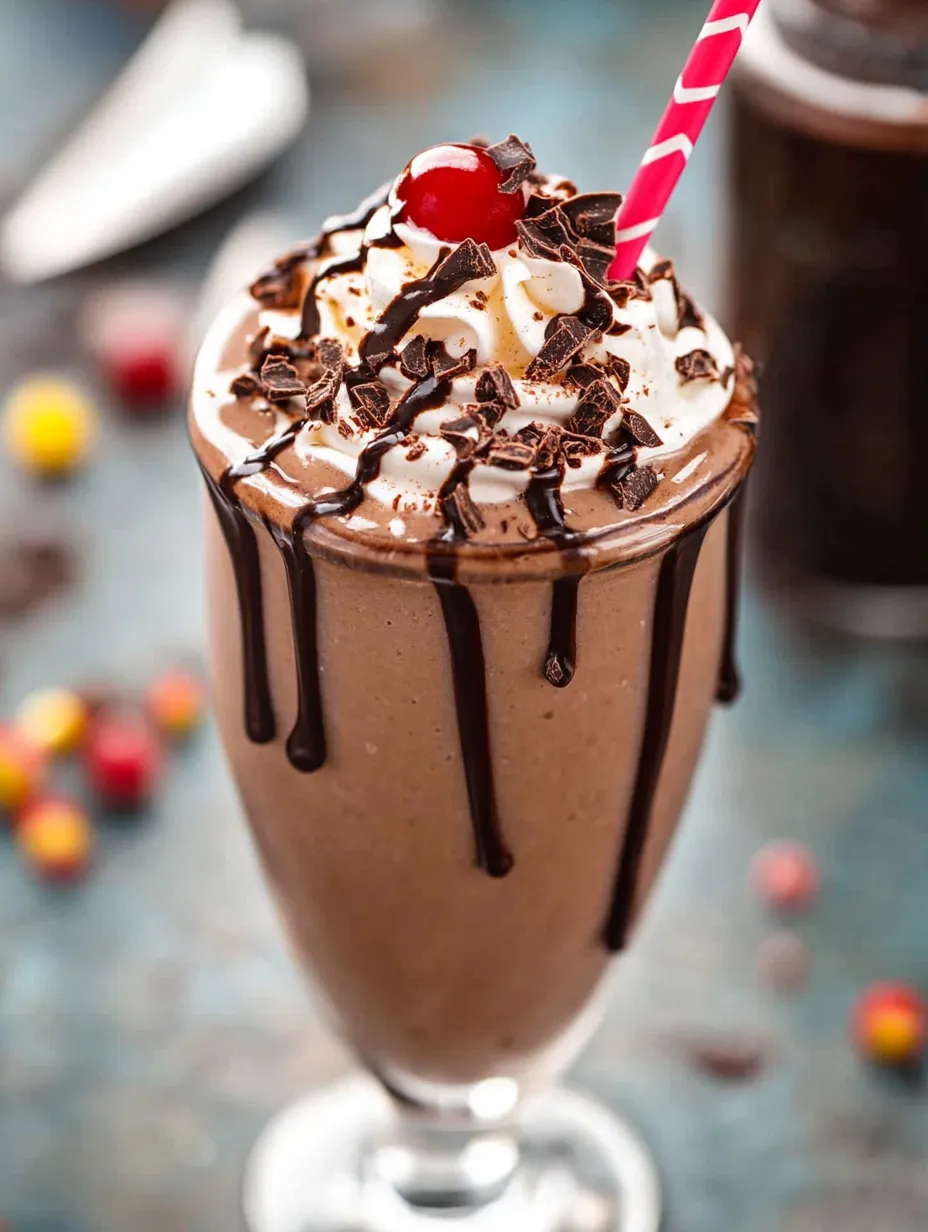
When you need comfort and that classic childhood goodness, there's nothing quite like a super-thick chocolate milkshake. It’s those dreamy, creamy vibes with a blast of chocolate and all the toppings you can pile on top. I can't even count how many times I whipped up this old favorite as a kid. Now it's my go-to during family movie nights.
If I want something sweet ASAP, I reach for this chocolate shake. My friends and I made a DIY shake station one summer, and even now, everyone still picks this flavor first.
Decadent Ingredients
- Whipped cream: gives each glass a fluffy, sweet finish—go for freshly whipped if you can
- Maraschino cherry: that iconic topping for milkshake shop vibes; snag the ones kept in juice—they taste best
- Sprinkles: throw on some color and fun, classic chocolate or rainbow is a solid choice
- Chocolate milk: pick full-fat for the thickest, smoothest results you can get
- Chocolate ice cream: sturdy, high quality is what you want for all that rich, creamy chocolate flavor
Simple Steps
- Finishing Touches:
- Pour that chocolate shake into your ice-cold glass and top it off with whipped cream. Grab some sprinkles and finish with a maraschino cherry. Grab a thick straw and drink right away.
- Chilling the Glass:
- Pop your chosen glass in the freezer while you blend. This little trick makes the shake stay super cold and thick from first sip to last drop.
- Blending the Milkshake:
- Toss a third-cup of chocolate milk in with the ice cream. Go for the full-fat option if you want things extra-rich. Blend it until everything is totally smooth, and scrape the sides down if you need to. Your blender will probably take somewhere between thirty seconds and a minute.
- Prepping the Base:
- Let your chocolate ice cream hang out on the counter till it softens a bit, then scoop two cups into your blender. That chill-out time helps it mix up creamy and thick.
 Pin it
Nothing makes this shake better than chocolate ice cream. It's sweet, chocolate-packed, and basically the center of all the flavor. My family knows this by memory, and somehow when we drink them together on the porch, it's even better.
Freshness Advice
Best move is to have your shake right after blending. If you need to save some, pour it in a freezer-friendly cup, cover tight, and finish it up within a day for a creamy sip. If you freeze it much longer it'll likely turn icy and won't have the same smoothness after reblending.
Swaps and Changes
No chocolate milk? Mix regular milk with some cocoa powder and sugar—about a teaspoon or two. Swap in a little heavy cream for next-level richness. Want something different? Use any ice cream you’ve got; vanilla makes a cool twist for that black-and-white vibe.
How to Serve It
Go classic diner with a frosty glass straight from the freezer. Want more crunch? Toss in crushed cookies or chocolate chips. Feeling fancy? Adults can spike it with a splash of espresso or a bit of liqueur for an after-dinner treat.
 Pin it
Fun Milkshake Facts
Milkshakes became the big thing at American soda shops way back in the early 1900s. Chocolate came out as one of the original hits. That’s probably why it still never goes out of style with any age group.
Frequently Asked Questions
- → How do I achieve a thicker milkshake?
Let your chocolate ice cream hang out on the counter a while before you toss it in the blender. Using less milk keeps the texture rich and thick too.
- → Can I use non-dairy alternatives?
Definitely! Swap in your favorite plant-based chocolate ice cream and milk. It still tastes awesome.
- → What toppings complement this milkshake?
Whipped cream, sprinkles, and cherries are classics. You can also throw on some chocolate bits or drizzle chocolate syrup.
- → How can I prevent my milkshake from becoming too runny?
Keep your ratio heavy on ice cream and don’t blend for too long. Also, serving your shake in a chilled glass helps it stay nice and thick.
- → Can I add extra flavors to the milkshake?
Add a dollop of peanut butter or pour in a bit of vanilla for a different taste twist.