
 Pin it
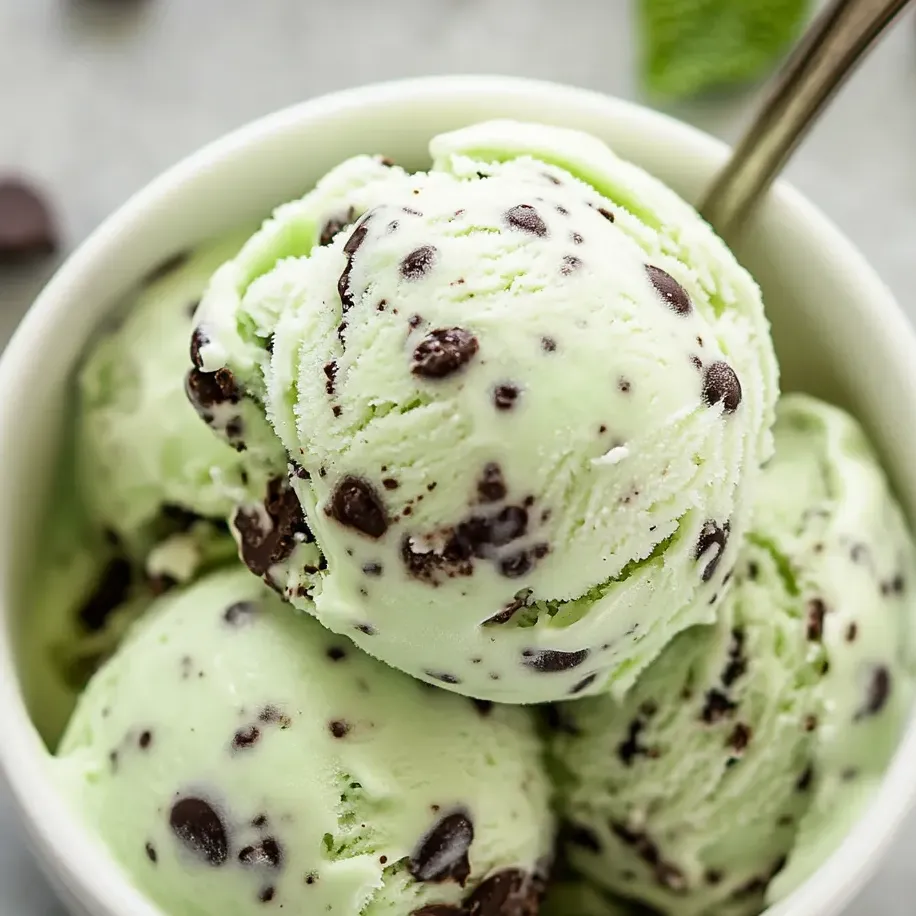
Homemade mint chocolate chip ice cream just hits different. The creamy, cool combo with chunks of chocolate takes me right back to family summers, hanging out and spinning the churn together. When you make it at home, you get to pick how minty you want it and what kind of chocolate goes in. Trust me, you’ll really notice the difference.
This one first happened for my kiddo’s birthday. Those little green spots mixed with dark chocolate have never failed to make us grin. A bit of chill time is worth it because you’ll get incredibly dreamy texture.
Chill Minty Ingredients
- Finely chopped dark chocolate or mini chocolate chips: Chunks of bittersweet chocolate add a great contrast Go for higher quality chocolate and chop however you’d like
- Green food coloring (optional): A couple of drops gives you that classic color Natural gel coloring works well if you skip artificial dyes
- Pure mint extract: The main flavor brings that icy mint vibe Make sure to get pure extract for real freshness
- Vanilla extract: Balances out the flavors and works with the mint Only real vanilla gives that deep, warm taste
- Egg yolks: The secret to a rich, scoopable custard Go for golden yolks from pasture-raised eggs if you can
- Granulated sugar: Brings sweetness and helps make it smooth Use superfine white sugar so it blends in fast
- Whole milk: Keeps it light and creamy without going overboard Full fat is the way to go for that perfect texture
- Heavy whipping cream: The rich, creamy base—try to get some that’s not ultra-pasteurized so it tastes the freshest
Easy Directions for Chilly Treat
- Scoop and Enjoy
- Let the ice cream hang out on the counter for a handful of minutes so it’s easy to scoop. You’ll get that perfect shop-style scoop.
- Freeze Until It’s Solid
- Spoon your churned ice cream into a pan or freezer container, spread it smooth, seal it up, then stash it in the freezer for a few hours or until it’s firm enough to serve.
- Add the Chocolate Bits
- When your ice cream is almost done churning, toss in the little chocolate pieces or chips. Fold them in so they’re mixed through and not all at the bottom.
- Churn Your Custard
- Once everything’s chilled, pour the base into your frozen ice cream maker bowl. Churn—it’ll thicken up into a perfect soft-serve consistency.
- Chill the Mixture
- Dump the custard into a big bowl or measuring cup and cover the top with plastic wrap touching the custard. Chill in the fridge until it’s good and cold—a few hours or overnight is awesome.
- Mix in the Flavor
- Take the pot off the heat and stir in vanilla, a splash of mint extract, and a touch of food coloring if you want. This keeps the taste and color bright.
- Heat Up the Custard
- Pop the pan over medium heat and whisk gently. Don’t let it boil. It’ll thicken as it heats. Dip a spoon in—if you can swipe your finger and leave a mark on the back, it’s ready.
- Stir Up the Base
- In a big saucepan, mix cream, egg yolks, milk, and sugar until it’s all blended with no lumps for the smoothest texture.
- Get the Ice Cream Maker Ready
- Freeze your machine’s bowl plenty ahead of time—this part’s crucial! Check the instructions for your brand too.
 Pin it
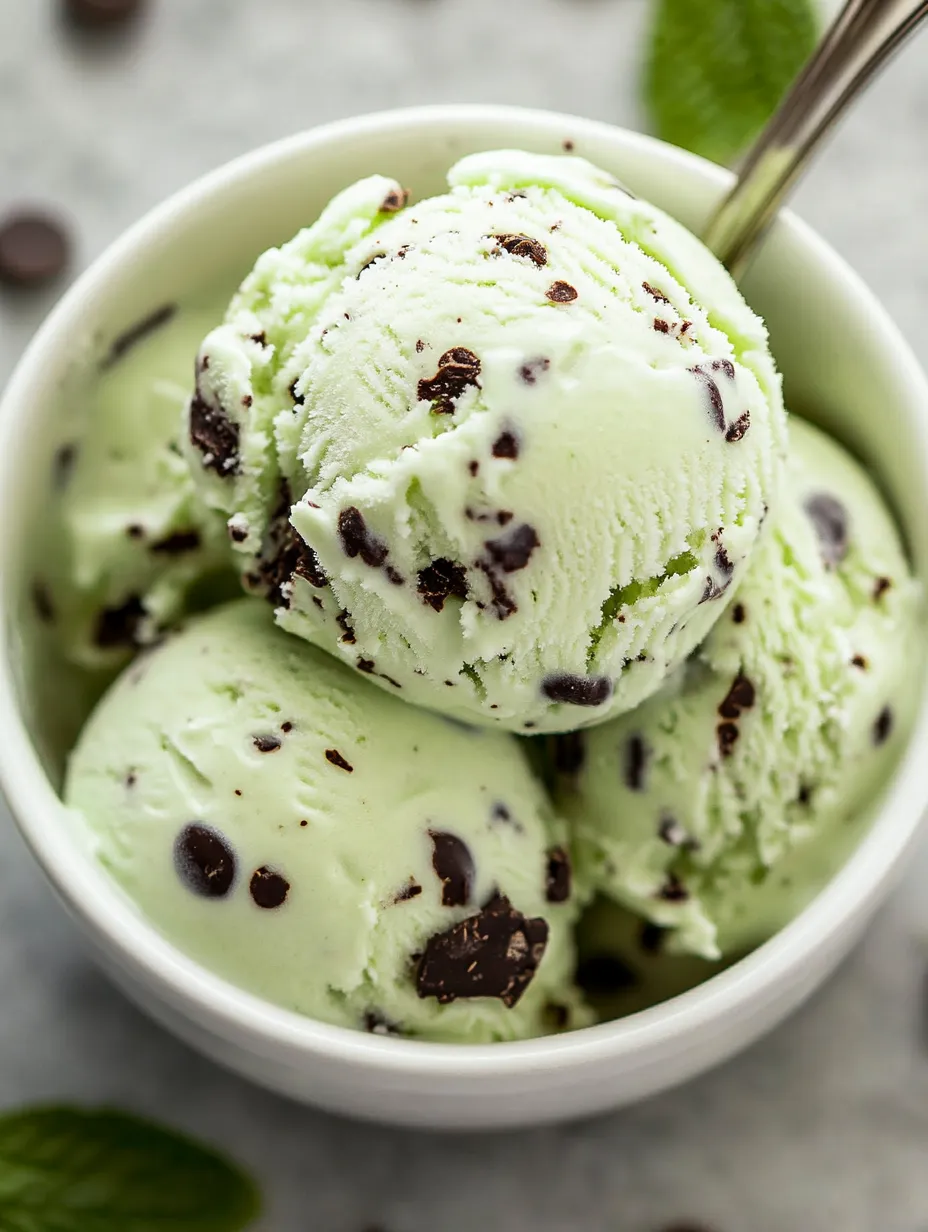
I always love hunting for the best chocolate bar to chop up. Every ribbon of chocolate with cool mint takes me to hot pool days, trying to finish my cone before it turned into a puddle with my brother chomping along beside me.
Tips to Store It Right
To keep it creamy, cover your ice cream tightly in the freezer so you don’t end up with icy chunks. Lay plastic wrap right on the ice cream before putting the lid on. Always use a totally dry scoop and put it back in the freezer quick after serving.
Swap-Out Ideas
Want it richer? Use more cream and less milk. No pure mint? Peppermint’s okay. Try coconut milk and vegan chocolate for a dairy-free scoop. Skip any food color if you want to keep it natural-looking.
Fun Ways to Serve
Dole it out in a cone or bowl, then add a sprig of mint or scatter some extra chocolate on top. Sandwich it between two chocolate cookies for a dreamy sandwich. Or pour over some hot fudge for a super rich sundae.
 Pin it
Backstory of Mint Chocolate Chip
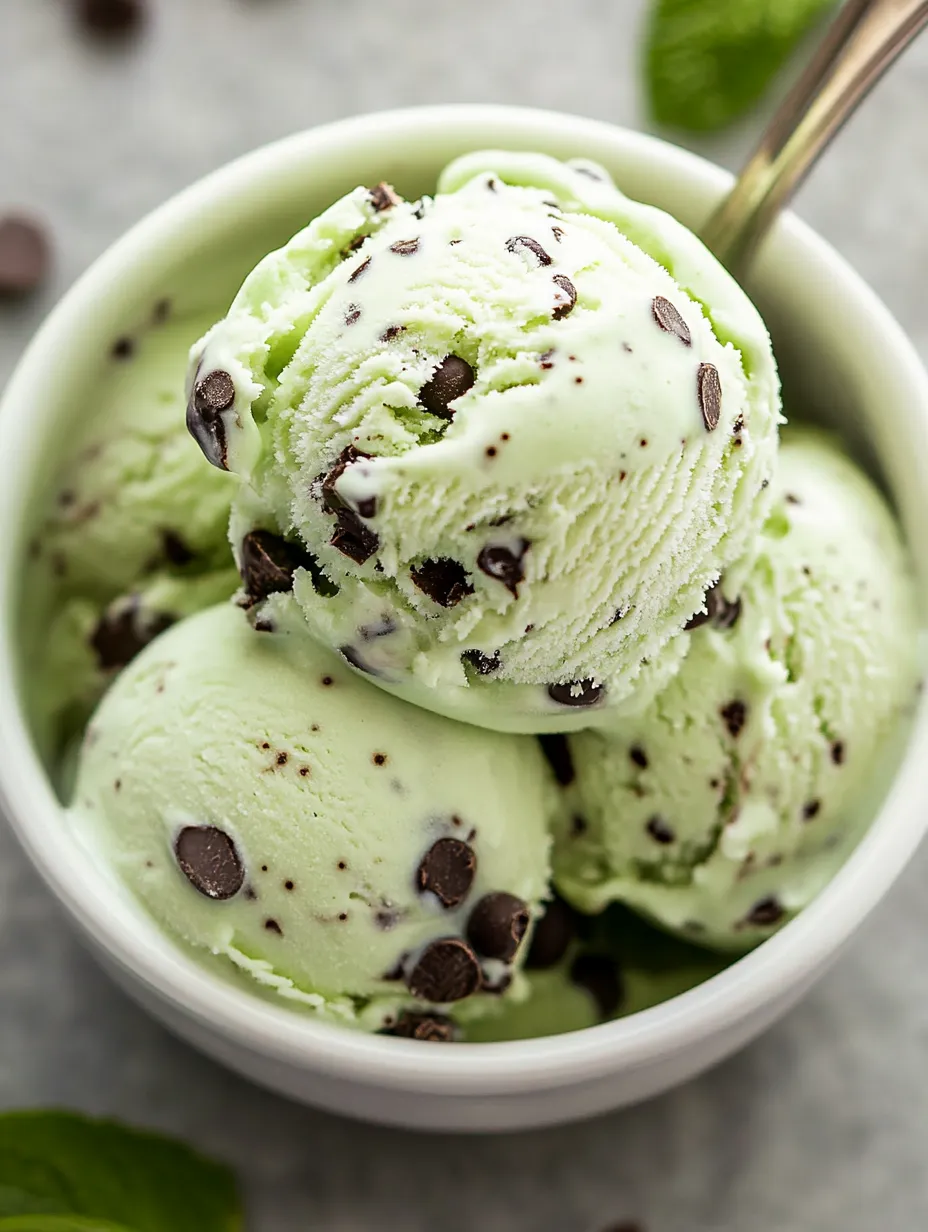
Mint chocolate chip’s been an ice cream shop favorite across the US for ages. Dreamed up in the mid-1900s, it stood out thanks to that cool flavor and punchy green color. Making your own brings all the old school fun, but you get to use better stuff.
Frequently Asked Questions
- → What type of chocolate works best?
Chop up dark chocolate into little bits or use mini chips if you like. Both sneak chocolate into every single bite for killer taste and crunch.
- → Can I adjust the level of mint flavor?
Sure—using pure mint extract means you can dial the taste up or down so it’s just how you like it.
- → How do I achieve a vibrant green color?
If you want a minty green look, stir in a couple drops of green food coloring before the mix chills. Or just skip it for a snowy white treat.
- → Is an ice cream maker necessary?
Churning the mix as it chills gets it extra smooth and creamy, so an ice cream maker helps a lot. You could try a no-churn style if you don’t have one, but the texture will be a bit different.
- → How do I store homemade ice cream?
Put it in a sealed container in your freezer, and it’ll keep for around three months. Let it sit out for a minute before scooping so it’s easier to serve.
- → Can the richness be adjusted?
If you want it even richer, swap in more cream and use less milk. That’ll give your frozen treat more wow factor.