
 Pin it
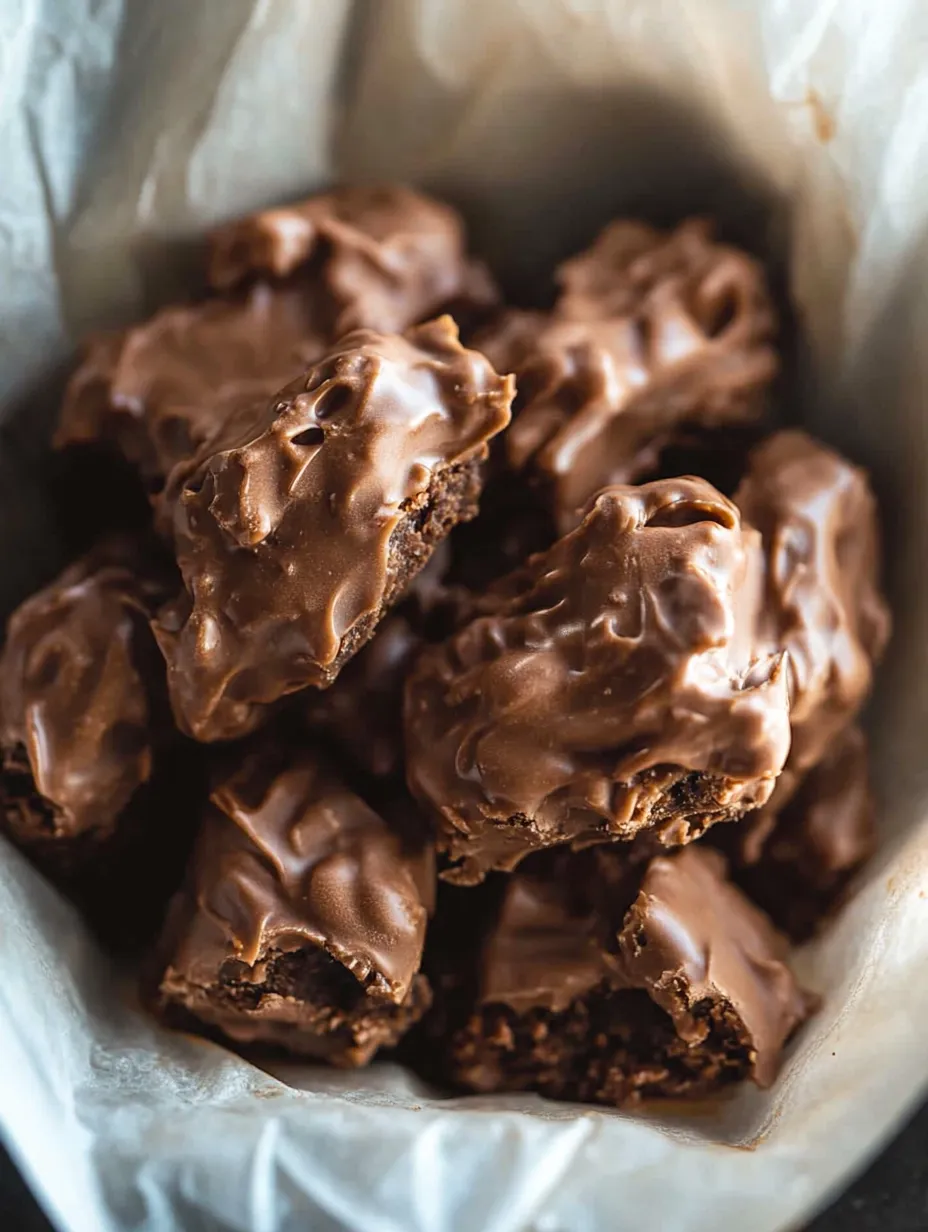
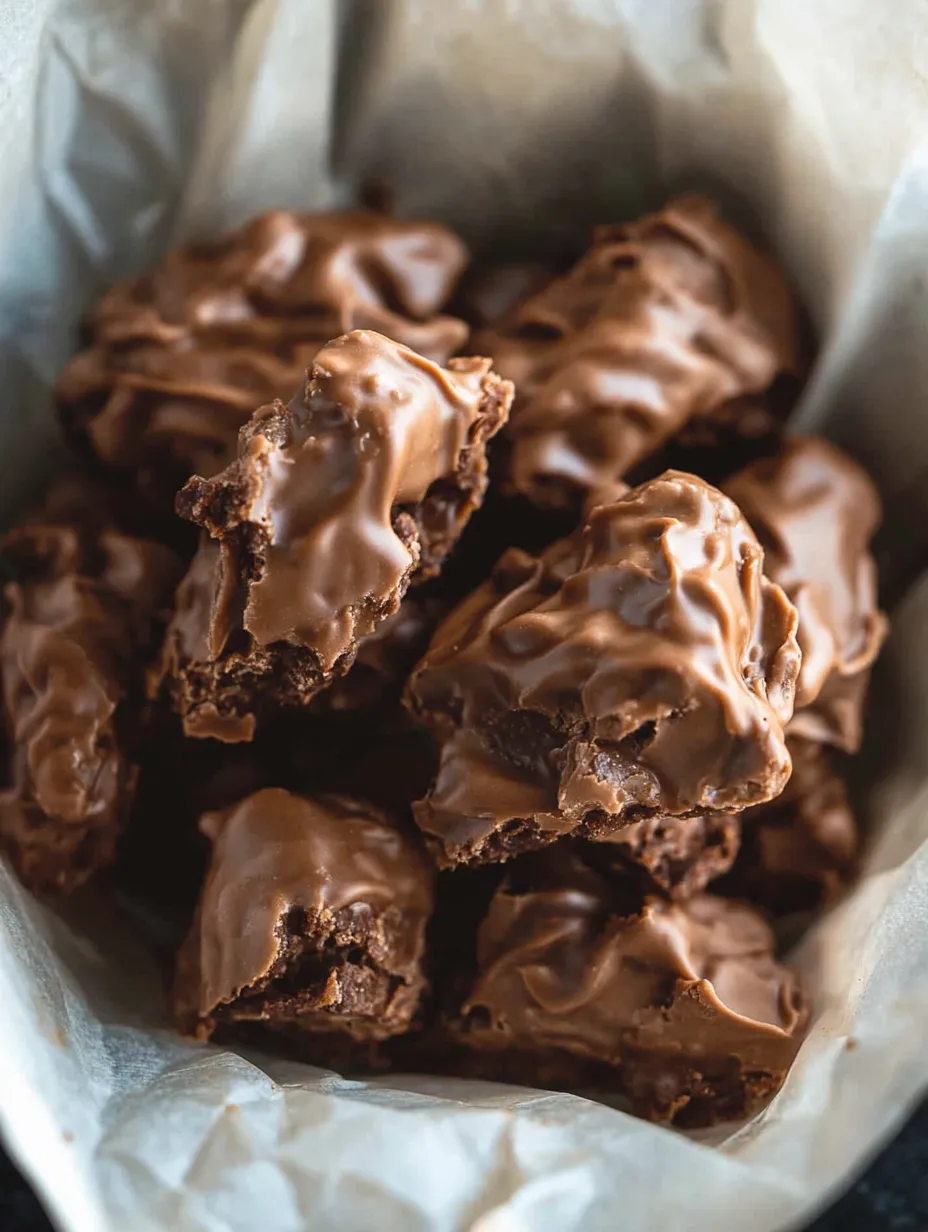
This DIY take on the famous 100 Grand candy treat brings together gooey caramel, crunchy rice cereal, and velvety milk chocolate for a nostalgic snack that's way better than what you'd buy. It's great for holiday presents or when you're craving something sweet without heading to the store.
I started making these during a downpour when my kids were bored stiff, and it quickly turned into our favorite weekend ritual. These days they beg me to make them for every school fundraiser and block party.
Ingredients
- Unwrapped caramels: They're the base that gives you that signature chew. Soft Werthers work amazingly but any decent soft caramel will get the job done. Just pick ones that bend easily when they're not cold.
- Milk chocolate chips: These make the classic outer layer. Go for something good like Ghirardelli if you want smooth melting and rich taste. You can swap in dark chocolate if you want something a bit fancier.
- Vegetable shortening: This thins out your chocolate so it's easier to dip and sets up nicely. Just a small amount really helps you get that store-bought look.
- Crispy rice cereal: This adds the must-have crunch that makes these candy bars special. Plain Rice Krispies are perfect, though any similar cereal works fine. Just make sure it's fresh or you'll end up with weird texture.
Step-by-Step Instructions
- Get your caramel ready:
- Grab two caramels and squish them flat between your fingers, trying to make a small rectangle about half an inch thick. If they're too hard to work with, pop them in the microwave for 5 seconds to soften them up. You want small shapes that look like tiny 100 Grand bars. Keep doing this with all your caramels and put them on waxed paper as you go.
- Get your chocolate ready:
- Put your chocolate chips and shortening in a bowl that's safe for the microwave. Heat them at half power for 30 seconds at a time, and stir well between each burst until it's totally smooth. Or you can use a bowl over a pot of simmering water, stirring until everything melts. The shortening helps make the coating just right.
- Mix in the crunchy bits:
- Stir the rice cereal into your melted chocolate mix, folding carefully but making sure every bit gets coated without smashing the cereal. This gives you that special snap that makes these candy bars so good. Your mix should be thick but still runny enough to coat the caramel pieces.
- Cover your caramel pieces:
- Take one caramel rectangle and drop it into the chocolate cereal mixture. Use a fork to push it under and cover it completely. Lift it out with the fork and tap gently on the bowl edge so extra chocolate drips off. You want good coverage but not too much.
- Let them firm up:
- Put each covered candy bar on waxed paper with some room between them so they don't stick together. Leave them alone at room temperature for 1-2 hours until they're fully set. If you're in a rush, stick them in the fridge for about 30 minutes, but bring them back to room temp before eating for the best texture.
 Pin it
That bit of vegetable shortening is my hidden trick in this recipe. I learned how important it is the hard way after my first try turned into a clumpy mess during dipping. My grandma actually showed me this method when we made chocolate-covered strawberries every Valentine's Day. That tiny spoonful is what separates okay results from treats that look store-bought.
Storage Solutions
Your homemade candy bars will stay fresh at room temperature for up to two weeks if you keep them in a sealed container with parchment paper between the layers to stop them from sticking together. If you need them to last longer, the fridge works too, but might make the caramel a bit firmer. Just let them warm up before eating to get that perfect chewy bite. If you live somewhere hot, keeping them in the fridge is your best bet to stop the chocolate from getting soft or developing that whitish coating.
 Pin it
Tasty Twists
The standard recipe is great on its own but there's so much room to play around. Try using dark chocolate or white chocolate instead of milk for a different flavor. Add a tiny bit of sea salt to the caramel for a modern twist. Mix some peanut butter into the chocolate for a candy bar mashup. During the holidays, throw on some crushed candy canes or colorful sprinkles while the chocolate's still wet to make them festive. My family goes crazy for them when I mix toasted coconut into the crunchy chocolate coating.
Ways To Enjoy
These DIY 100 Grand bars look amazing on dessert plates when cut into smaller pieces. They go really well with coffee or hot chocolate after dinner. Tuck them into lunch boxes for a surprise treat. Set them out on a nice plate with other homemade sweets when you're hosting guests. For a fancy dessert, chop them up and sprinkle them over vanilla ice cream with some caramel sauce. They also make wonderful gifts during the holiday season when paired with other homemade goodies.
Frequently Asked Questions
- → Can I swap out the caramels for a different kind?
Sure! You can use any soft caramels that you like, though Werther's soft caramels work great for their smooth texture and rich flavor. Kraft caramels are another solid option. Be sure not to use hard caramels as they won't flatten well. If your caramels are firm, a quick 5-10 second microwave zap can make them easier to work with.
- → How long will these last?
These treats will stay fresh for 1-2 weeks when stored in a sealed container at room temperature. You can also keep them in the fridge for up to 3 weeks or freeze for 3 months. Let them come back to room temperature before biting in to enjoy the best texture.
- → Is dark chocolate an option instead of milk chocolate?
Definitely! Dark chocolate gives a more intense flavor, while milk chocolate keeps things closer to the original candy. Semi-sweet chocolate is a nice in-between choice. No matter which you pick, use the same amount with a bit of vegetable shortening for the best consistency.
- → Why do we need vegetable shortening in the chocolate?
Adding a bit of vegetable shortening helps the chocolate coat the caramels more smoothly and keeps it from cracking when it hardens. If you're out of shortening, coconut oil works as an alternative, but it might add a faint coconut hint to the flavor.
- → What’s the easiest way to coat the caramels in chocolate?
Grab a fork to dunk each caramel into the chocolate-rice mix. Gently tap the fork on the edge of the bowl to shake off extra coating, then slide the candy onto waxed paper with a second fork or knife. Coat only a few pieces at once so the chocolate stays warm and easy to handle.
- → Can I make this candy with different flavors?
Absolutely! Try stirring a tiny bit of vanilla into the melted chocolate. For a seasonal twist, sprinkle sea salt, add a pinch of cinnamon, or a little peppermint oil for a holiday vibe. Once set, drizzle with white chocolate for a fancier finish.