
 Pin it
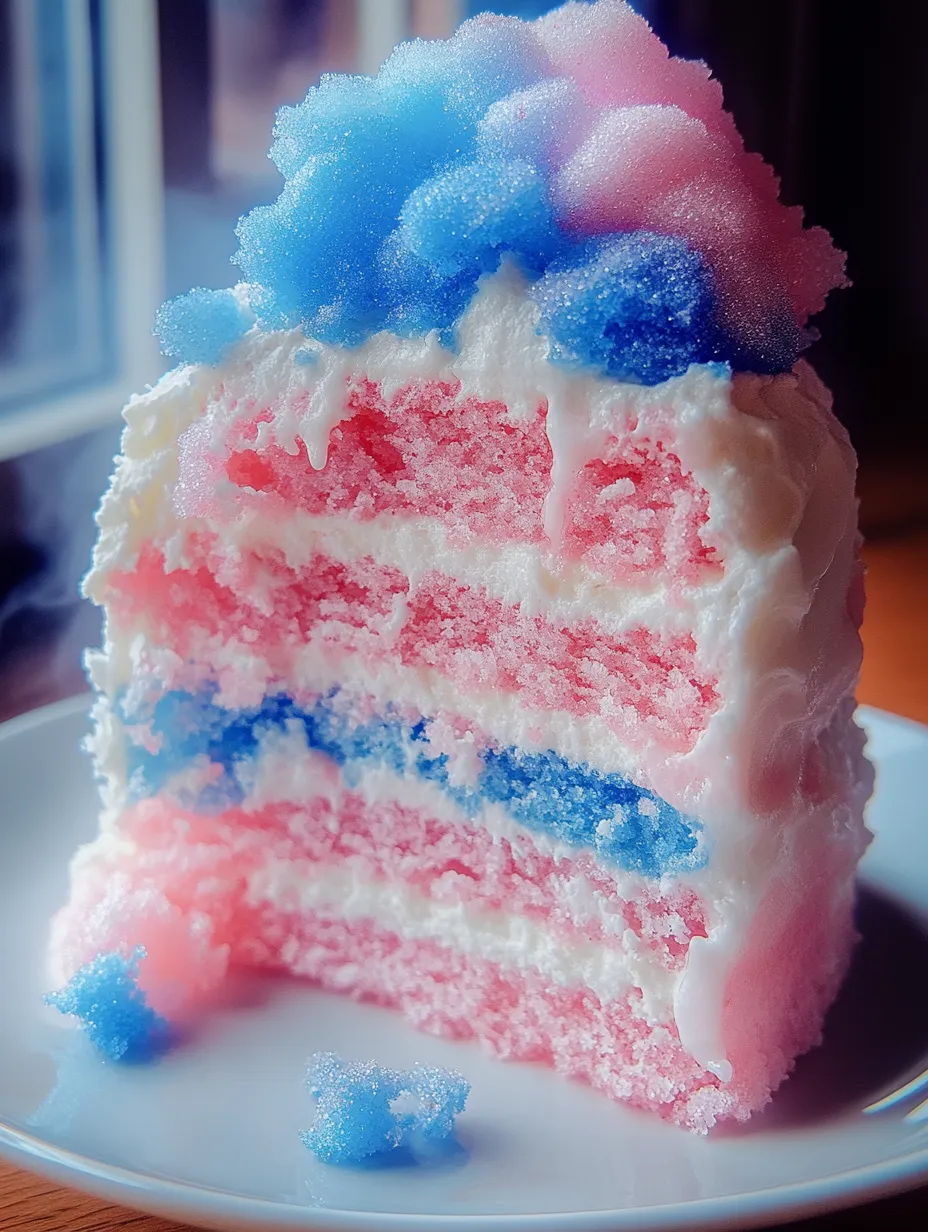
Every slice of this cotton candy cake brings that playful fairground energy—soft colorful layers, sweet swirls of frosting. It's the perfect pick for parties or anytime you're aiming for a treat that's fun to look at and even better to eat.
One time I made this for my niece’s party and her jaw literally dropped seeing the stripes inside. Now, she won’t let a birthday go by without it.
Irresistible Ingredients
- Sprinkles: jazz up your cake with festive shapes or soft colors
- Cotton candy for topping: gives that carnival vibe—just pile it on right before serving for max fluff
- Heavy cream or milk: helps smooth the frosting—whole milk is great too
- Powdered sugar: gives a pillowy finish to your icing—just sift for the silkiest result
- Food coloring: pick your faves—pastel gel gives you bold, pretty shades
- Whole milk: keeps cake soft and rich—regular milk is fine in a pinch
- Cotton candy extract: brings that fun fair taste—look for a quality baking brand
- Vanilla extract: rounds out the flavors—real vanilla adds the best scent
- Large eggs: binds and lifts—let them warm up before mixing for a smooth blend
- Granulated sugar: gives sweet, even layers—always sift so you don’t get lumpy batter
- Unsalted butter: delivers a creamy bite—better butter means a softer cake
- Salt: keeps everything from getting too sweet—fine salt is best for mixing
- Baking powder: raises the cake sky high—double-check that it’s still active
- All-purpose flour: creates a fluffy but sturdy base—grab the freshest bag for the lightest texture
Go for ingredients that smell fresh and strong. Those little details make your cake taste bright and light. Make sure nothing's past its date.
Easy-To-Follow Steps
- Add Your Decorations:
- Right before you dig in, press cotton candy along the side and top then scatter sprinkles. Add the cotton candy at the end so it doesn't dissolve.
- Put It All Together and Frost:
- Stack the first layer on your plate, spread on some frosting, and repeat for the rest. Get the sides and top covered for a smooth, even look.
- Mix Up the Frosting:
- Beat butter until it’s nice and soft, then slowly work in sifted powdered sugar. Alternate with a bit of cream or milk. Once it’s fluffy, mix in those extracts and coloring if you want more pop.
- Let the Cakes Chill:
- Let your cakes rest in the pans for ten minutes, then flip them out to finish cooling on a rack. Make sure they’re all the way cool before you frost so nothing melts.
- Pop Them In the Oven:
- Spoon the colored batters into your pans, smooth the tops, and bake about twenty-five to thirty minutes until a toothpick comes out clean. Level pans mean even layers!
- Tint the Batter Fun Colors:
- Split your batter into bowls—however many colors you like. Add in food coloring and gently mix so you get bold, even colors without overmixing.
- Alternate Wet and Dry:
- Work in your flour blend and milk, a bit at a time, starting and ending with the flour. Stir easy so the batter stays light.
- Blend in Eggs and Flavors:
- Add eggs one at a time, mixing in each so it’s nice and smooth. Then add both extracts so the taste spreads evenly.
- Make the Butter and Sugar Fluffy:
- With a mixer, beat softened butter and sugar in a big bowl for 2–3 minutes until it’s airy and very pale. That makes for a soft, delicate cake
- Dry Mix Next:
- Whisk together your flour, baking powder, and salt in a medium bowl so the cake rises even and clumpy spots are gone.
- Set Up Your Pans First:
- Start by getting your oven up to 175 Celsius. Grease three 20cm round pans and line each with parchment circles. This makes sure the cakes slide out cleanly without fuss.
 Pin it
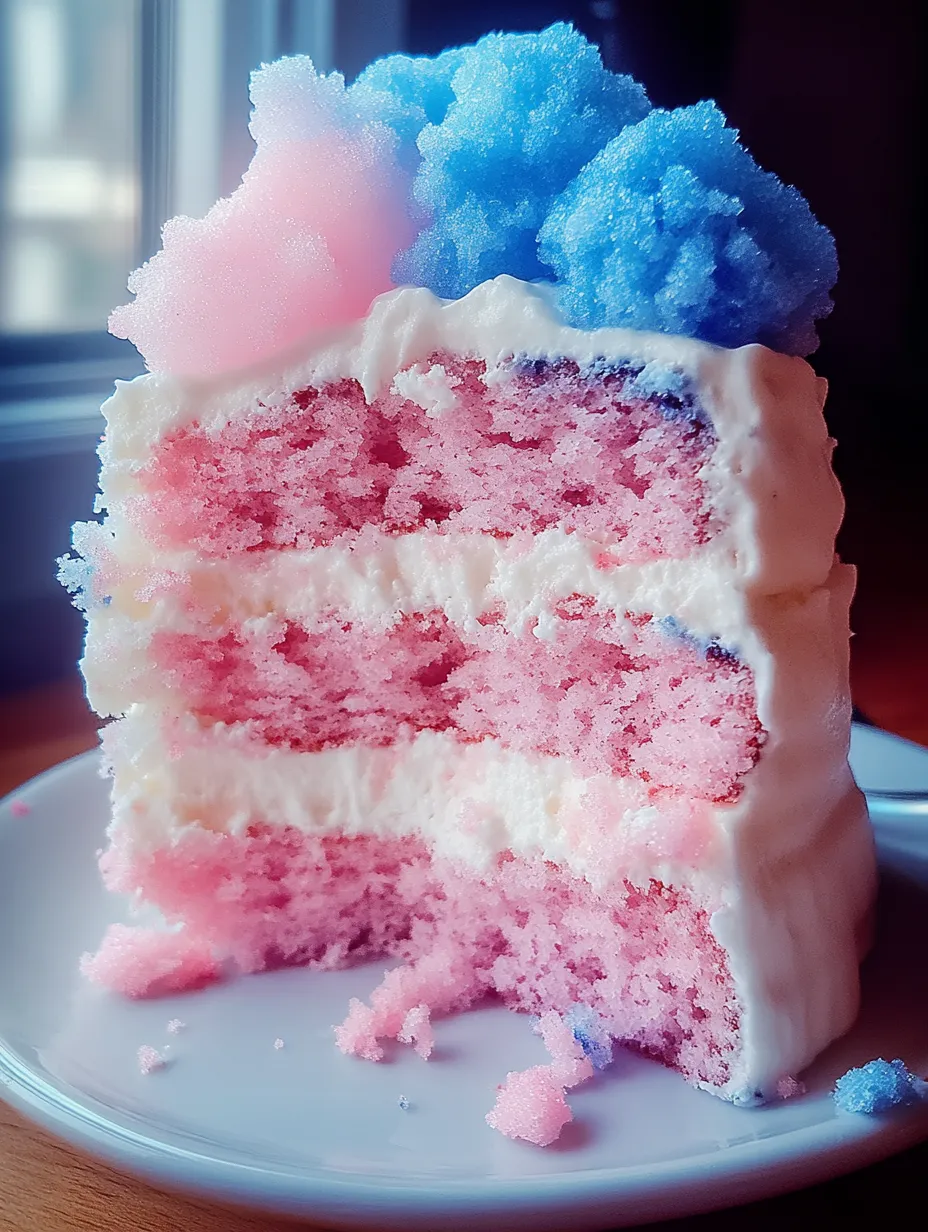
The best bit? Mixing swirls of color in the batter with my niece and peeking into the oven to see our swirl art bake up. Plus, sneaky spoonfuls of frosting turned decorating into an extra sweet moment for us both.
How to Store
Stash leftovers in an airtight tub at room temp for a couple of days to keep them soft. Only add the cotton candy topping when you’re about to serve so it stays fluffy. For longer storage, chill it in the fridge but always let slices warm up first so every bite is still moist and soft.
Ingredient Swaps
If you can’t get cotton candy extract, almond or raspberry extract works for a fun twist. Gel food colors bring the brightest shades without making the batter watery, but regular food color will do in a pinch. Swap in non dairy milk for whole milk if needed—just expect the cake to turn out a tad less rich.
How to Serve
Bring this out for birthdays, spring showers, tea parties, or any day you want a wow moment. For full fairground magic, perch a tuft of fresh cotton candy on each slice. Pair it with berry punch or a fizzy lemonade for a cheerful treat tray.
 Pin it
Cotton Candy Cake Origins
This cake is all about reliving those sunny fair days. Swirled pastel batters nod to the classic blue and pink clouds you get at the carnival. Every time I cut a slice, it’s like being a kid again—sticky hands, silly rides, big laughs, and candy floss everywhere.
Frequently Asked Questions
- → What's the best way to get bright colors in every layer?
Pour your cake batter into different bowls, add drops of gel or liquid food dye, then fold the color through gently. Spoon each into pans once they look even.
- → What can I use if I can't find cotton candy extract?
If you’re out of cotton candy extract, try almond or raspberry extract for a fun twist on the flavor.
- → How do I keep the cotton candy on top from dissolving?
Wait until the last minute to place the cotton candy and sprinkles on top. Once it touches frosting or sits in humid air, it melts fast.
- → How do I swirl different colors through the cake for a marbled look?
Add all your colored batters into the pan, then run a knife or skewer around a couple times so they swirl together before you put it in the oven.
- → Should I keep the cake at room temperature or in the fridge?
Let your cake sit at room temp in a sealed container and it’ll stay tasty for two days. Just hold off decorating with cotton candy till serving.