
 Pin it
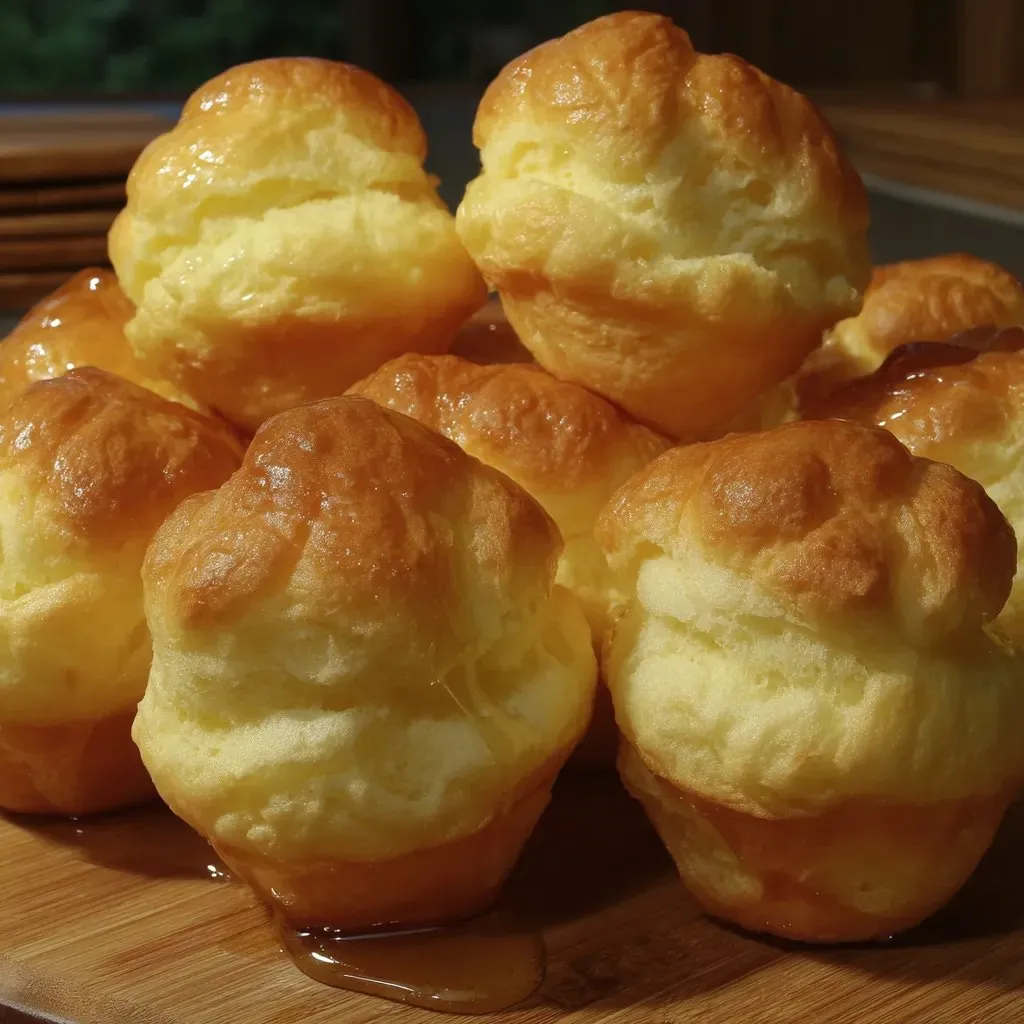
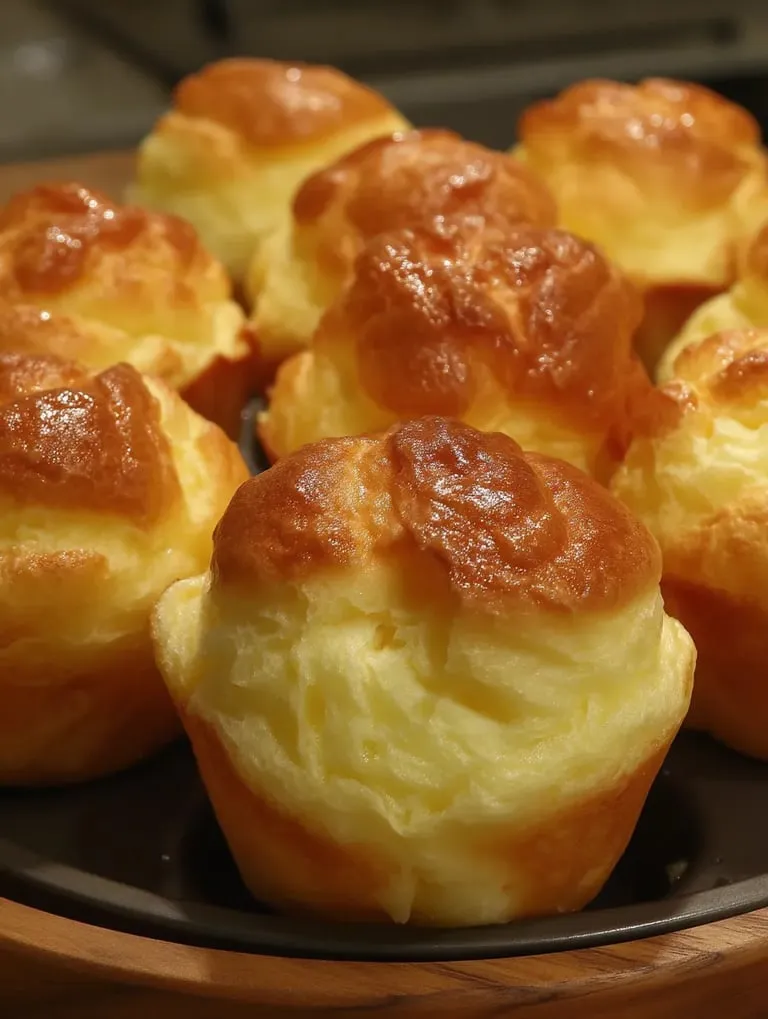
These feather-light Nun's Puffs have been my go-to trick for wowing my weekend brunch crowd for ages. Each golden, pillowy creation delivers that satisfying contrast between a crispy outside and a soft, empty center that's just begging for your favorite filling, whether sweet or savory.
I stumbled on this gem during a trip to a French monastery where the nuns served these cloud-like puffs with a generous drizzle of their homemade honey. One taste and I was hooked. I've been whipping them up ever since, trying out new fillings with every batch.
What You'll Need
- 1 stick unsalted butter: brings richness and helps form that lovely hollow center. Grab the good stuff for better taste.
- 1 cup whole milk: makes the puffs nice and soft. Don't swap in skim or they won't turn out right.
- 3/4 cup all purpose flour: gives these puffs their structure. Regular flour works great here.
- 4 large eggs: make sure they're room temp for proper puffing. Cold ones won't mix in well.
- Sugar: needed for both the mixture and topping to give sweetness and that nice crunchy outside. Fine granulated sugar blends in best.
- Optional extras: try honey-sweetened whipped cream and seasonal berries to make these everyday puffs feel extra special.
How To Make Them
- Get Everything Hot:
- Heat your oven to 375°F. Coat a 12-cup muffin tin thoroughly with butter or cooking spray. Don't skimp on greasing the edges too. This step saves so much frustration when it's time to pop them out.
- Mix Your Starter:
- Melt your butter completely in a medium pot over medium heat. Pour in milk and heat until you see tiny bubbles around the edge. Watch it closely – you need it hot enough to cook the flour properly.
- Make Your Base:
- Dump all the flour into your hot liquid at once and stir hard with a wooden spoon. Keep mixing over low heat until you get a smooth ball that pulls away from the sides. This cooking step helps the starches swell up to trap air bubbles later.
- Let It Rest:
- Take the pot off the heat and let your mixture cool about 5 minutes. This waiting part matters a lot. Too-hot dough will cook your eggs instead of mixing with them. It should feel warm but not burn your finger.
- Mix In Eggs:
- Beat in eggs one by one, stirring like crazy after each one until smooth. Don't worry when it looks curdled at first – keep stirring and it'll come together. Add sugar with your last egg if you want sweet puffs. This slow egg addition builds the structure they need to rise.
- Scoop Into Pan:
- Spoon your batter evenly into your greased muffin cups, filling each about 2/3 to 3/4 full. Sprinkle lots of sugar on top for a sweet crackly crust. Don't overfill – these babies grow a lot.
- Bake Until Done:
- Bake around 30 minutes until they've puffed up tall and turned golden brown. Don't open the oven door for the first 20 minutes or they might fall flat. They should feel light and hollow when tapped.
- Eat Right Away:
- Let cool just 2-3 minutes before gently taking them from the pan. They taste best warm with a drizzle of honey. Add a dollop of cream and fresh fruit to really impress your guests.
 Pin it
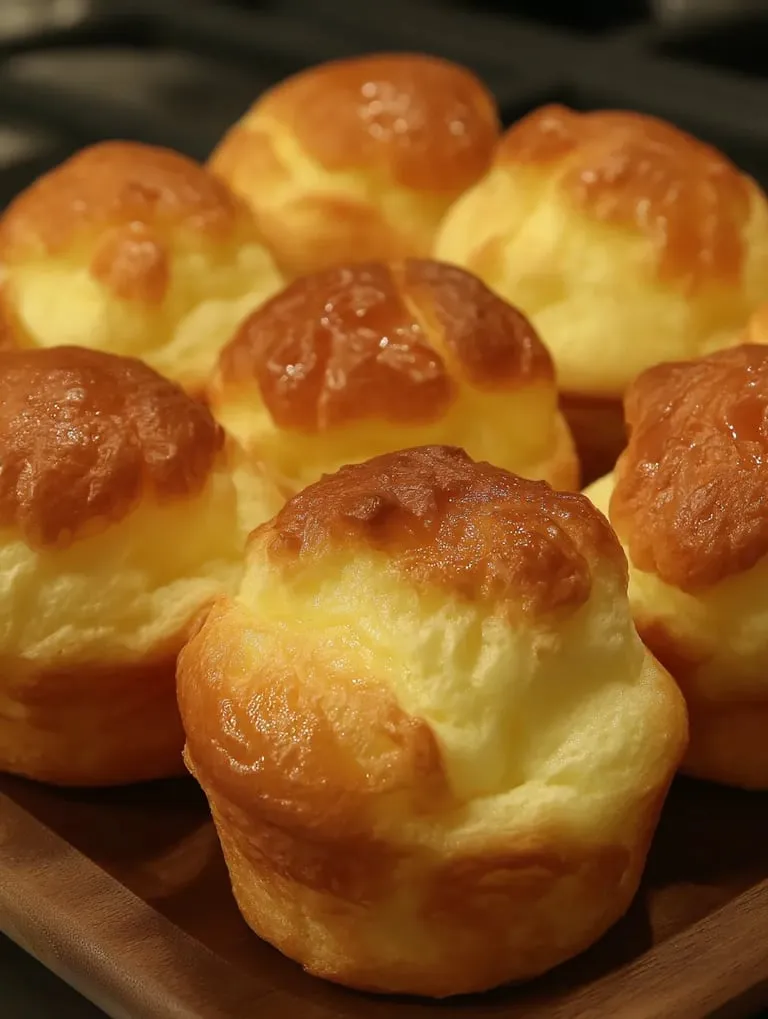
I still love eating these with just honey like I learned from those nuns, but my kids go crazy for them stuffed with vanilla custard and topped with fresh strawberries. We've made these little puffs part of every family celebration because they're so darn flexible.
Where Nun's Puffs Come From
These tasty treats go way back in European monastery cooking, with roots stretching back hundreds of years. They got their name from convent kitchens where the sisters created these simple yet fancy pastries for religious celebrations. They evolved as an easier version of choux pastry that needed less skill but gave similar wow-factor results. The nuns were experts at making tasty food with just a few ingredients, and these puffs show off their clever cooking know-how.
Prep In Advance
Though Nun's Puffs taste best fresh from the oven, you can get a head start on parts of the process. You can mix up the batter up to 2 hours before baking and leave it at room temp with plastic wrap pushed right against the surface. If you've already baked them, you can crisp them back up in a 350°F oven for about 5 minutes, though they won't be quite as amazing as when first made. For longer keeping, cool them completely and freeze in an airtight container for up to a month, then warm them straight from frozen in a 350°F oven for 8-10 minutes.
Mix It Up
Play around with these adaptable puffs by throwing in different stuff to change up the base recipe. Chocolate fans can mix 2 tablespoons of cocoa powder with the flour before adding to the milk mix. If you like savory snacks, stir in 1/4 cup grated parmesan or gruyere with your final egg for a dinner party hit. Try 1 teaspoon of lemon zest or 1/2 teaspoon of cinnamon in the batter for subtle flavor changes. You can do so much with this basic recipe that it can show up in tons of different ways throughout your cooking.
 Pin it
Frequently Asked Questions
- → What's the story behind the name Golden Puffs?
The name Golden Puffs refers to their light-as-air texture paired with their golden, crispy finish. These treats have origins in traditional European convent kitchens. Made with simple ingredients, nuns often prepared these for celebrations and gatherings, showcasing their impressive results with minimal effort.
- → Can I make the batter ahead?
Sure can! Mix it up and store it airtight in the fridge for up to a day. Let the batter sit out at room temperature for about half an hour before moving it to muffin tins and baking. But for the fluffiest puffs, it's best to bake the batter fresh.
- → Why do they deflate after baking?
Puffs collapse if you open the oven too early, don't bake them long enough, or don't mix the eggs properly into the dough. Keep the oven closed during the first 20 minutes of baking, bake until they're deep golden, and ensure each egg is fully blended into the batter before adding the next.
- → Can I make these puffs savory?
You bet! Skip the sugar in the dough and topping. Add in some chopped herbs like thyme or grated cheeses like Parmesan. Once baked, fill the centers with things like herbed cream cheese, smoked salmon, or spicy chicken salad for a delicious twist.
- → How do I keep any leftovers fresh?
These pastries are best eaten right out of the oven, but leftovers can sit in an airtight container for up to two days at room temperature. To refresh, pop them in a 350°F oven for five minutes. Just know they won't be as crisp and airy as when fresh.
- → Are they freezer-friendly?
Yes, they freeze well! Let the baked puffs cool, then seal them in a sturdy freezer container for up to a month. To reheat, pop them straight into a 350°F oven for about 8-10 minutes. Don’t let them thaw first—they’ll stay crisp this way.