
 Pin it
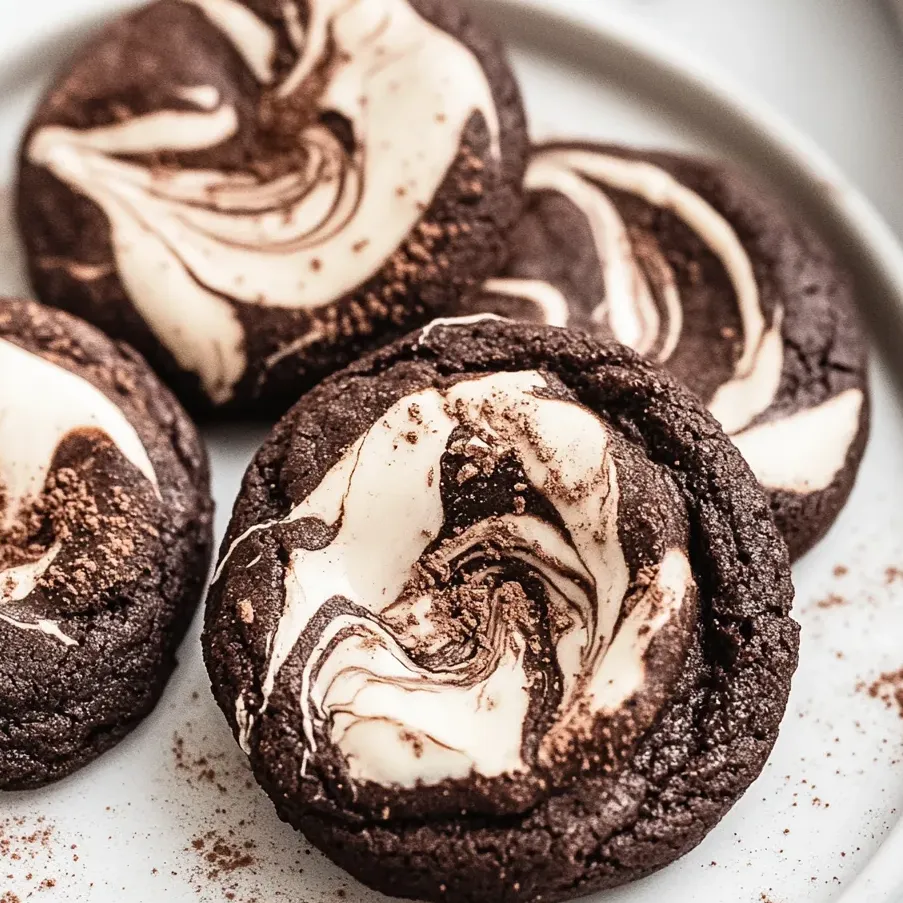
Every bite of these fudgy chocolate marshmallow cookies offers a perfect mix of dense chocolate goodness and soft, stretchy marshmallow. You'll love how the chewy base plays against the fluffy marshmallow topping, making them a hit with chocolate fans everywhere.
I whipped these up for my niece's party once and they vanished quicker than everything else on the table. The little ones called them "cocoa pillow cookies" because they reminded them of warm hot chocolate topped with puffy marshmallows.
What You'll Need
- All purpose flour: gives these cookies their shape while keeping them soft
- Unsweetened cocoa powder: brings that bold chocolate kick without too much sweetness; Dutch processed makes them darker
- Baking soda: gives just enough lift without making them too puffy
- Salt: cuts through sweetness and boosts the chocolate flavor
- Unsalted butter: softened to room temp for the best mixing with sugar
- Granulated sugar: adds sweetness and helps make those slightly crunchy edges
- Large eggs: room temperature eggs hold everything together nicely
- Vanilla extract: makes both the chocolate and marshmallow taste even better
- Marshmallow fluff: makes those pretty swirls and adds gooey sweetness
Making Your Cookies
- Mix the dry stuff:
- Stir flour, cocoa powder, baking soda, and salt together in a bowl until they're completely mixed. This helps break up any cocoa clumps that might ruin your cookies.
- Beat butter and sugar:
- Mix soft butter with sugar for about 3-4 minutes until it turns lighter and gets fluffy. Don't skip this part - it puts air in your cookies for the right texture.
- Mix in wet ingredients:
- Add eggs one by one, mixing for about 30 seconds each time. Then put in vanilla and stir until it looks smooth and shiny.
- Blend everything together:
- Slowly add your dry mix to the butter mixture, stirring on low. Stop as soon as the flour disappears so your cookies won't get tough. Your dough will be pretty thick.
- Let it rest:
- Cover the bowl and stick it in the fridge for at least an hour. This stops them from spreading too much and makes the flavors better. Plus, the dough won't be so sticky.
- Form and add marshmallow:
- Roll cold dough into balls and put them on baking sheets with parchment paper. Push your thumb in each one to make a dent, then fill with marshmallow fluff. Use a toothpick to make swirly patterns.
- Bake them right:
- Cook at 350°F for just 10-12 minutes. The edges should look done but the middle still a bit soft. If you want extra gooey marshmallow, add a tiny bit more halfway through cooking.
- Let them set:
- Keep the cookies on the hot pan for 5 minutes before moving them. This helps them firm up enough to pick up without breaking while keeping the middle nice and soft.
 Pin it
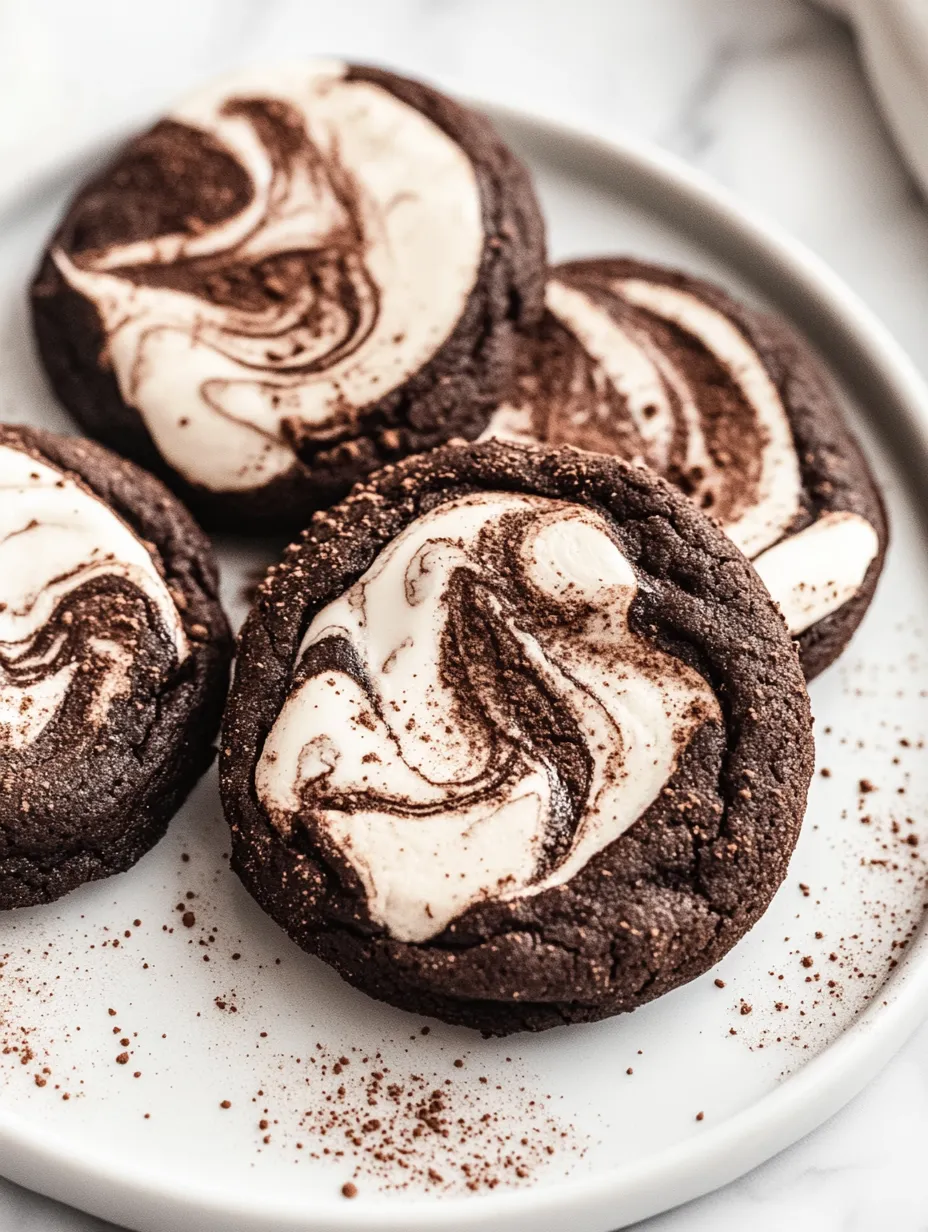
The cocoa really makes these cookies special. I found that using good quality Dutch-processed cocoa totally changes how rich they taste. My grandma always told me chocolate cookies should taste like real chocolate dessert, not just brown cookies with sugar, and these definitely hit the mark.
Plan Ahead Tips
You can get these ready way before you need them. The dough keeps in the fridge for up to three days no problem. If you need longer storage, roll the dough into balls and pop them in the freezer on a tray first, then move them to a freezer bag. When you're ready, just put the frozen dough balls on your cookie sheet, make your dent, add the fluff, and bake them about 2-3 minutes longer than usual. They'll taste just as good as fresh-made dough.
Fixing Marshmallow Problems
Getting those pretty marshmallow swirls can be tough at first. If your fluff seems too loose, stick it in the fridge for 15-20 minutes before you use it. This helps it keep its shape when baking. You can also make deeper holes in the dough to hold the marshmallow better. For a cool look, try mixing regular fluff with colored fluff. Don't worry if the marshmallow looks too tight before baking - it'll spread out in the oven.
Try Different Flavors
The classic chocolate-marshmallow mix tastes great, but you can switch things up too. Add a spoonful of espresso powder to the dry stuff for a coffee kick that makes the chocolate taste even better. For a cool twist, drop in 1/4 teaspoon of peppermint extract. You can also push a chunk of chocolate in with the marshmallow for an extra chocolatey surprise. During Christmas, I sprinkle crushed candy canes on top of the hot marshmallow right after baking for a holiday-themed treat.
 Pin it
Frequently Asked Questions
- → Can I swap fluff with mini marshmallows?
Sure! Use mini marshmallows instead of fluff, but they’ll give a slightly different result. Stick 2-3 minis onto each cookie before baking. They won’t swirl the same but still add gooey bites.
- → Why is chilling the dough necessary?
Cooling the dough makes it less sticky and easier to manage. It also stops the cookies from spreading too much, keeping them chewy and thick instead of thin and crispy.
- → How do I know they’re done?
Cookies are ready when the edges look firm, but the centers still appear soft and slightly undercooked, usually around 10-12 minutes. They’ll set while cooling on the baking sheet. The marshmallow spots might look extra soft but will firm up as they rest.
- → Can these cookies be frozen?
Yes! Either freeze the unbaked dough balls (without marshmallow) and add fluff when you’re ready to bake, adding 1-2 extra minutes to the baking time. Or freeze fully baked cookies with parchment between layers in an airtight container for up to 3 months.
- → How do I avoid sticky marshmallows everywhere?
Let cookies cool completely before moving them, and always bake on parchment paper or a silicone mat. Store by layering parchment between cookies. Spraying your spoon with cooking spray helps handle marshmallow fluff easily.
- → Can I add chocolate chips to the mix?
Totally! Stir in 1 cup of chocolate chips, chunks, or white chocolate before chilling the dough. Semi-sweet or dark chocolate pairs perfectly with marshmallow for an amazing balance of flavors.