 Pin it
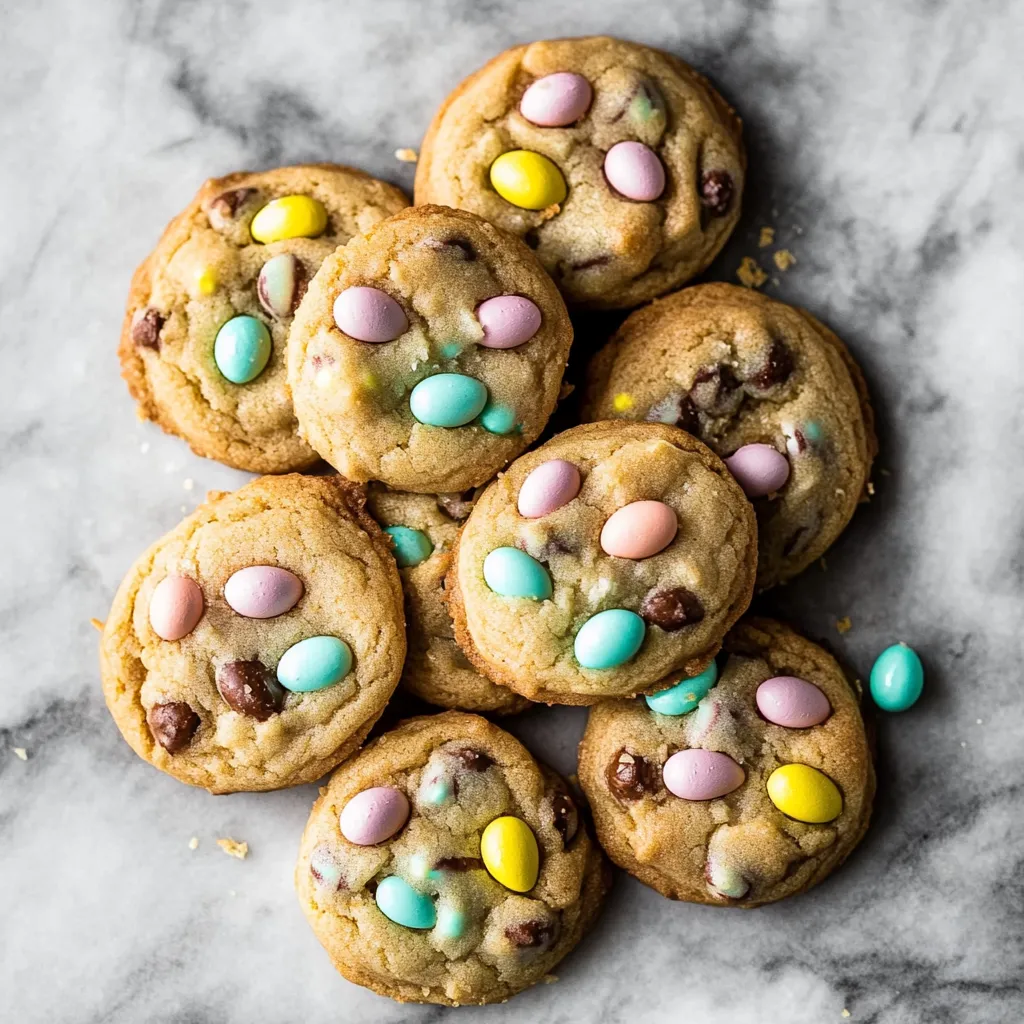
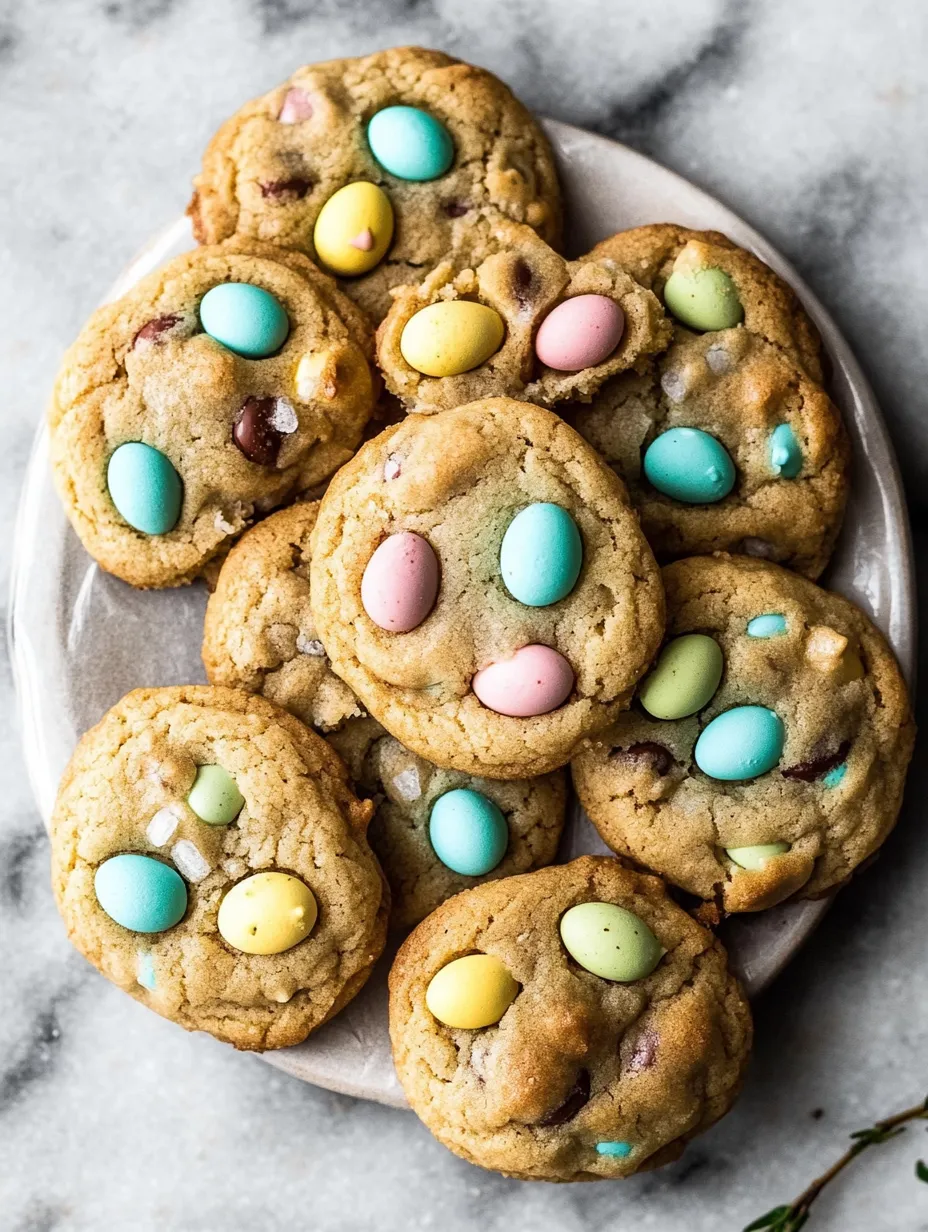
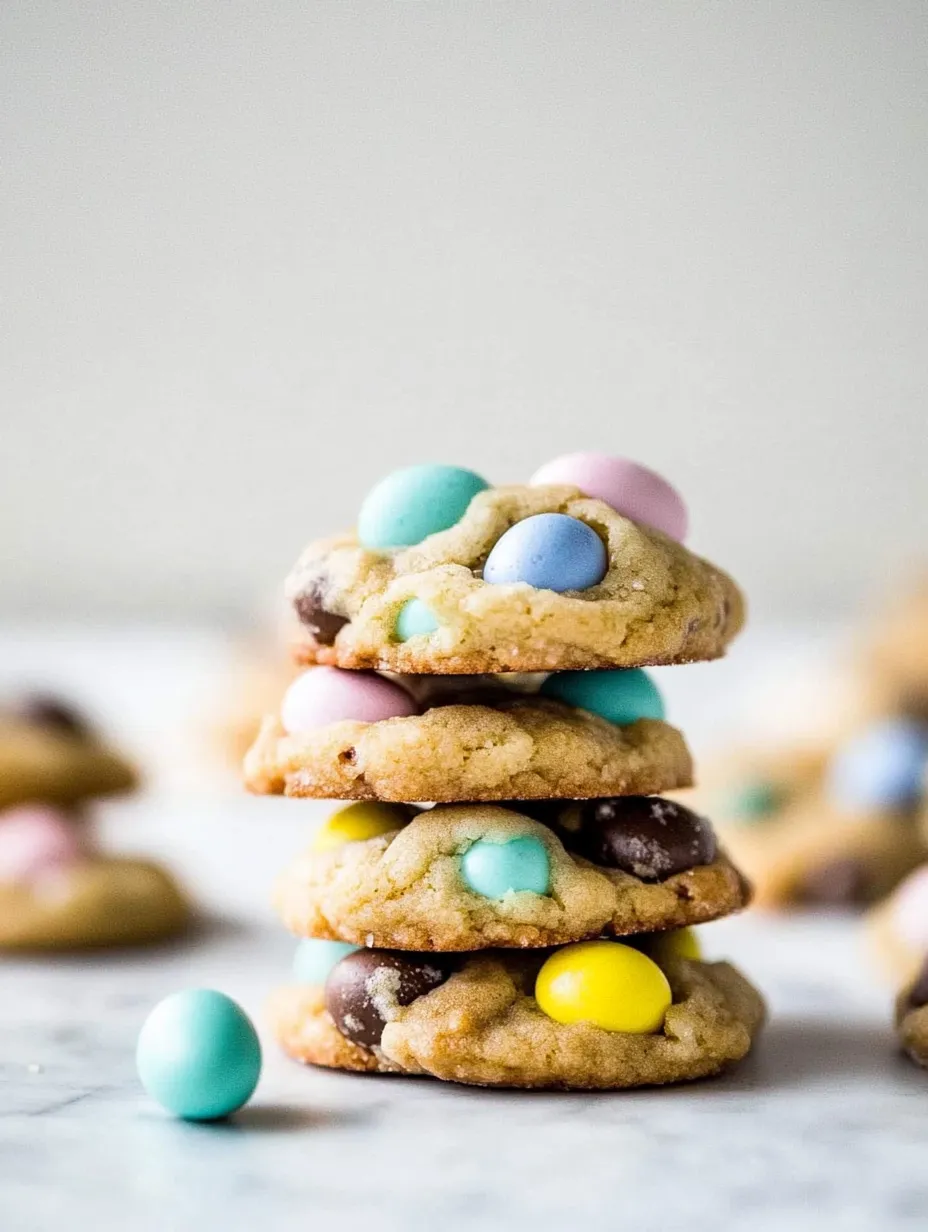
Golden-edged cookies with irresistibly soft centers studded with colorful candy-coated chocolate eggs create the perfect spring treat that balances nostalgic Easter candy with classic cookie comfort. These Mini Egg Easter Cookies deliver that ideal texture contrast – crispy edges giving way to chewy middles – while the pastel-speckled chocolate eggs add festive pops of color and chocolate goodness in every bite. Quick to make with no waiting required, they're the perfect last-minute baking project that still looks and tastes like you spent hours in the kitchen.
I started making these cookies after finding a forgotten bag of mini eggs in the pantry weeks after Easter. The combination was so delicious that they've become our family's official spring tradition. My children now start asking for "egg cookies" as soon as they spot the first packages of mini eggs in stores, and neighbors have begun expecting their annual delivery of these colorful treats wrapped in cellophane with pastel ribbons.
Spring Baking Essentials
 Pin it
- Unsalted butter: Creates the foundation for perfect cookie texture. Room temperature butter incorporates properly with sugar for the ideal cookie structure.
- Light brown sugar: Contributes moisture and caramel notes. Proper packing ensures accurate measurement for consistent results.
- Granulated sugar: Provides essential sweetness and crispy edges. Its crystalline structure creates those perfect cookie crinkles.
- Vanilla extract: Enhances all other flavors. Pure vanilla extract offers superior flavor to imitation varieties.
- All-purpose flour: Forms the structure of the cookies. Measuring by spooning into cups and leveling prevents dense cookies.
- Mini chocolate eggs: Deliver festive color and chocolate goodness. Cutting some in half exposes the chocolate inside for melty pockets throughout.
- Chocolate chips: Add extra chocolatey richness. Semi-sweet provides the perfect balance to the sweeter candy eggs.
- Baking soda: Creates proper lift and texture. Its reaction with the brown sugar helps achieve that perfect chew.
- Salt: Enhances all flavors and balances sweetness. Don't skip this crucial ingredient, even in sweet baked goods.
Cookie Creation
- Perfect Mixing:
- Begin by creaming together the softened butter and both sugars in a large mixing bowl. Beat for about two full minutes until the mixture becomes noticeably lighter in color and fluffier in texture. This step isn't just about combining ingredients – it's creating tiny air pockets that give your cookies that perfect texture. Add the egg and vanilla extract, mixing until fully incorporated but not overmixing. In a separate bowl, whisk together the flour, baking soda, and salt to ensure even distribution of leavening. Add these dry ingredients to your wet mixture, stirring just until no dry streaks remain. Overworking the dough at this stage can develop gluten, leading to tough cookies rather than tender ones.
- Festive Add-ins:
- For the chocolate additions, first cut about half of the mini eggs in half using a sharp knife. This exposes the chocolate inside, creating melty pockets throughout the cookies while keeping some whole for texture contrast. Gently fold both the halved mini eggs and chocolate chips into the dough using a wooden spoon or spatula rather than an electric mixer, which would risk crushing the candy. The dough should be fairly thick at this point – easily scoopable but not dry or crumbly. If it seems too sticky, you can add an additional tablespoon of flour, but resist the urge to add too much as this will create dry cookies.
- Shaping Strategy:
- Using a cookie scoop or tablespoon measure, portion out about 1.5 tablespoons of dough for each cookie. Roll each portion briefly between your palms to create smooth balls, then place them on a parchment-lined baking sheet, leaving about two inches between each to allow for spreading. Before baking, press 2-3 whole mini eggs into the top of each dough ball, pushing them in just slightly. This not only makes the cookies look more festive but ensures that beautiful candy-coated eggs are visible on top of every cookie. For extra visual appeal, place the prettier, more colorful eggs on top.
- Baking Brilliance:
- Slide your cookie sheet into a preheated 350°F oven and bake for 8-10 minutes. The key to perfect cookies is actually slight underbaking – remove them when the edges are just turning golden but the centers still look soft and slightly underdone. They'll continue cooking from residual heat after removal from the oven, and this ensures they stay chewy rather than crisping throughout. Let the cookies rest on the hot baking sheet for about 5 minutes, during which time they'll firm up enough to handle. Then transfer them to a wire cooling rack to cool completely, though stealing one while still warm is practically mandatory.
I learned the importance of not overbaking these cookies after my first batch came out too crispy. Taking them out when they still look slightly underdone in the middle was a game-changer, creating that perfect chewy center that makes them impossible to stop eating after just one. This simple timing adjustment transformed them from good to exceptional.
Easter Entertaining
Complete your spring celebration by serving these colorful cookies alongside other Easter treats like chocolate dipped strawberries decorated to look like carrots, or a festive punch made with pastel sherbet floating in lemon-lime soda. For a special Easter brunch, present these cookies on a tiered stand interspersed with fresh spring flowers and decorated eggs. When packaging as gifts, stack a few cookies in clear cellophane bags tied with pastel ribbons, or line a small basket with colored tissue paper and arrange cookies inside with artificial grass for a mini Easter basket effect that delights recipients of all ages.
Creative Variations
Transform this versatile recipe by experimenting with different mix-ins and flavors. White chocolate chips create a sweeter, creamier cookie that beautifully complements the milk chocolate eggs. For a nutty twist, add half a cup of chopped macadamia nuts or toasted pecans to the dough. Drizzle cooled cookies with melted white chocolate tinted with pastel food coloring for an extra festive touch. For chocolate lovers, substitute 1/4 cup of flour with unsweetened cocoa powder to create a chocolate cookie base that makes the colorful eggs pop even more. During other seasons, this same recipe works beautifully with M&Ms, chopped candy bars, or seasonal color-themed chocolates for holidays throughout the year.
 Pin it
Storage Secrets
Store completely cooled cookies in an airtight container at room temperature, placing a piece of bread in the container to maintain moisture and chewiness for up to five days. For longer storage, these cookies freeze beautifully for up to three months. Layer them between pieces of parchment paper in a freezer-safe container to prevent sticking. Thaw at room temperature for about an hour before serving. The cookie dough also freezes well—portion into balls, freeze on a baking sheet until solid, then transfer to a freezer bag. Label with the date and baking instructions for easy preparation later. You can bake them straight from frozen by adding 1-2 minutes to the baking time.
After years of baking countless cookie recipes, these Mini Egg Easter Cookies remain one of my most requested treats every spring. What makes them special isn't complicated techniques or hard-to-find ingredients, but rather the perfect balance of familiar cookie comfort with festive seasonal candy. They manage to be both nostalgic and fresh at the same time, appealing to both children and adults alike. Whether you're hosting an elaborate Easter gathering or simply want to celebrate the arrival of spring with something sweet, these cookies deliver big impact with minimal effort – the perfect recipe to have in your seasonal baking repertoire.
Frequently Asked Questions
- → What kind of mini eggs work best for these cookies?
- Cadbury Mini Eggs are the classic choice, but any brand of candy-coated chocolate eggs will work great. You can also use M&M's Easter colors or chocolate mini eggs with a candy shell. Just make sure to chop some of them in half as directed to distribute the chocolate flavor throughout the cookie.
- → Can I make the dough ahead of time?
- Absolutely! You can make the dough up to 3 days ahead and keep it refrigerated. You can also freeze the cookie dough balls for up to 3 months. Just place the shaped balls on a baking sheet, freeze until solid, then transfer to a freezer bag. When ready to bake, you can bake them straight from frozen - just add 1-2 minutes to the baking time.
- → Why do my cookies spread too much when baking?
- If your cookies are spreading too much, your butter might be too warm or soft. Try chilling the dough for 30 minutes before baking. Also make sure your oven is properly preheated to 350°F, as an oven that's not hot enough can cause spreading.
- → How do I know when the cookies are done?
- These cookies should look slightly underdone in the center when you take them out of the oven. The edges should be just starting to turn golden brown, but the middle will look soft. This is exactly what you want! They'll continue to bake on the hot cookie sheet and will set up as they cool, giving you that perfect chewy texture.
- → Can I use different mix-ins besides mini eggs?
- Definitely! While mini eggs are perfect for Easter, you can customize these cookies with other mix-ins depending on the season. Try chocolate chunks, different flavored chips, chopped candy bars, or holiday-colored M&M's. Just keep the total amount of mix-ins around 1 to 1¼ cups so the cookie dough can still hold together properly.
