
 Pin it
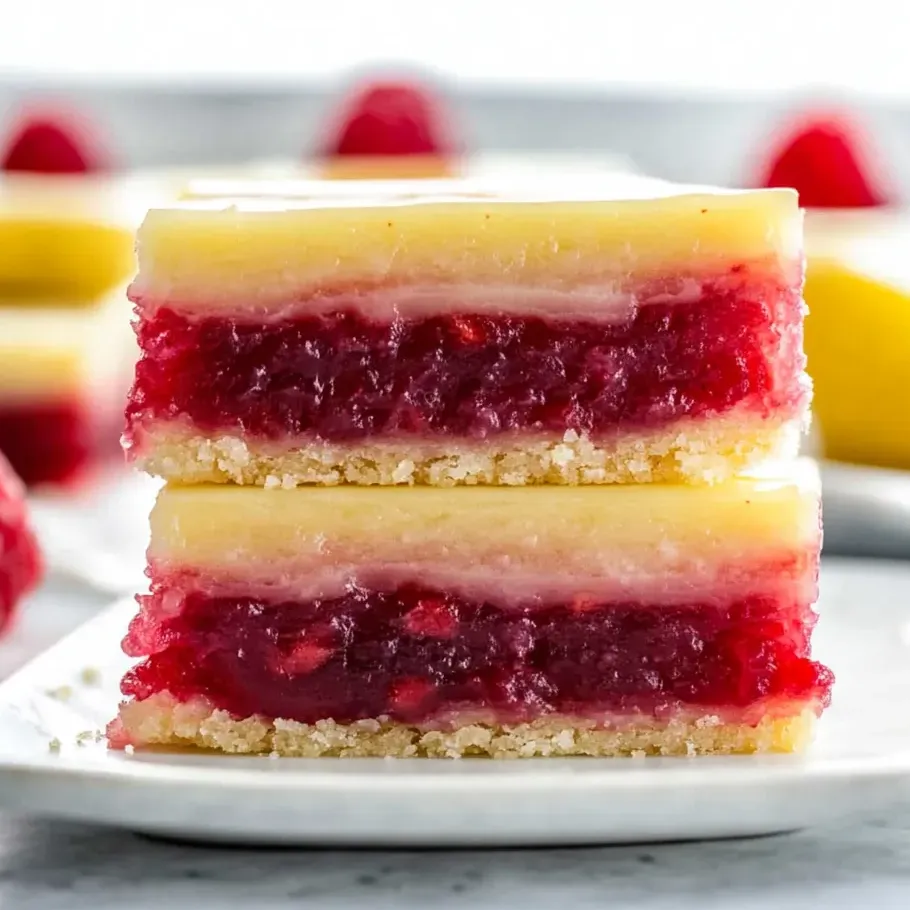
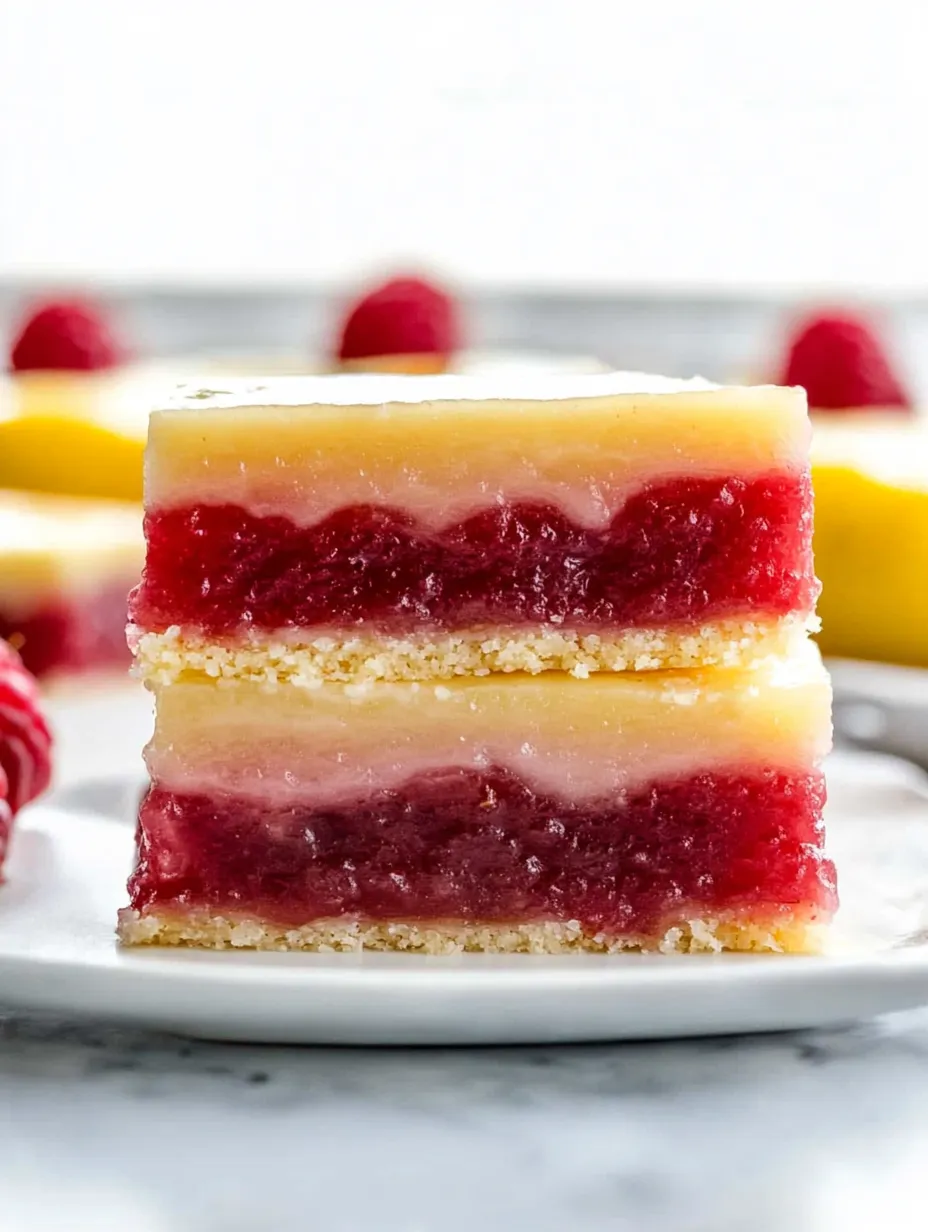
These tangy lemon raspberry squares feature a melt-in-your-mouth shortbread bottom with a zesty, bright topping that hits just right between sweetness and tartness. The lovely rosy color comes straight from actual raspberries, so these treats look just as good as they taste.
I whipped up these squares for the first time at a backyard bash, and they vanished quicker than everything else on the sweets table. They've now turned into my go-to treat for outdoor meals and potlucks where folks always want me to share how I made them.
Ingredients
- Frozen or fresh raspberries: The heart of the flavor and that gorgeous pink color. Frozen ones take longer to cook down, but either type works great.
- All purpose flour: Gives the shortbread base its backbone. Go for unbleached for extra tastiness.
- Granulated sugar: Adds sweetness to both parts without extra flavor notes.
- Cornstarch: Makes both the crumbly base and fruity top set up with just the right feel.
- Unsalted butter: Brings that rich, dreamy shortbread quality. Splurge on good butter for the best outcome.
- Large eggs: Add body and richness to the fruity lemon top layer.
- Fresh lemon juice: Has to come straight from real lemons for the brightest zip. The stuff in bottles just won't cut it.
Step-by-Step Instructions
- Make the raspberry mixture:
- Throw frozen or fresh raspberries into a blender and blend till smooth. For the smoothest result, push the mixture through a fine sieve to get rid of all seeds. This takes a bit of time but really pays off in the final texture. Warm the strained puree in a pan over medium-low heat, giving it a stir now and then until it cooks down to about a quarter of what you started with. This makes both the taste and color more intense. Let it cool all the way before moving on.
- Put together the shortbread bottom:
- In a big bowl, mix the flour, sugar, cornstarch, and salt until they're all combined. Add the melted butter and mix until you get a thick, somewhat crumbly mix. Press this firmly into your paper-lined baking dish, making sure to build up a small edge around the sides to hold in the filling. A measuring cup works great for getting an even layer. Bake just until it's set and barely turning golden at the edges.
- Blend the fruity lemon topping:
- Mix the sugar and cornstarch really well in a big bowl to get rid of any lumps that might show up in your finished squares. Add each egg one at a time, mixing thoroughly after each one until everything looks smooth. Gently stir in your cooled raspberry mix and fresh lemon juice. The filling will seem pretty runny now, but don't worry—it'll set up nicely while baking.
- Bake everything together:
- Pour the lemon raspberry mix over the hot shortbread bottom, making sure it spreads evenly. Put it back in the oven and bake until the filling is almost set but still jiggles a bit in the middle. Don't bake too long or the top might crack. Let it cool completely at room temp before putting it in the fridge to set fully.
- Cut and enjoy:
- Once totally chilled, use the extra parchment paper to lift the whole thing out of the pan. With a sharp knife, cut into squares or rectangles, cleaning the knife between cuts for the prettiest edges. If you want, dust with powdered sugar right before serving.
 Pin it
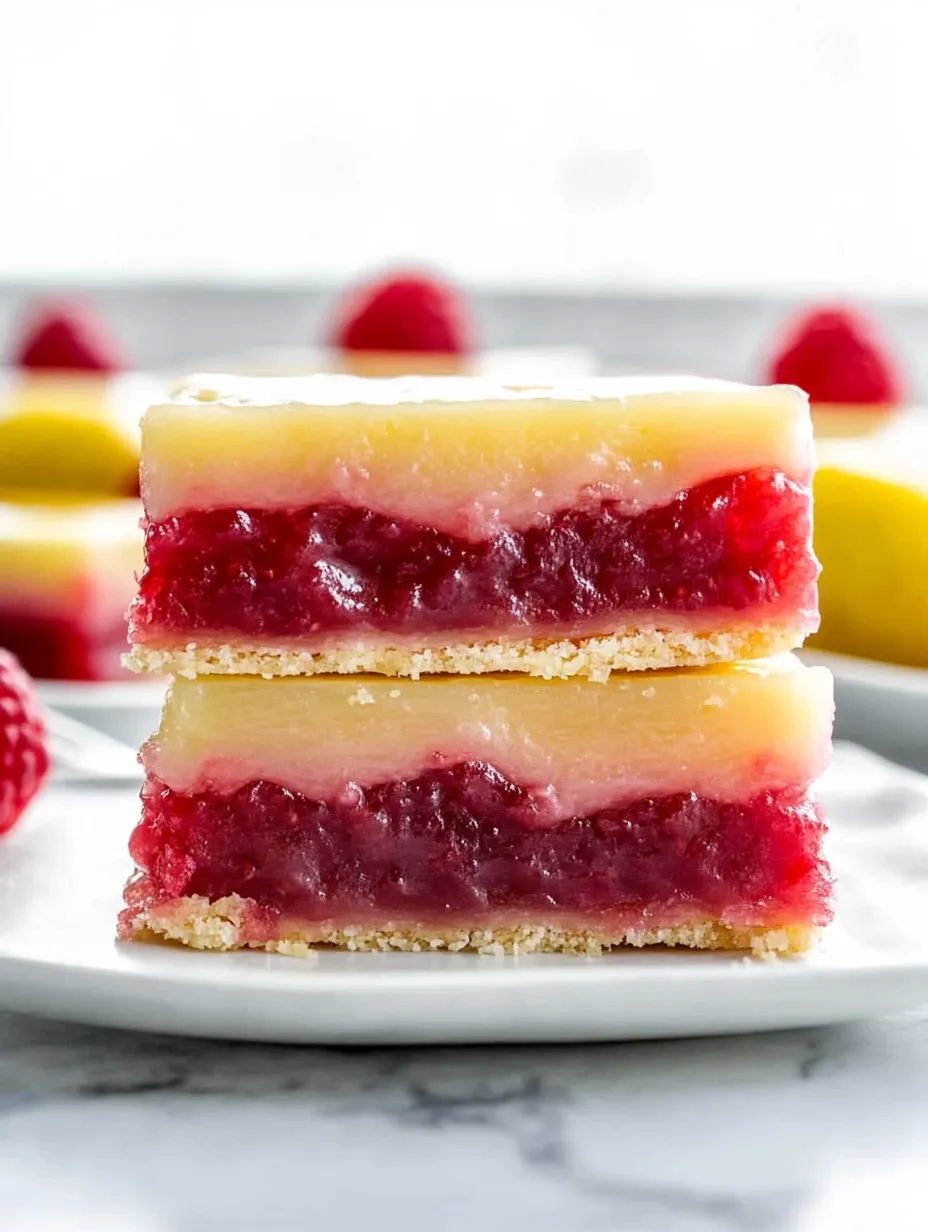
What really makes these bars stand out is taking time with the raspberry cooking step. I tried to hurry it once and ended up with a topping that was too wet. When you take your time to cook down the raspberry puree properly, you get both stronger flavor and that eye-catching pink that makes everyone want to try them.
Perfect Texture Tips
Your shortbread base should be sturdy enough to hold the topping but not too brown. Watch for just a hint of gold at the edges as your clue it's done. When you poke the shortbread with a fork after the first bake, don't push all the way to the bottom of the pan. This stops the filling from leaking under while letting steam escape.
Make Ahead Options
These squares actually taste better after a night in the fridge, so they're great for making ahead. The flavors blend together nicely, and they cut much cleaner when they're really cold. For the best look, wait to sprinkle powdered sugar until right before you serve them, since it'll soak into the bars if you do it too early.
Flavor Variations
The raspberry and lemon combo is a classic, but this recipe works great with other berries too. Blackberries give you a deeper, more interesting flavor with their slightly woodland taste. Strawberries create a sweeter, lighter taste that goes really well with lemon. You can even try mixing different berries for a more layered fruit flavor. The cooking method stays the same, just swap in the same amount of whatever berries you like best.
 Pin it
Frequently Asked Questions
- → Can I swap in bottled lemon for this?
It's best to stick with fresh lemon juice here. Bottled juice tends to be overly sour and doesn’t offer that natural brightness fresh lemons bring. Using freshly squeezed juice ensures the tangy taste shines through properly.
- → How will I know if the raspberry mixture is done reducing?
Once the raspberry puree thickens up and shrinks to about 1/4 to 1/3 cup, you're good! This should take roughly 15-20 minutes over medium heat. This step ensures intense flavor and avoids excess moisture.
- → Can I bake a small batch?
Sure thing! Just halve everything and use an 8x8-inch pan. Watch closely while baking because the smaller batch will finish up quicker than a full recipe.
- → Do I have to strain out the raspberry seeds?
Totally your call! Straining gives a smooth texture, but if you're okay with a little crunch or like the natural feel, skip it. The seeds won’t change the flavor, just the texture.
- → What's the best way to store these and how long will they keep?
Pop the bars into an airtight container and store them in the fridge—they'll stay good for up to 5 days. The coolness keeps the texture firm and prevents any spoilage. If you'd like, let them sit out for 10 minutes before eating to soften slightly.
- → Can I freeze them?
Absolutely! Slice the bars, set them individually on a baking sheet to freeze, then throw them into a freezer-safe container using parchment between layers. They’re good in the freezer for up to 3 months. Let them thaw overnight in the fridge before enjoying.