
 Pin it
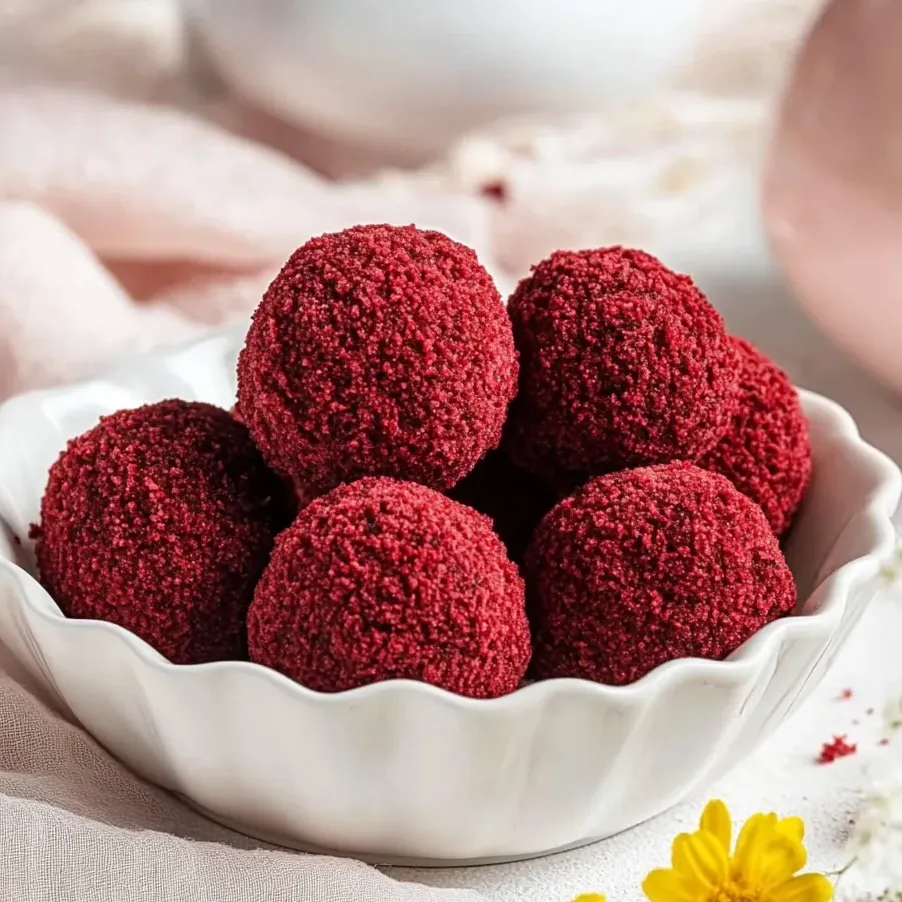
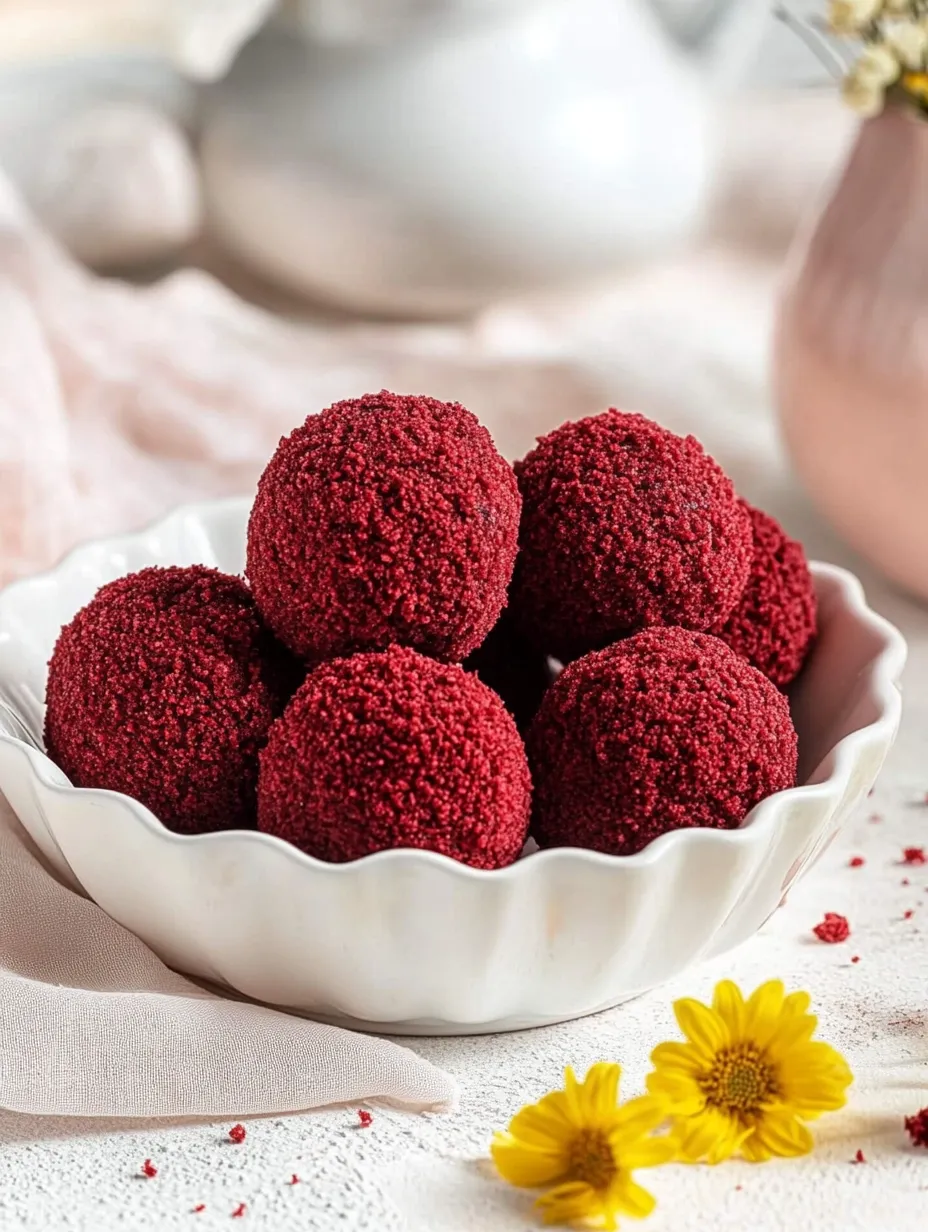
These indulgent red velvet cheesecake bites turn ordinary cake into small, fancy treats with the ideal mix of tangy cheese and deep red velvet taste. They're what I grab when I want to wow my friends without too much kitchen time.
I whipped these up the first time for my kid's party when she wanted something "a bit fancy but not too much" and now they're what our family always brings to celebrations. The way the smooth middle meets the soft cake outside makes everyone think I bought them from a bakery.
What You'll Need
- 1 box red velvet cake mix: This makes up our base and gives that special color and taste
- Whatever's on the cake mix box: Usually you'll need eggs, oil, and water - just do exactly what the box says for best results
- 16 ounces cream cheese, softened: Go with full fat because it makes a creamier, tastier filling
- 4 tablespoons butter, softened: Pick unsalted so you can control how salty everything turns out
- 1/2 cup powdered sugar: This adds sweetness but won't feel grainy like regular sugar
- 2 cups graham crackers, smashed up: These add some crunch and a hint of honey that works well with the cream cheese
- 1 teaspoon vanilla extract: Real vanilla will give you the nicest flavor
How To Make Them
- Get Your Cake Ready:
- Heat your oven to 350°F and get your pans ready with parchment or butter. Follow your cake mix instructions exactly. You'll need the cake to be just right for crumbling later.
- Cook and Let It Cool:
- Pour the mix into your pans and bake for around 25-30 minutes, or whatever your box says. Make sure it cools all the way - this takes at least an hour. If you rush, you'll end up with sticky instead of crumbly bits.
- Make It Crumbly:
- Once cool, break the cake into pieces and rub them between your fingers until they look like sand. If it feels too wet, spread the pieces on a tray and put them back in the oven at 350°F for 5-6 minutes. Keep an eye on them so they don't burn. You want crumbs dry enough to stick but not soggy.
- Mix The Creamy Stuff:
- In a big bowl, mix the cream cheese and butter until they're fluffy and smooth - about 3 minutes with a mixer. Add the powdered sugar and keep mixing until it's all blended. You want it light with no lumps.
- Finish The Middle Part:
- Gently stir in the crushed graham crackers and vanilla with a rubber spatula. Don't overmix or it'll get too dense. It should be firm enough to scoop but still creamy.
- Shape The Centers:
- Use a small cookie scoop (about 2 teaspoons) to portion out the cream cheese mix onto a lined tray. Roll each bit between your hands to make smooth balls. Work fast because they get sticky as they warm up. Chill them for at least an hour until they feel firm.
- Finish The Bites:
- Roll each cold cream cheese ball in the red velvet crumbs, pressing lightly so the crumbs stick all over. Cover every side evenly, and reshape into rounds if needed. The white middle against the red outside looks really pretty.
- Eat Now Or Save:
- Put them on a plate to eat right away or keep them in the fridge until you're ready. They actually taste better after sitting in the fridge for a day.
 Pin it
The graham crackers are my hidden trick here. When I first tried making these, I wanted that cheesecake crust taste without having to bake anything. Mixing crushed crackers right into the filling gives that authentic cheesecake feel while keeping things easy.
How To Store Them
These tasty red treats stay freshest when kept in the fridge in a sealed container with parchment paper between layers. They'll be good for about 5 days, though the red outside might get a bit softer over time. If you want to keep them longer, you can freeze them for up to a month—just lay them out on a baking sheet until they're solid, then put them in a freezer bag. Let them thaw in the fridge overnight before you serve them.
Mix It Up
While the original recipe is super yummy, you can switch things up lots of ways. Try chocolate cake mix instead of red velvet for an oreo cookie kind of flavor. White cake with food dye works great for holidays—maybe green for St. Patrick's Day or orange for Halloween. You could also dip the finished bites in white chocolate, add some dark chocolate drizzle, or roll them in colorful sprinkles for parties.
 Pin it
Ways To Serve
These fancy little bites look amazing on a tiered stand with some fresh berries and mint leaves. For fancier parties, put each one in a tiny cupcake paper and arrange them on a silver tray. They go really well with coffee after dinner or with bubbly for celebrations. At dinner parties, I often set them on a bit of cocoa powder with a few fresh raspberries to make the colors pop.
How The Recipe Works
Getting these treats right depends a lot on watching the temperature. You need softened cream cheese and butter to get that smooth, creamy filling, while good chilling makes sure the bites keep their shape. The cake bits naturally stick to the slightly sticky cream cheese mixture, which creates that perfect mix of textures that makes everyone come back for seconds.
Frequently Asked Questions
- → Can I use pre-made red velvet cake for this dessert?
Of course! Store-bought red velvet cake is a great time-saver. Just make sure it's completely cool before crumbling it. If it feels overly moist, you might still need to dry the crumbs in the oven for the right coating texture.
- → How long do these Velvet Cheesecake Treats stay good?
You can store them in the fridge in a sealed container for up to five days. They'll taste even better after chilling for a few hours to set the texture.
- → Are these treats freezer-friendly?
Definitely! Lay them on a tray to freeze solid first (this takes about two hours), then pop them into a freezer-safe container. They'll last for around three months. Just let them thaw in the fridge before munching on them.
- → What can I replace the graham crackers with in the filling?
You can swap them out for crushed digestive biscuits, vanilla wafers, gingersnaps, or finely ground cream-less Oreo cookies. Just be sure they’re crumbled finely so the texture works well.
- → How can I fancy up these treats for a special event?
You can make them look extra special by drizzling white chocolate on top, dusting with powdered sugar, or placing each one in a cute mini cupcake wrapper. Adding tiny gold leaf pieces or mint leaves is also a great touch for more formal occasions.
- → Can I make these without using an electric mixer?
Yes, you can! If you allow your cream cheese and butter to soften completely at room temperature, you can mix them by hand. Use a sturdy spoon and mix until the texture is smooth and everything is well incorporated.