
 Pin it
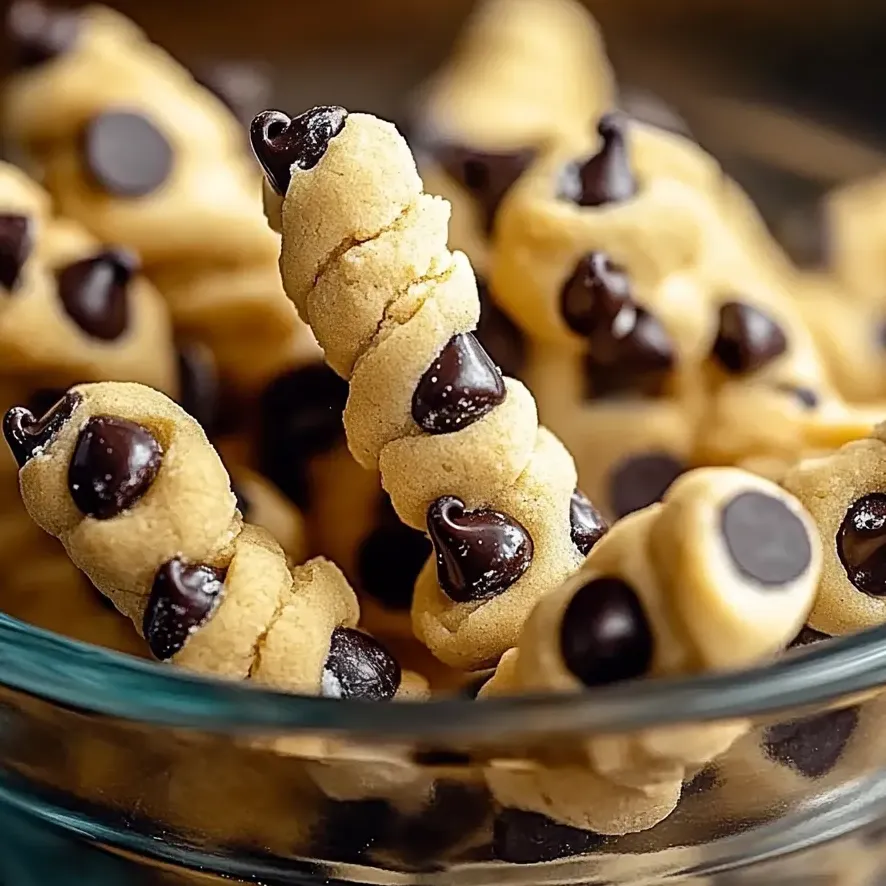
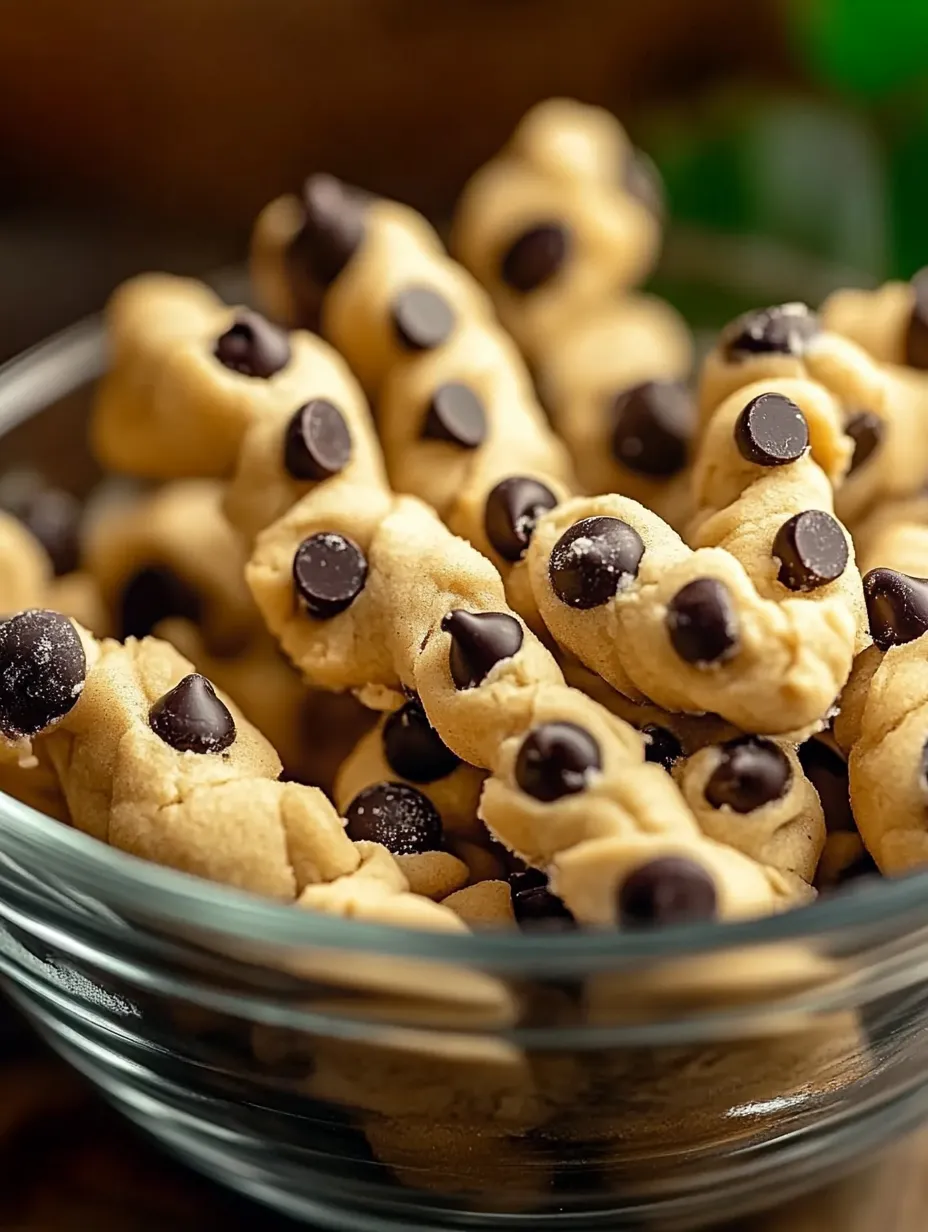
These twisted chocolate chip cookie shapes put a fun spin on the traditional cookie. Both kids and grown-ups will fall for these hand-twisted goodies that keep all the yummy chocolate chip cookie flavors but come in a cool new form. They're awesome as a snack after school or a laid-back sweet treat.
I came up with these twists during a stormy weekend with my sister's kids visiting. What began as a way to entertain restless little ones turned into our favorite family baking ritual. The kids can't wait to make their own special twist designs, and I can't get enough of watching their faces light up.
Ingredients
- All purpose flour: gives your twists the right structure and consistency
- Unsalted butter: make sure it's soft so it mixes well with the sugar
- Brown sugar: brings a caramel-like taste and keeps the twists nice and chewy
- Granulated sugar: works with the brown sugar to create tasty crunchy edges
- Milk: adds just enough liquid to make the dough easy to twist
- Vanilla extract: brings out the yumminess of every other flavor
- Baking soda: makes them puff up just right without getting too fluffy
- Salt: cuts through the sweetness and makes the chocolate taste even better
- Chocolate chips: semisweet ones work best for the tastiest twists
Step-by-Step Instructions
- Get Your Oven Ready:
- Heat your oven to 350°F and put parchment paper on a baking sheet. A well-heated oven helps everything cook evenly, and the paper stops sticking and makes cleanup super easy.
- Mix Butter And Sugars:
- In a big bowl, beat your soft butter with both sugars until it looks fluffy and lighter in color, around 2 minutes. This puts air in the dough so your twists have a better feel when you bite them.
- Mix In Wet Stuff:
- Add your milk and vanilla, then stir until everything's mixed up well. Don't worry if it looks a bit lumpy right now – that's totally fine.
- Prep Dry Ingredients:
- In another bowl, stir together your flour, baking soda, and salt so the rising agent gets spread out evenly in your dough.
- Make Your Dough:
- Slowly add your flour mix to your butter mix, stirring on low just until you can't see any more flour. Don't mix too much or your twists will turn out tough.
- Throw In Chocolate Chips:
- Use a rubber spatula to gently fold in all those chocolate chips until they're spread throughout the dough. Gentle folding keeps the chips whole and pretty.
- Form Your Twists:
- Take small chunks of dough and roll them into 5-inch strips. Fold each strip in half and twist the ends together. Feel free to make whatever twist patterns you think look cool.
- Set Up For Baking:
- Put your twisted dough pieces on the baking sheet, leaving about 2 inches between them so they have room to grow as they bake.
- Bake Them Just Right:
- Stick them in your hot oven for 10 to 12 minutes, until the edges look golden but the middles still seem a bit soft. They'll keep cooking a bit after you take them out.
- Let Them Rest:
- Let your twists sit on the hot baking sheet for 3 minutes before moving them to a cooling rack. This resting time helps them firm up so they don't fall apart.
 Pin it
My favorite thing about making these has to be seeing everyone's unique twist creations. Years ago my nephew twisted one that looked just like our family pet, and we still call it the "doggy cookie" whenever we bake together. Our kitchen just bubbles with laughter and happiness during twist-making time.
Storage And Freshness
These chocolate chip twists keep really well if you store them right. Just put them in a sealed container with a slice of bread to keep them moist. They'll stay yummy and soft for about 5 days, though at my house they never stick around that long! If you want to save them longer, you can freeze the baked twists in a ziplock bag for up to 3 months. When you're hungry for one, let it sit out for an hour or pop it in the microwave for 10-15 seconds and it'll taste almost fresh-baked!
Flavor Variations
The basic chocolate chip twists are always popular, but you can switch things up really easily. Try adding a bit of cinnamon for a warm, cozy flavor, or swap in white chocolate chips and throw in some dried cranberries for something festive. I really love mixing in some toffee pieces with the chocolate chips for an amazing caramel taste. And if you're crazy about chocolate, replace a couple spoonfuls of flour with cocoa powder to make super rich double chocolate twists.
Serving Suggestions
These twists taste amazing when they're a little warm and the chocolate's still gooey. For a fancy dessert, put a couple warm twists in a bowl with a scoop of vanilla ice cream and some caramel sauce drizzled on top. They're great with a cold glass of milk or hot coffee in the morning too. When you have people over for holidays, set out a plate of twists with some fresh berries and whipped cream so everyone can make their own special dessert combo.
 Pin it
Frequently Asked Questions
- → Can I prep the dough in advance?
Definitely! Throw your dough into the fridge (covered) for up to a day. Let it warm to room temp—about 30 minutes—before the fun twisting begins. Or freeze pre-shaped twists for three months and add a couple of extra minutes to the bake time when you're ready.
- → What else can I mix into the twists?
These are super adaptable! Toss in some nuts, butterscotch chips, or a mix of toffee bits. Fancy a holiday vibe? White chocolate chips and dried cranberries work great. Cut the sweetness and sprinkle some fresh herbs, cheese, and salt for a totally different direction.
- → Do you have tips for shaping the twists?
Roll the dough into ropes about 6-8 inches long and about as thick as your pinky. Fold it over and twist it up 2-3 times, pinching the ends so it holds while baking. Feeling fancy? Braid or make little pretzel shapes instead for some variety!
- → Why did my twists flatten during baking?
Probably warm dough or too much butter in the mix. Pop shaped dough into the fridge for 15 minutes before baking to help them keep their swirl. And don’t melt the butter—just get it soft enough to work with, or it’ll spread too much.
- → How can I store leftovers to keep them tasty?
Cool them completely and stick them in an airtight container. They’re good for up to four days on the counter. Keeping them soft is easy—just toss in a slice of bread. For extra-long storage, freeze baked ones for three months and thaw before snacking.
- → Can I make these without using dairy?
Sure! Swap out the butter for a plant-based option and grab some non-dairy milk (think almond or oat milk). Make sure your chocolate chips are dairy-free too. The textures might shift slightly, but they'll taste just as great!