
 Pin it
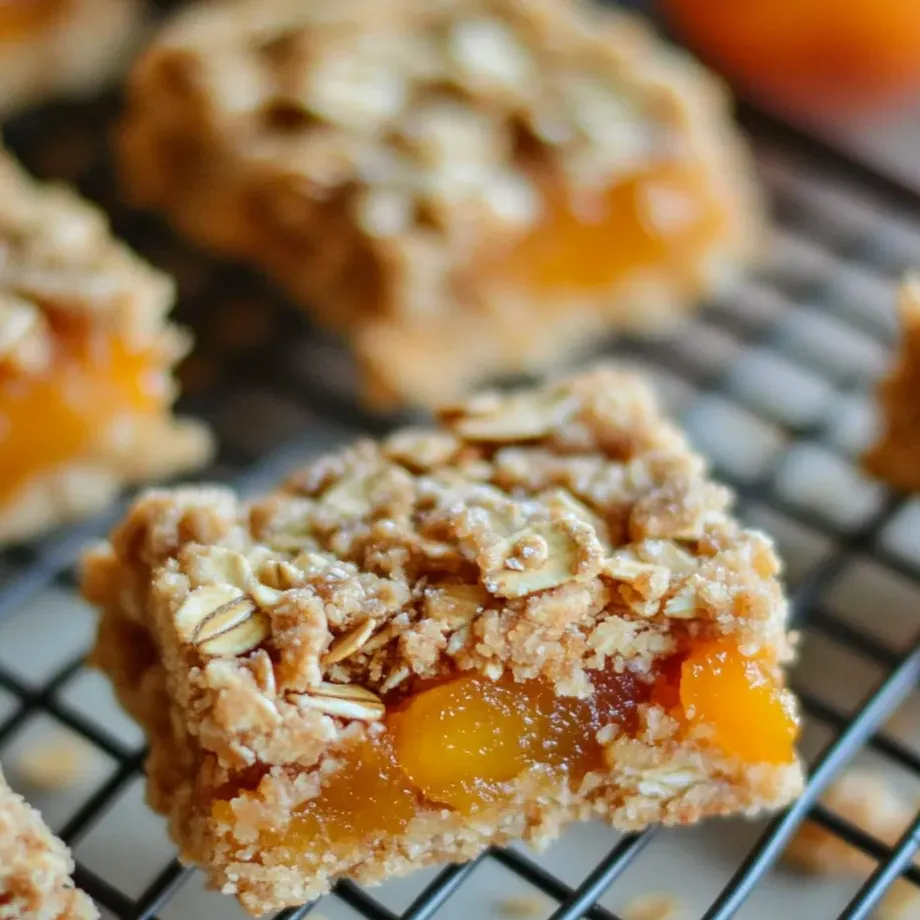
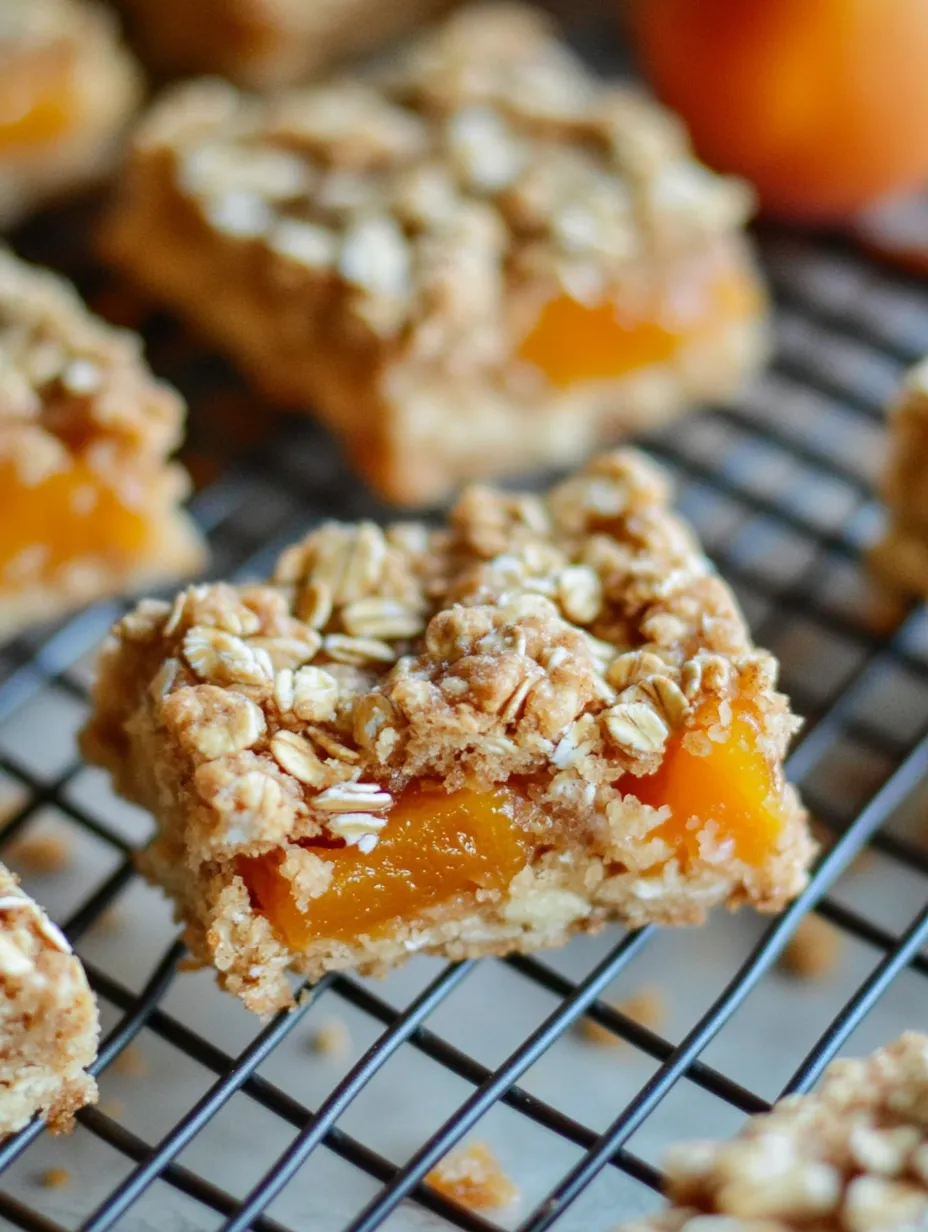
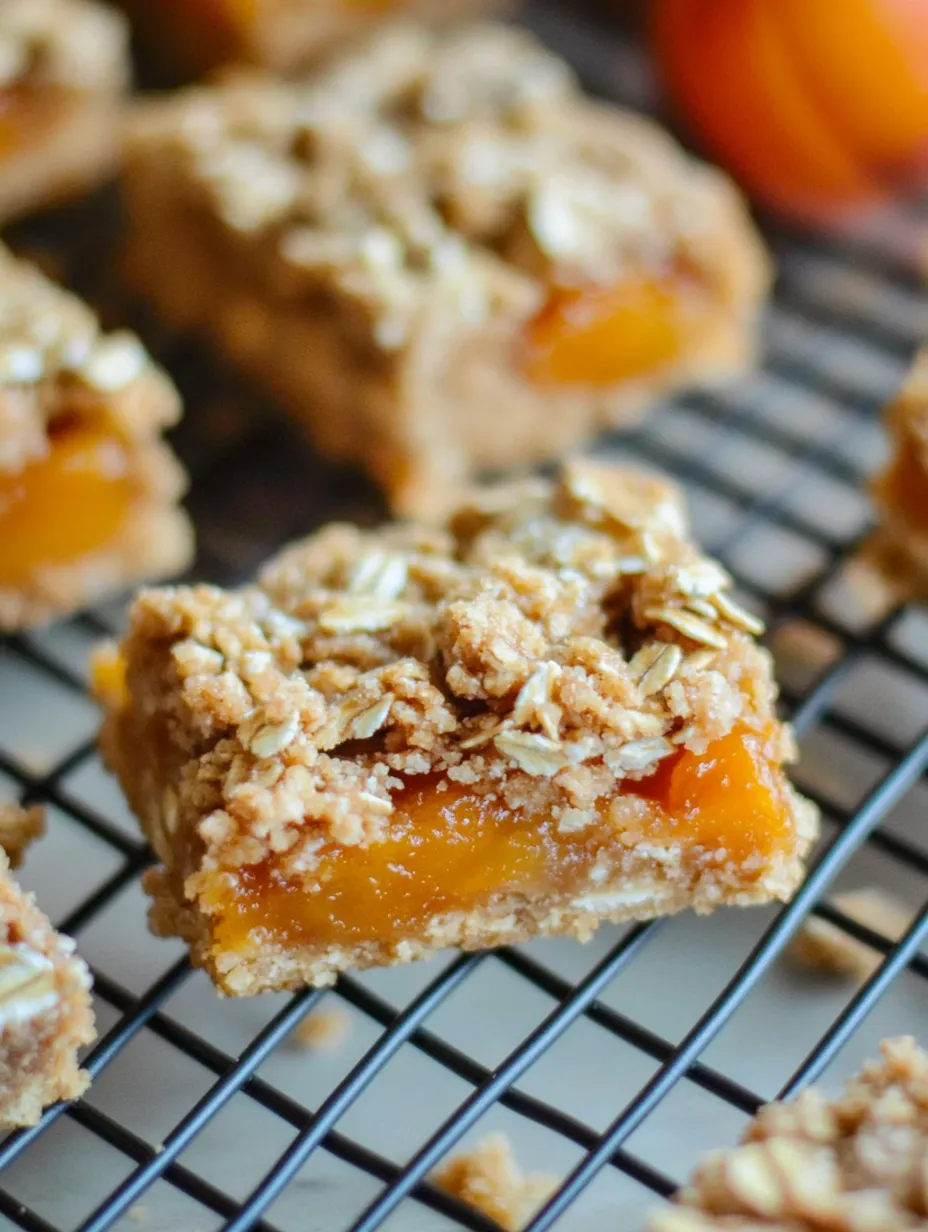
Craving something sweet and fruity that’s still cozy? Apricot oatmeal crumb bars totally hit the spot. You throw everything in one bowl and use what you’ve got on hand. Comes together so fast and always hits with deliciousness. Whenever I set these out—be it brunch or snacktime—they’re gone in minutes at my place.
I swap in whatever jam is sitting around and my crew never complains. The kids get a kick out of squishing the base and nabbing stray crumbs.
Irresistible Ingredients
- Apricot preserves: sweet and zingy jam gives you that fruity middle grab one that’s thick and simple for best taste
- All-purpose flour: keeps your bars together and stops crumbs from falling everywhere sift if lumpy
- Rolled oats: the star of the crumble give that chewy classic texture old-fashioned oats work best
- Baking soda: a little makes the bars puff up and stops them getting heavy double check yours is still fresh
- Unsalted butter: softened butter makes everything rich and melt-in-your-mouth spring for the good stuff if you can
- Packed brown sugar: brings in caramel flavor and makes the topping stick go for the soft kind
Simple Step-by-Step
- Cool and Cut
- Hang tight and let them cool all the way so you get nice clean squares. When they’re set slice into nine pieces.
- Bake the Bars
- Pop the tray in your preheated oven for about thirty to thirty five minutes. The top should go golden and the jam bubbles pop around the edges.
- Top with Crumble
- Grab the rest of your oat mix and scatter it over the preserves. Gently pat it so the top sticks together but still looks crumbly.
- Spread the Preserves
- Dollop apricot preserves across the crust. Leave a little bit around the edges to keep jam from oozing over. Use a butterknife or spoon to make it nice and even.
- Create the Crust
- Scoop two cups of your crumbly mix and press it down into your baking dish. Press hard either with your fingers or a measuring cup so it holds up.
- Mix the Crumble Base
- Toss the butter, brown sugar, baking soda, oats, and flour into a bowl. Squish it all together with your hands, knives, or a pastry cutter till you see pea-sized bits.
- Preheat and Prep Your Pan
- Start off by setting your oven to 350. Mist an eight or nine-inch pan with non-stick spray so cleanup’s easy.
 Pin it
The crispy edges get me every time. When holidays roll around my brothers and sisters beg for a double batch so they have treats to take home too.
How to Store Them
Just cover these bars tight with plastic or foil and you’ll have tasty bars on the counter for three days easy. Want them to stick around longer? Pop them in an airtight container and keep in the fridge—they’re good for a week. I even freeze pieces between wax paper so grabbing a sweet bite later is a snap.
Swap-Out Options
If apricot isn’t your thing use raspberry, strawberry, or whatever jam you like. No butter? Use margarine or even a vegan stick but the taste changes a bit. Sprinkle a little cinnamon in for a fun twist if you’re feeling it.
Fun Ways to Serve
For dessert, warm these bars and throw some vanilla ice cream or a spoon of whipped cream on top. Try cutting them into little sticks for lunchboxes. Or just share them with some tea in the afternoon—or as a treat after a salad.
 Pin it
Background and Traditions
Bars like these go way back to farm kitchens where folks stretched the fruit to make lots of sweet snacks. Oats were cheap and packed nutrients. Kind of like English flapjacks or the topping on an American fruit crisp, but bite-sized and easy to grab.
Frequently Asked Questions
- → Can I use other fruit preserves?
Totally! Swap the apricot jam for strawberry, raspberry, or peach if you want to mix things up.
- → How do I achieve a firmer bar texture?
Let them cool right down in the pan first. It helps the bars hold together when you slice them up.
- → What type of oats work best?
Go for rolled oats. They stay firm while baking and make the bars nice and chunky.
- → Can I make these bars ahead of time?
For sure! Bake them a day early and just keep them in a sealed container to stay soft.
- → Is it necessary to use unsalted butter?
It’s up to you! Unsalted is easier to tweak the saltiness, but if you’ve only got salted butter, just use a little less added salt.