Homemade Croissants Step-by-Step

Featured in Sweet Treats and Baked Delights.

This comprehensive homemade croissant recipe breaks down the intimidating French pastry into manageable steps anyone can follow. The process begins with making a simple yeasted dough that's later combined with a butter block through a series of folds to create the signature flaky layers. What makes this recipe special is its attention to detail - from the proper butter temperature and precise folding techniques to the important visual cues that help ensure success. While requiring patience due to multiple resting periods (totaling about 24 hours), the techniques are straightforward, and the result is bakery-quality croissants with a shatteringly crisp exterior, tender buttery layers, and that distinctive honeycomb interior structure that's impossible to find in store-bought versions.
Home Delicious Recipes
Updated on Sat, 01 Mar 2025 12:27:43 GMT
Homemade Croissants Step-by-Step Pin it
Homemade Croissants Step-by-Step | homedeliciousrecipes.com

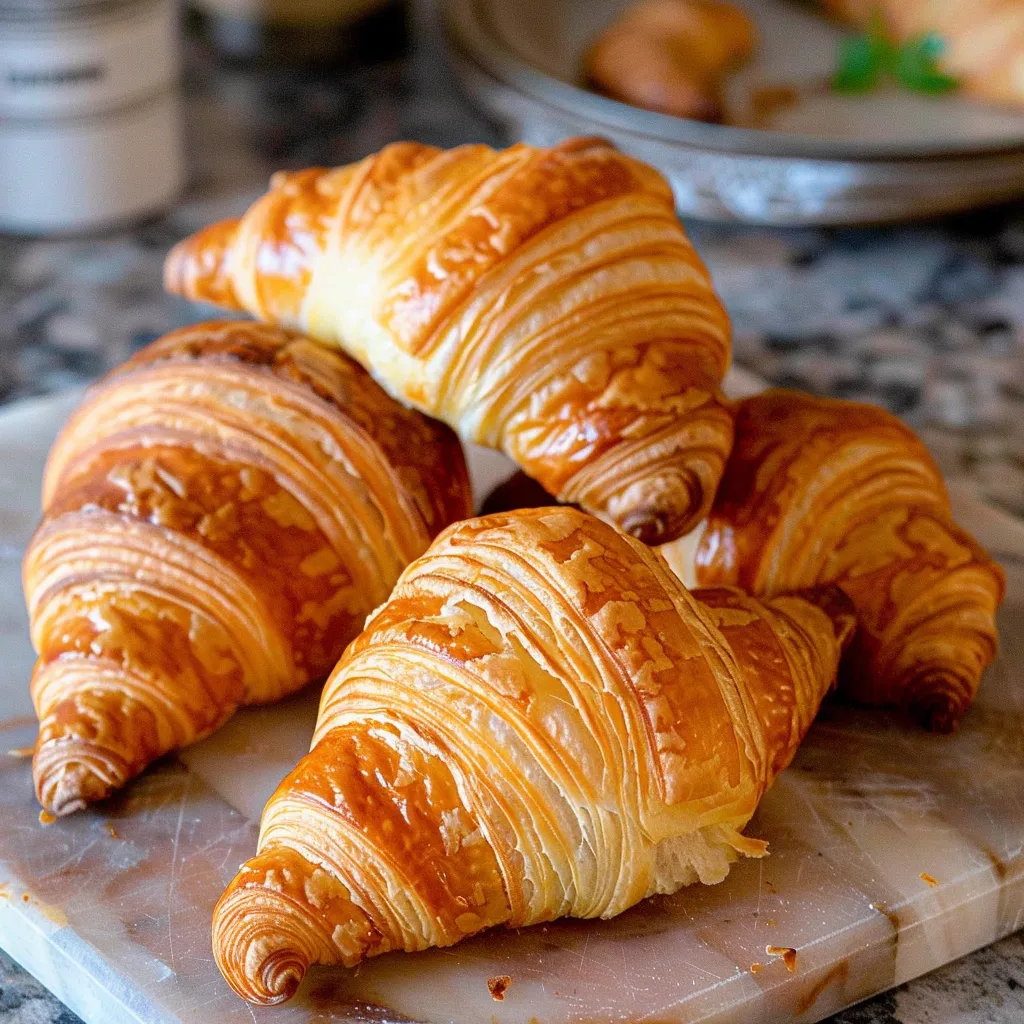
Master the art of creating perfect croissants at home with this comprehensive guide to achieving bakery-quality results. While this process requires patience and precision, the reward is incomparable – golden, flaky pastries with dozens of buttery layers that shatter delicately with each bite.

After studying classic French pastry techniques, I discovered that successful croissants rely more on proper technique and timing than special equipment. The moment you pull your first batch from the oven, revealing their golden exterior and hearing that distinctive crackle, you'll understand why they're worth the effort.

Essential Components

  • Butter Quality: European-style butter with higher fat content creates superior layers
  • Flour Selection: All-purpose flour provides the right protein content for proper structure
  • Temperature Control: Maintaining cool conditions prevents butter from melting into the dough
  • Fermentation Time: Proper fermentation develops flavor and creates the ideal texture
  • Lamination Technique: Careful folding creates the multitude of layers
Easy Homemade Croissants Step-by-Step Recipe Pin it
Easy Homemade Croissants Step-by-Step Recipe | homedeliciousrecipes.com

Creating Your Masterpiece

Perfect The Détrempe:
Create a smooth, elastic dough that will form the foundation of your croissants. Proper kneading develops gluten while initial fermentation builds flavor.
Master The Butter Block:
Shape cold butter into an even rectangle that will fold perfectly into the dough. The butter must be pliable but not soft.
Execute The Lamination:
Perform the series of folds with precise movements, maintaining even pressure and straight edges. Each fold multiplies the layers exponentially.
Shape With Precision:
Cut triangles with clean edges and roll with gentle tension to create the signature crescent shape with a pointed tail.
Proof With Patience:
Allow croissants to double in size and develop their characteristic jiggle before baking. Proper proofing is crucial for the final texture.

The first time I successfully made croissants at home was a revelation - realizing that with patience and technique, I could create something that rivaled professional bakeries. The intoxicating aroma of butter and yeast filling my kitchen became the reward for the methodical process.

Perfect Pairings

Enhance your croissant experience with thoughtful accompaniments. Serve alongside a strong cup of coffee or hot chocolate for the classic French breakfast. Pair with high-quality preserves or honey for a sweet option. For a savory experience, slice horizontally and fill with ham and gruyere. Create an elegant brunch by offering a selection of fresh fruits and artisanal cheeses alongside.

Creative Variations

Once you've mastered the basic technique, explore delicious variations. Create pain au chocolat by placing chocolate batons in the center before rolling. Make almond croissants by filling with almond cream. For savory options, incorporate herbs into the dough or sprinkle with cheese before baking. During holidays, shape the dough into festive forms or add seasonal flavors.

Homemade Croissants Step-by-Step Recipe Pin it
Homemade Croissants Step-by-Step Recipe | homedeliciousrecipes.com

Storage Success

Preserve your croissants' quality with proper storage. Enjoy fresh the day they're baked for the optimal experience. Store leftovers in an airtight container at room temperature for 1-2 days. For longer storage, freeze unbaked shaped croissants and bake directly from frozen. Refresh day-old croissants by warming in a 350°F oven for 5 minutes.

Through years of perfecting this technique, I've found that croissant-making is a meditation in patience and precision. Each step builds upon the last, creating not just a delicious pastry but also a deeply satisfying culinary achievement. The magic of transforming simple ingredients into something so extraordinarily complex is what makes this process so rewarding.

Frequently Asked Questions

→ Can I make croissants without a stand mixer?
Yes, you can knead the dough by hand. It will take longer, about 10-15 minutes, but can produce excellent results with proper technique.
→ Why did my butter break through the dough during lamination?
This can happen if the butter is too cold and hard or the dough is too warm. The butter should be pliable but cool (about 60°F/15°C) for best results.
→ Can I make these ahead and freeze them?
Yes, freeze either shaped unbaked croissants (before proofing) or fully baked ones. Unbaked need thawing and proofing before baking; baked ones reheat well in a 350°F oven.
→ How can I tell when croissants are properly proofed?
Properly proofed croissants will have nearly doubled in size, feel light and airy, and jiggle when the tray is gently shaken. They should show visible layers when viewed from the side.
→ Can I use salted butter instead of unsalted?
While unsalted is preferred for control over salt content, salted butter can work. Reduce the added salt in the dough by about 1/4 teaspoon per stick of salted butter used.

Homemade Croissants Step-by-Step

A detailed guide to making flaky, buttery homemade croissants from scratch using the traditional French lamination technique for perfect layers.

Prep Time
30 Minutes
Cook Time
20 Minutes
Total Time
50 Minutes

Category: Desserts & Baking

Difficulty: Difficult

Cuisine: French

Yield: 12 Servings (12 croissants)

Dietary: Vegetarian

Ingredients

→ Dough (détrempe)

01 2 1/4 teaspoons instant yeast or active dry yeast
02 160 g whole milk lukewarm
03 120 g water
04 470 g all-purpose flour plus extra for dusting
05 50 g granulated sugar
06 1 1/2 teaspoons salt
07 30 g unsalted butter room temperature

→ Butter block (beurrage)

08 250 g unsalted butter room temperature
09 1 1/2 tbsp all-purpose flour

→ Egg Wash

10 1 large egg

Instructions

Step 01

In a large bowl add the milk, water, yeast and sugar. If using active dry yeast, let it sit for 5-10 minutes until frothy. Skip this step if using instant yeast. Add the flour and salt and combine until a rough dough forms.

Step 02

Turn the dough onto a lightly floured surface and begin kneading. Work the dough for about 3 minutes to start developing the gluten. The dough should become smoother and less sticky. Once the gluten has begun to develop, add the 30g of room temperature butter to the dough. Continue kneading for another few minutes until the butter is fully incorporated.

Step 03

Shape the dough into a ball, place it in a greased bowl, cover it with plastic wrap or a towel, and let it rise for 1-2 hours, or until doubled in size. Once risen, punch down the dough to release air, roll it into a rough rectangle, wrap it in plastic, and refrigerate for at least 30 minutes or overnight.

Step 04

Mix 250g butter with 1 1/2 tbsp flour until combined. Place the butter between two sheets of parchment paper and roll it into a 20x15cm (8x6 inch) rectangle, about .5 cm (1/4 inch) thick. To get clean, straight edges, fold the edges of the parchment paper around the butter block to create a square frame, then press the butter with the rolling pin to fit neatly into this frame. Refrigerate the butter block until it's firm.

Step 05

Remove your butter block from the fridge and roll it in the parchment paper a bit with the rolling pin to make it pliable and mouldable. It should be cold but be able to be bent a bit. On a floured surface, roll the chilled dough into a 20x32 cm (8x12.5 inch) rectangle. The dough should be twice the height of the butter, and around the same width. Place the butter block in the center of the dough, folding the top and bottom edges over the butter to fully encase it like a letter. Press this seal closed with your fingertips. Use a sharp knife to make shallow slits along the edges of the dough. This helps prevent excessive tension in the dough, especially if it's slightly too tight around the butter block. Turn it 90 degrees so the crease where you encased it is vertically in front of you.

Step 06

Applying gentle pressure, roll the dough into long rectangle about 6mm thick. Don't worry about how wide it is. Always roll forward with gentle, even pressure and focus on length not width. Avoid pushing too hard, which can tear the dough and crack the butter layers. Ensure the dough is not sticking to the bench, and dust with more flour if needed. Once rolled, cut off the uneven top and bottom edges. Brush away excess flour on the dough. Fold the top third of the dough down and the bottom third up, like folding a letter. Wrap in plastic, and refrigerate for 30-60 minutes.

Step 07

Place the dough so it's vertically infront of you. Repeat the rolling process as before. Cut off scraggly or uneven bits of dough to maintain clean, sharp edges. Fold into thirds, turn, wrap, and refrigerate for 30-60 minutes.

Step 08

Repeat the folding process one more time, then refrigerate for at least 2 hours.

Step 09

After the final rest, roll the dough into a 60x30 cm (24x12 inch) rectangle, about 5 mm (1/4 inch) thick. Mark 5 cm (2 inches) intervals along the top and bottom edge of the dough rectangle. Cut diagonal lines connecting the top marks to the bottom marks to form triangles. You should get around 12 triangles and two off cuts. Gently stretch each triangle, especially along the base. Starting from the wide base, roll the triangle toward the tip. Tuck the tip under the croissant to secure it and curve the edges into a crescent shape.

Step 10

Place the croissants on baking trays lined with parchment paper. Cover loosely with plastic wrap or a towel and let them proof for 2-5 hours at room temperature, until doubled in size and visibly puffy. If you shake the tray gently the croissants should jiggle.

Step 11

Preheat the oven to 200°C/400°F. Whisk the egg with a tablespoon of water and use a pastry brush to brush the tops of the croissants with the egg wash. Bake the croissants for around 20-22 minutes until deeply browned. Croissants are great served fresh on the day they are baked. The layers in the croissants will be most prominent if the croissant has cooled down to room temperature before slicing.

Notes

  1. Use high-quality butter (European-style butter) with a higher fat content (82% or more) for better layers and flakiness.
  2. Keep the butter and dough cold throughout the process to prevent the butter from melting into the dough.
  3. Lamination is easier in a cool kitchen. If the butter starts softening, refrigerate the dough frequently.
  4. Clean edges help ensure that the layers stay neat and even.
  5. During proofing, don't place croissants in spots warmer than 26°C (79°F) or the butter will melt.

Tools You'll Need

  • Large mixing bowl
  • Rolling pin
  • Parchment paper
  • Sharp knife
  • Baking trays
  • Pastry brush

Allergy Information

Please check ingredients for potential allergens and consult a health professional if in doubt.
  • Contains gluten (flour)
  • Contains dairy (butter, milk)
  • Contains eggs

Nutrition Facts (Per Serving)

It is important to consider this information as approximate and not to use it as definitive health advice.
  • Calories: 351
  • Total Fat: 20 g
  • Total Carbohydrate: 36 g
  • Protein: 6 g