
 Pin it
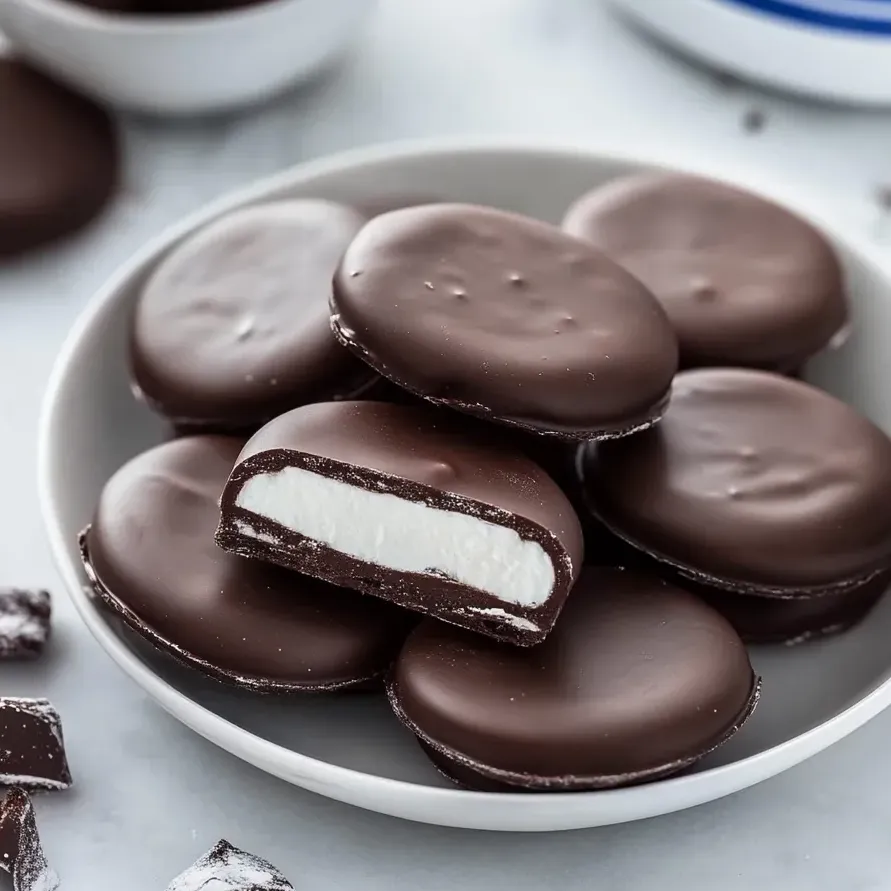
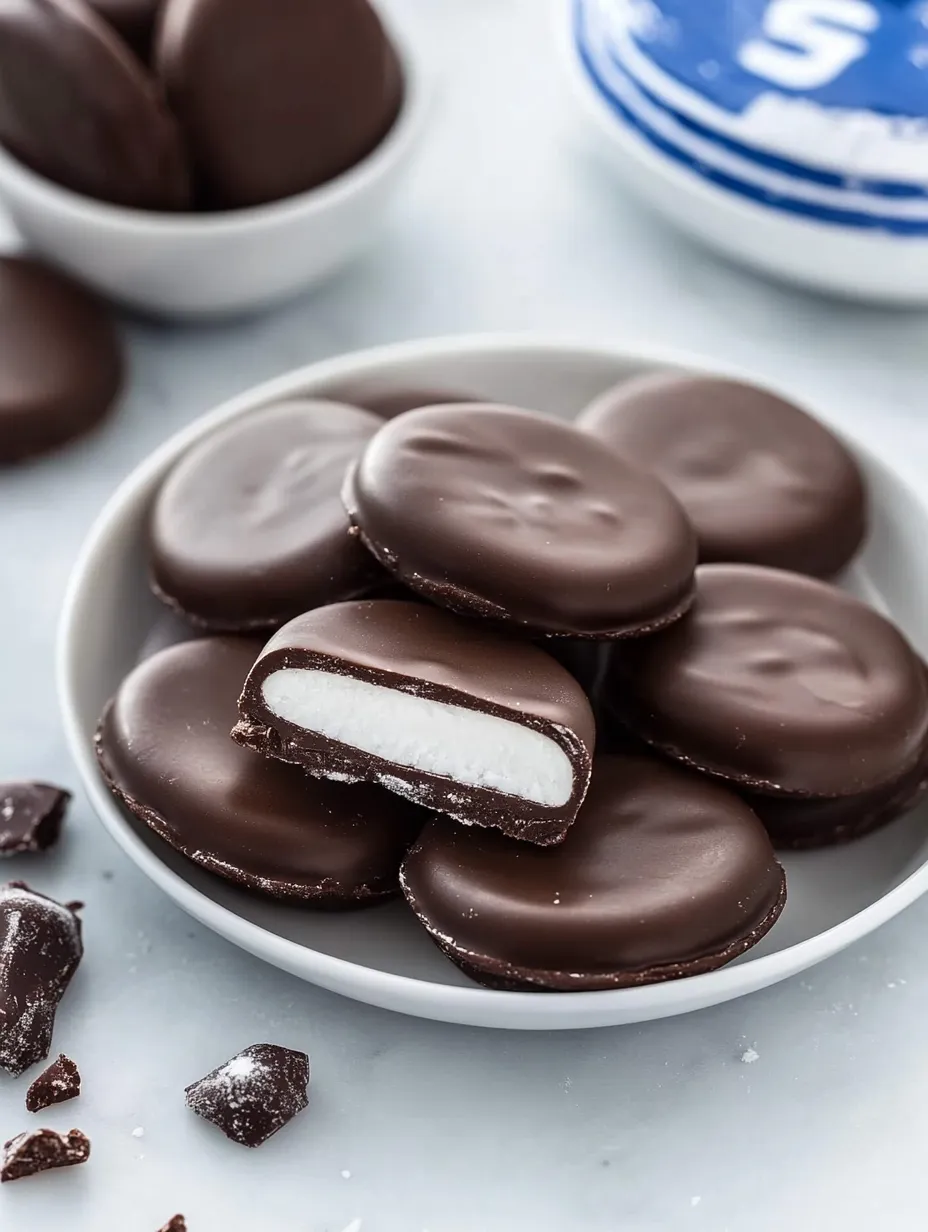
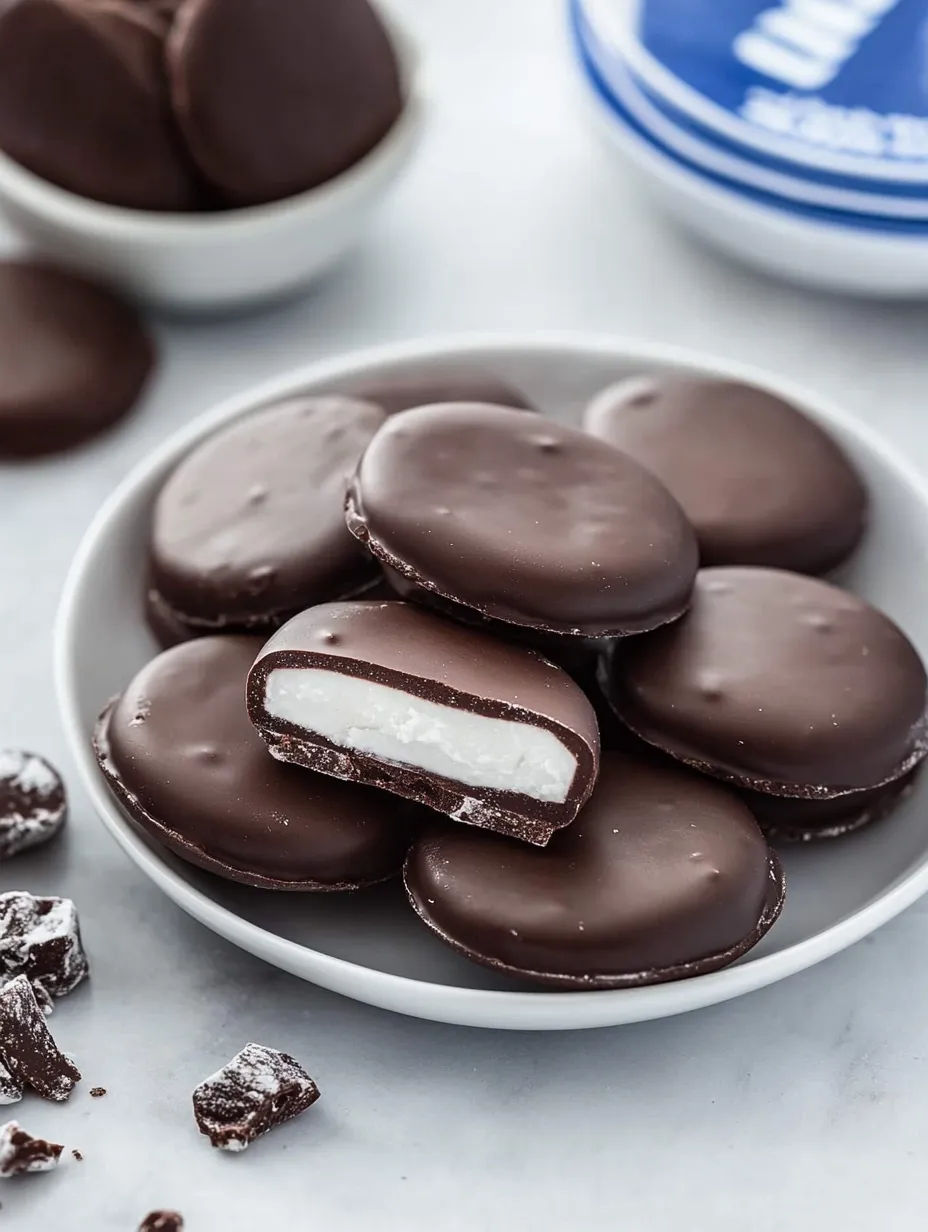
This smooth, refreshing DIY mint chocolate treat brings classic candy shop flavors to your kitchen with just a few simple items. The perfect balance of sweet, powdered filling and dark chocolate shell hits that mint-chocolate spot without any store-bought additives.
I whipped these mint chocolates up during a holiday party when the shops ran out. Everyone's jaw dropped when I told them I made them myself. They're now on the must-have list for every winter party.
Ingredients
- Sweetened condensed milk: this magic base creates that silky soft texture while holding everything together
- Peppermint extract: delivers that iconic cool flavor grab real extract instead of fake stuff for the best taste
- Powdered sugar: gives the right texture and sweetness in the centers sift it first for extra smoothness
- Chocolate almond bark: makes a super easy coating that hardens nicely without needing special steps or getting white spots
- Optional sprinkles: bring a fun pop of color great for gift-giving or special occasions
Step-by-Step Instructions
- Create the mint base:
- Mix sweetened condensed milk and peppermint extract in a big bowl until fully blended. Make sure the mint flavor gets spread evenly through the milk so every bite tastes the same.
- Form the dough:
- With your mixer on low, slowly add powdered sugar cup by cup. Keep mixing until you get a solid, shapeable dough that comes away from the bowl sides. You want it feeling like soft modeling clay that won't stick to your hands.
- Shape the patties:
- Roll small amounts of dough in your hands to make 1-inch balls. Put each one on a paper-lined tray, then flatten them with your hand or a glass bottom to make 2-inch wide, 1/4-inch thick circles.
- Freeze for firmness:
- Stick the whole tray of flattened rounds in the freezer for an hour. This key step makes sure they keep their shape when you dip them and creates just the right bite in the finished candy.
- Prepare the chocolate coating:
- Melt your chocolate almond bark in a microwave bowl, going 30 seconds at a time and stirring between until it's totally smooth. Let the melted chocolate cool a bit so it goes on evenly without melting your centers.
- Dip the patties:
- Working with a few centers at a time while keeping the rest frozen, drop each round into the melted chocolate. Flip it with a fork to cover completely, then lift it out and let extra chocolate drip off back into the bowl.
 Pin it
The mint extract really takes center stage here. I found out the mint kick gets stronger as time passes, giving you that cool feeling that stays in your mouth after each bite. My grandma always said good mint should make your mouth feel fresh after eating sweets.
Make Ahead Magic
These chocolate mint treats actually get better with time as everything melds together. You can make them up to two weeks before you plan to serve them, which helps tons with holiday planning. Keep them in a sealed container with paper between the layers so they don't stick. The mint gets stronger and the filling hits that perfect creamy-but-firm sweet spot after about a day.
Customize Your Patties
The main recipe works as a great starting point for fun changes. Try adding a tiny bit of food color to make them pink for Valentine's or green for St. Patrick's Day. You can also play with different flavors by mixing in a quarter teaspoon of vanilla with the mint for extra depth. If you love chocolate, try folding mini chocolate chips into the filling before freezing for a surprise inside.
 Pin it
Gift Giving Guidelines
These handcrafted mint chocolates make awesome presents that look store-bought quality. For a nice display, set them in paper candy cups inside pretty tins or small boxes tied with ribbon. Add a note saying they have no preservatives and should be eaten within two weeks. If you're mailing them, pack with ice packs and send them fast so they arrive looking perfect.
Perfect Pairings
Enjoy these cool mint treats with strong coffee or espresso after dinner. The coffee's bitterness works great with the sweet mint and chocolate combo. They're also amazing with hot cocoa for a double chocolate treat where the cool mint creates a nice contrast. For grown-up gatherings, try serving them with chocolate liqueur or Irish cream for a fancy dessert option.
Frequently Asked Questions
- → How long will these mint patties stay good?
If you keep them in a sealed container in the fridge, they’ll last up to two weeks. Need longer storage? Freeze them for as much as three months.
- → Can I skip the almond bark for regular chocolate?
Sure! You can melt semi-sweet, milk, or dark chocolate instead. Stir in a teaspoon or two of shortening or coconut oil for a smooth texture and a better finish when it hardens.
- → What if my filling feels sticky?
If the dough sticks to everything, you probably need more powdered sugar. Sprinkle in about 1/4 cup at a time and mix until the dough holds together without clinging to your hands.
- → Can I switch out the peppermint for other flavors?
Definitely! Try swapping in vanilla, almond, or even orange extract. Keep in mind that peppermint extract is very strong, so adjust your amounts accordingly for other flavors.
- → Why do I need to chill the patties before adding chocolate?
Freezing keeps the patties sturdy while you dip them, so they won’t fall apart or melt in the warm chocolate. It also helps the chocolate set quickly.
- → What’s the easiest way to coat the patties in chocolate?
Grab a fork to dunk each patty in chocolate, then let any extra drizzle off by tapping the fork against the side of the bowl. Set the patty on a sheet of parchment paper with the help of a toothpick or knife. Only work with a few patties at a time to keep the rest nice and chilled.