
 Pin it
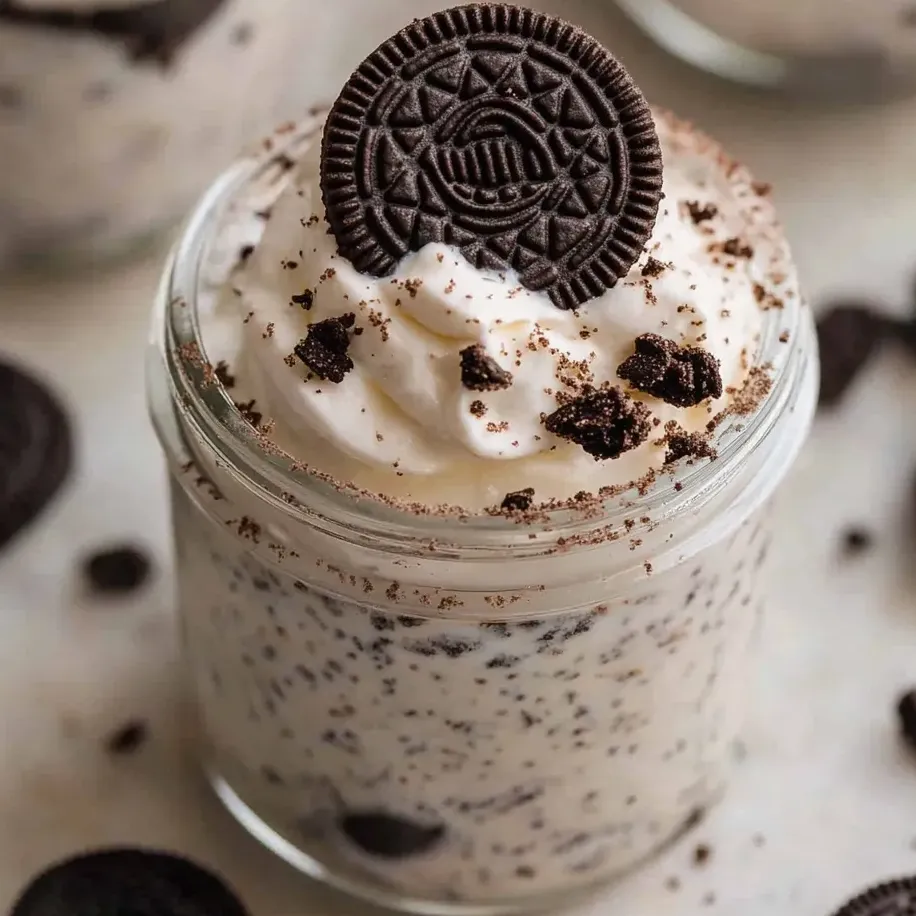
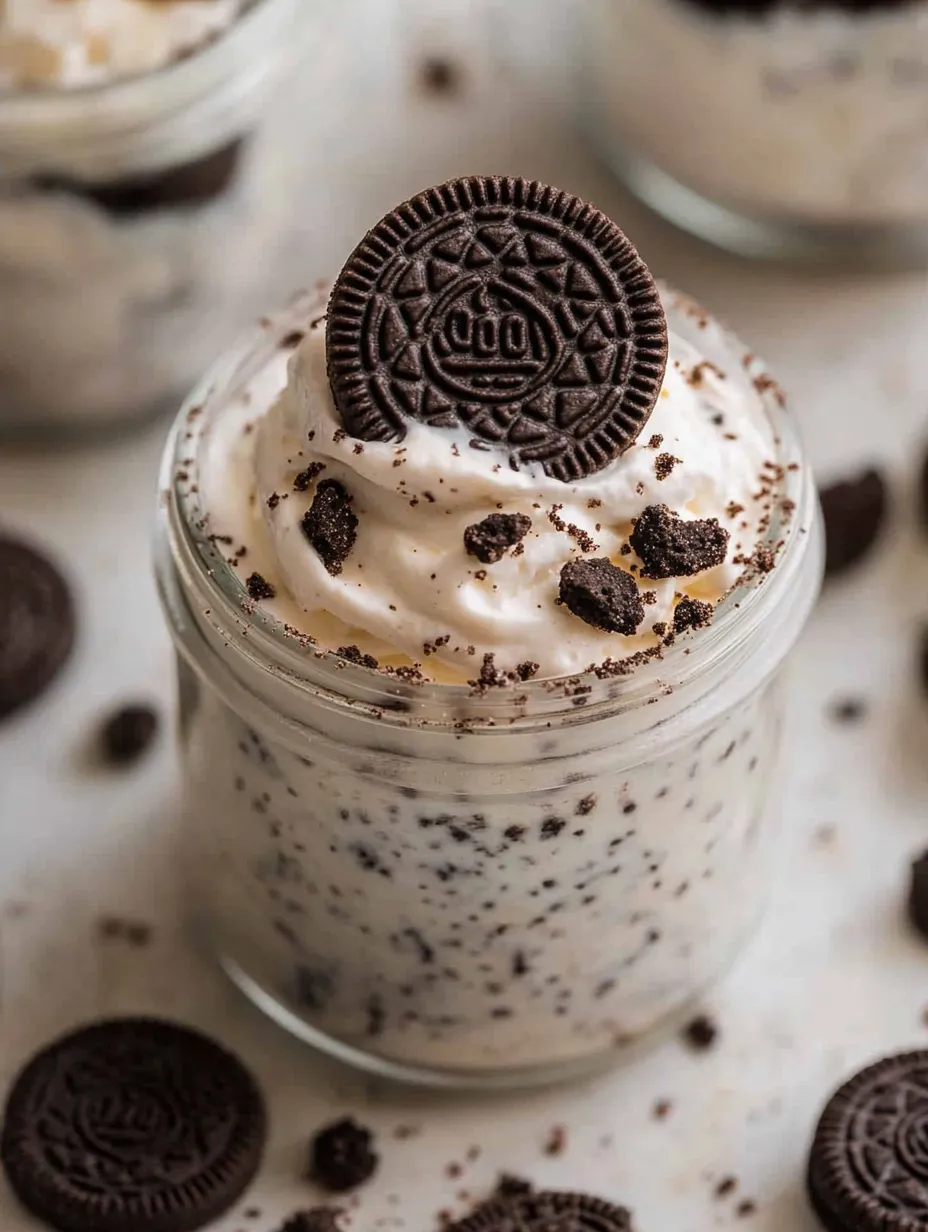
These Oreo No-Bake Cheesecake Cups turn basic ingredients into a mouth-watering treat without needing your oven. They're great for hot weather gatherings or when you want a fancy dessert in a hurry. You'll get all that amazing cheesecake taste with way less work.
I whipped these up for my nephew when it was too hot to bake anything for his birthday party. The cups were gone in seconds, and now my family asks for them at every get-together we have.
What You'll Need
- 8 oz block cream cheese: left out for at least half an hour so it's nice and soft for mixing
- 8 oz Cool Whip or whipped topping: completely defrosted so it folds in properly
- 2/3 cup powdered sugar: run through a sifter to keep your filling smooth and lump-free
- 1 teaspoon vanilla extract: go for the real stuff instead of imitation for better taste
- 24–26 Oreo cookies: regular ones work great but you can try other flavors too
How To Make Them
- Make Your Cookie Base:
- Put Oreos in a zip-top bag and smash them with a rolling pin until they're mostly crumbs with some small chunks left for crunch. Put about 2 tablespoons in each cup and press down lightly to make a solid foundation for your creamy topping.
- Whip Up The Cheesecake Part:
- Beat your soft cream cheese with powdered sugar using an electric mixer on medium for about 2 minutes until it's fluffy and smooth with no lumps. Add vanilla and mix another 30 seconds until it's all blended together.
- Add The Fluffy Stuff:
- Gently mix in the Cool Whip using a spatula in a figure-eight pattern, going from bottom to top. This keeps all those air bubbles that make it light and fluffy. Then stir in most of the leftover cookie crumbs, saving some for the top.
- Put It All Together And Wait:
- Spoon or pipe the mixture into your cups, trying to make them all even and nearly full. Smooth the tops with a spoon and stick them in the fridge for at least an hour so they can set up right and the flavors can mix together.
 Pin it
When I bring these to the table, everyone stops talking and you just hear spoons scraping against glass. My husband thinks it's all about getting the right mix of cookies and cream cheese, but I think people love how the crunchy bottom contrasts with the light, fluffy filling.
Keeping Them Fresh
These cups stay creamy and tasty for up to three days in the fridge. Wrap each one with plastic wrap so they don't pick up smells from other foods. The cookie layer might get a bit softer over time, but lots of my guests actually like them better that way after the first day.
Mix It Up
One great thing about this treat is how easy it is to change. Try Golden Oreos with some lemon zest for a citrusy flavor, or go with chocolate mint Oreos and a tiny bit of peppermint extract for something refreshing after dinner. During Christmas, I often use red velvet Oreos and add festive sprinkles for an easy holiday dessert that's pretty and delicious.
Ways To Serve
These cups are great on their own, but you can dress them up for special events. Add fresh berries on the side to bring color and a bit of tartness that balances the richness. For dinner parties, I put each cup on a small plate with a chocolate-dipped strawberry for a fancy look that takes almost no extra work but gets tons of compliments.
Prep In Advance
Since you don't need to bake these cups, they're perfect to make ahead. The flavors actually get better when they sit in the fridge overnight. This works great if you're busy and need to get dessert ready a day early, so you can focus on other party stuff later.
 Pin it
Frequently Asked Questions
- → Can I prepare these cheesecake cups the night before?
Yep! Make them up to a day early. Keep them covered in the fridge, but save the whipped topping and extra cookie crumbles for just before serving so they look their best.
- → Can I skip Cool Whip and use something else?
Sure! Use 2 cups of whipped heavy cream instead. Beat it with 2 tablespoons of powdered sugar and 1/2 teaspoon of vanilla to make it fluffy and stable for the dessert.
- → Do these freeze well?
Yes! Skip the whipped topping, wrap each cup tight with plastic, then foil, and freeze for up to 2 months. Let them thaw overnight in the fridge and add fresh toppings when serving.
- → What’s the serving size for this?
The recipe makes 6 small servings (3/4-1 cup each). Feel free to adjust the sizes depending on the dishes you use.
- → Can I try other Oreo flavors in this?
Tons of options! Try Golden Oreos, Mint, Peanut Butter, Birthday Cake, or limited-edition flavors. Match extracts to flavors too—vanilla for Golden Oreos, mint for Mint Oreos, and more.
- → Can this be made in one big dish?
Definitely! Use a square 8x8 dish or a 9-inch pie pan. Press the crust in, pour in the filling, and chill for a few hours longer (at least 3) so it sets well. Slice it to serve.